1. Introduction
Thank you for purchasing the Eaglerich Model 520 Car Stereo. This unit is designed to provide high-quality audio entertainment and convenient communication features in your vehicle. It includes an FM radio, MP3 playback from USB/SD cards, Bluetooth for hands-free calling and music streaming, and an AUX input for external devices. Please read this manual thoroughly before installation and operation to ensure proper use and to maximize your enjoyment of the product.
2. Safety Information
- Do not operate the unit in a manner that distracts you from driving. Always prioritize road safety.
- Ensure proper wiring and insulation to prevent short circuits and electrical hazards.
- Avoid exposing the unit to extreme temperatures, direct sunlight, or moisture.
- Do not attempt to disassemble or modify the unit. Refer all servicing to qualified personnel.
- Keep the volume at a level that allows you to hear outside traffic sounds.
3. Package Contents
Verify that all items are present in the package:
- Eaglerich Model 520 Car Stereo Unit
- Remote Control
- Power and Speaker Wiring Harness (ISO Connector)
- Installation Keys (2 pieces)
- User Manual (this document)
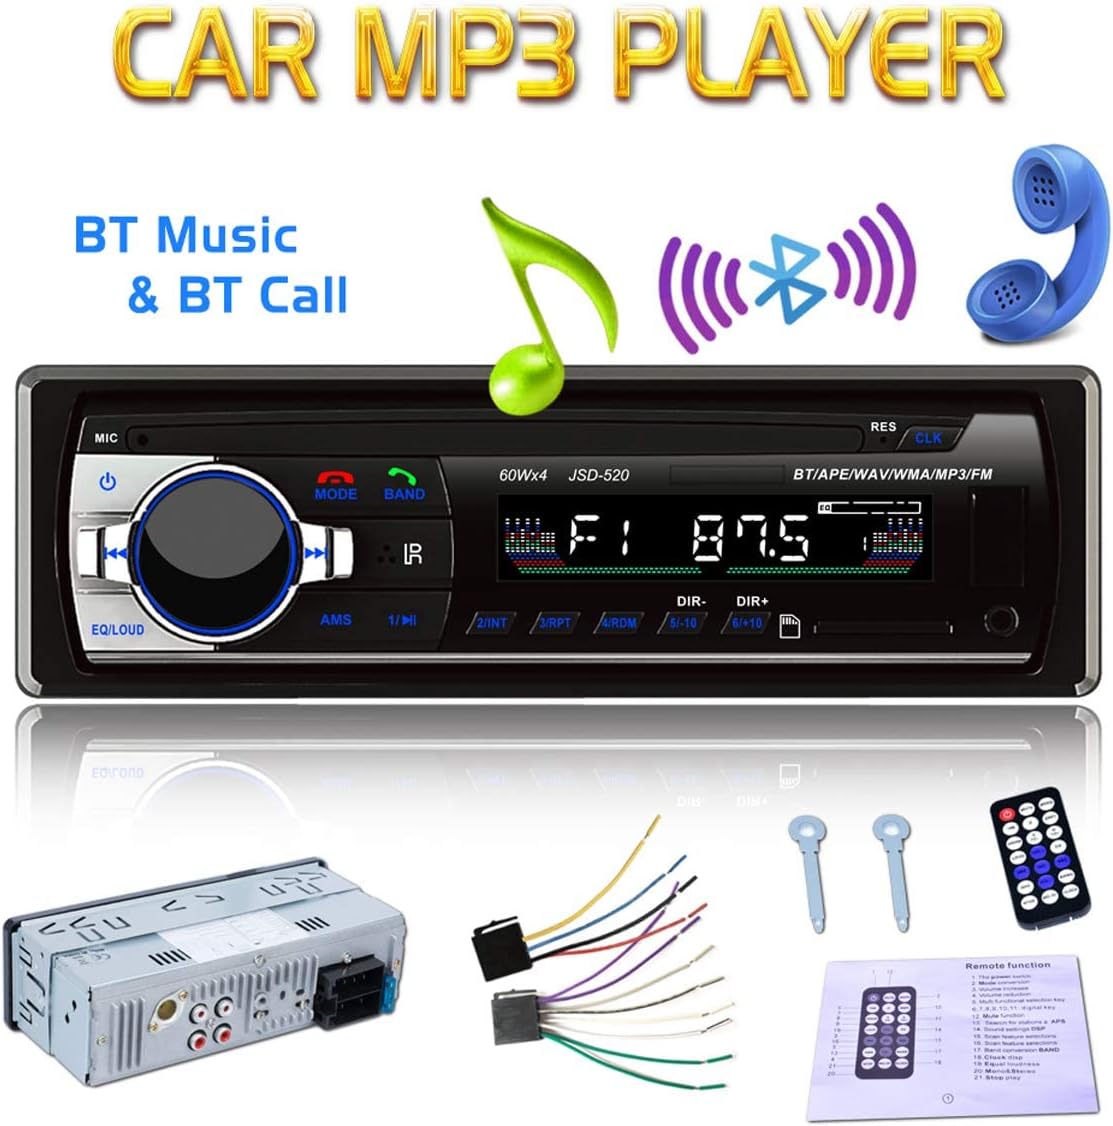
Image: Contents of the Eaglerich Model 520 package, including the main unit, remote, wiring, and removal tools.
4. Product Overview
4.1 Front Panel Controls

Image: Detailed view of the car stereo's front panel, highlighting various buttons and their functions.
- POWER Button (⑁): Press to turn the unit on/off.
- VOLUME Knob: Rotate to adjust volume. Press to cycle through EQ sound effects.
- MODE Button: Press to switch between FM, USB, SD, AUX, and Bluetooth modes.
- BAND Button: In FM mode, press to select radio bands (FM1, FM2, FM3).
- AMS Button: In FM mode, press to automatically scan and store stations.
- Answer Calls Button (☎): Press to answer incoming Bluetooth calls.
- Hang Up Button (☏): Press to end Bluetooth calls.
- Previous/Next Track Buttons (◀►): Short press for previous/next track; long press for fast rewind/forward. In FM mode, short press to tune to previous/next station.
- Play/Pause Button (⏸): Press to play or pause media.
- USB Port: Connect USB flash drives for MP3/WMA/WAV/MPE playback.
- SD Card Slot: Insert SD cards for MP3/WMA/WAV/MPE playback (up to 32GB).
- AUX Input: Connect external audio devices via a 3.5mm jack.
- CLK (Clock) Button: Press to display time. Long press to set time.
4.2 Rear Panel Connections

Image: Rear view of the car stereo, illustrating the ISO wiring harness connection point and RCA audio output jacks.
- ISO Connector: Standard connector for power, ground, and speaker wiring.
- Antenna Input: Connect your car's FM antenna.
- RCA Output Jacks: For connecting to external amplifiers (Front L/R, Rear L/R).
5. Installation
Warning: Incorrect wiring can cause serious damage to the unit or your vehicle. If you are unsure about the installation process, consult a qualified technician.
5.1 Wiring Diagram

Image: The included wiring harness, showing the color-coded wires for power, ground, and speaker connections.
The unit uses a standard ISO connector. Match the wires from the car stereo's harness to your vehicle's wiring harness. Common wire functions are:
- Yellow: Constant 12V (Battery)
- Red: Switched 12V (Accessory/Ignition)
- Black: Ground
- Blue: Power Antenna / Amplifier Remote Turn-On
- Speaker Wires: Typically pairs of solid color and striped color (e.g., White/White-Black for Front Left, Gray/Gray-Black for Front Right, Green/Green-Black for Rear Left, Purple/Purple-Black for Rear Right).
5.2 Mounting the Unit
- Remove the existing car stereo from your dashboard.
- Install the metal mounting sleeve (if included or using a universal one) into the dashboard opening. Bend the tabs to secure it.
- Connect the wiring harness and antenna cable to the rear of the Eaglerich Model 520 unit.
- Carefully slide the unit into the mounting sleeve until it clicks into place.
- Test the unit's functions before fully reassembling the dashboard.
6. Basic Operation
6.1 Power On/Off
Press the POWER button (⑁) on the front panel to turn the unit on or off.
6.2 Volume Adjustment
Rotate the VOLUME knob to increase or decrease the audio level.
6.3 Mode Selection
Press the MODE button repeatedly to cycle through available audio sources: FM Radio → USB → SD → AUX → Bluetooth.
6.4 Setting the Clock
Press the CLK button to display the current time. Long press the CLK button until the hour digits flash. Use the volume knob or previous/next track buttons to adjust the hour. Press CLK again to set the minutes, then adjust. Press CLK one more time to confirm.
7. FM Radio Operation
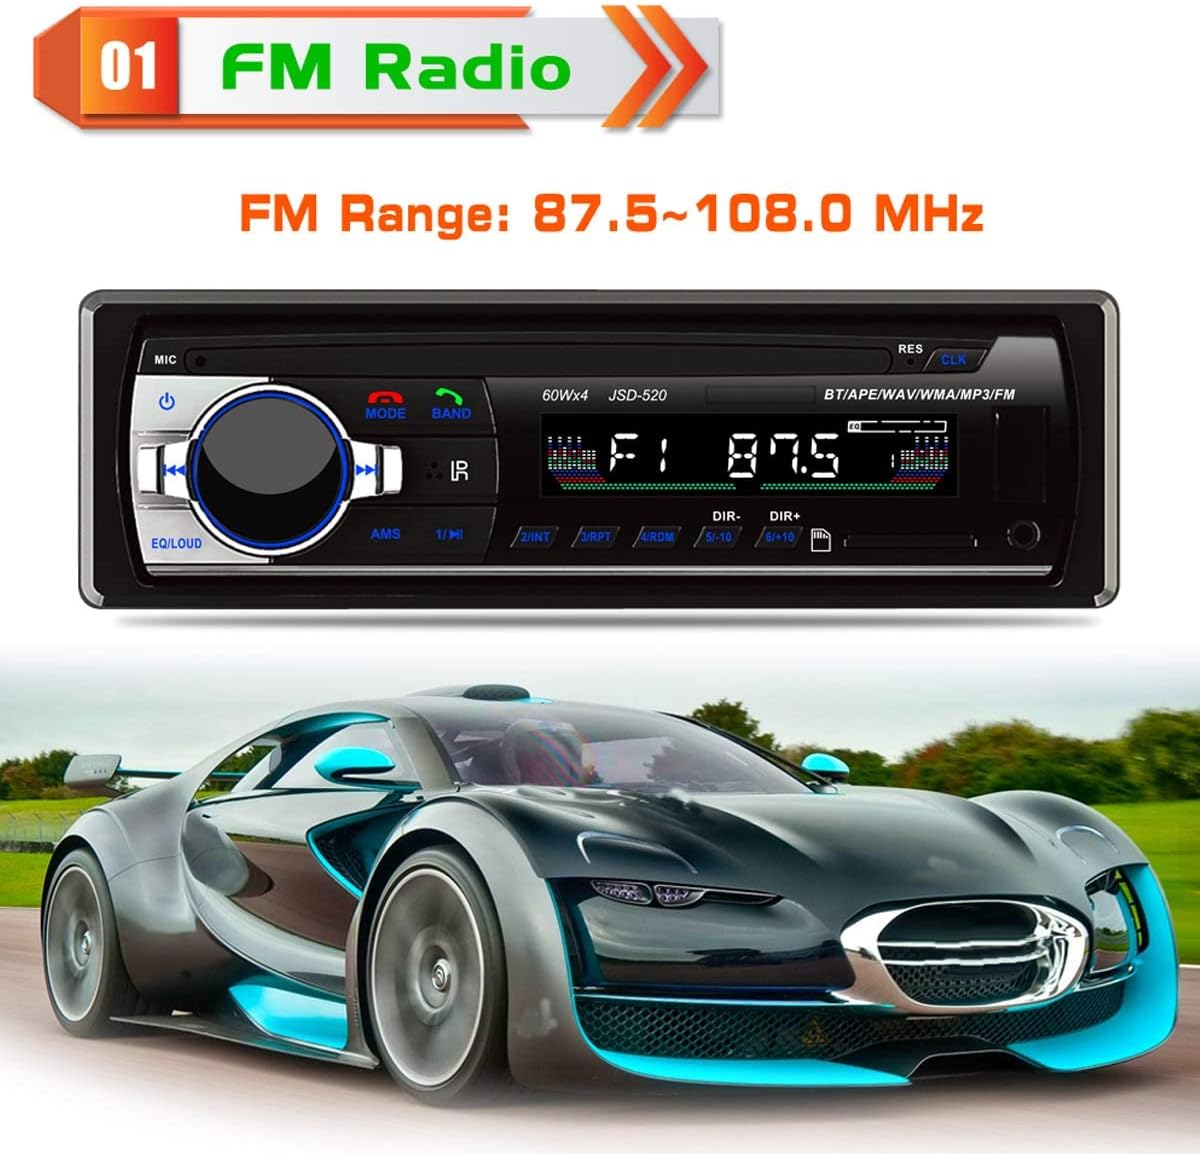
Image: The car stereo's display showing an active FM radio frequency, indicating it is in FM mode.
- Select FM Mode: Press the MODE button until 'FM' is displayed.
- Select Band: Press the BAND button to switch between FM1, FM2, and FM3. Each band can store 6 preset stations.
- Manual Tuning: Short press the ◀► buttons to fine-tune the frequency.
- Automatic Scan: Long press the ◀► buttons to automatically search for the next strong station.
- Auto Store Stations (AMS): Long press the AMS button to automatically scan and store the strongest 6 stations into the current band's presets.
- Recall Presets: Short press the numbered buttons (1-6) to recall a stored station.
8. Bluetooth Operation

Image: Illustrates the Bluetooth hands-free calling feature, with the car stereo displaying 'PHONE' and a smartphone showing an incoming call.
8.1 Pairing Your Device
- Ensure the car stereo is on and in Bluetooth mode (press MODE until 'BT' or 'PHONE' is displayed).
- On your mobile device, enable Bluetooth and search for available devices.
- Select 'CAR BT' or 'JSD-520' from the list. If prompted for a password, enter '0000'.
- Once paired, the display will show 'BT ON' or a similar confirmation.
8.2 Hands-Free Calling
- Answering a Call: When a call comes in, the unit will ring. Press the ☎ button to answer.
- Ending a Call: Press the ☏ button to end the current call.
- Dialing: Dial numbers from your phone. The audio will automatically transfer to the car stereo.
8.3 Bluetooth Audio Streaming
After successful pairing, you can play music from your mobile device through the car stereo. Use your phone to control playback, or use the ◀► buttons on the stereo to skip tracks and the ⏸ button to play/pause.
9. USB/SD Card Operation

Image: Close-up of the car stereo's front panel, highlighting the USB port and SD card slot, with a USB drive and SD card shown for context.
- Insert Media: Insert a USB flash drive into the USB port or an SD card into the SD card slot. The unit will automatically switch to USB/SD mode and begin playback.
- Select Mode: If not automatic, press the MODE button until 'USB' or 'SD' is displayed.
- Playback Controls:
- ⏸ (Play/Pause): Press to play or pause the current track.
- ◀► (Previous/Next Track): Short press to skip to the previous or next track. Long press to fast rewind or fast forward.
- Supported Formats: MP3, WMA, WAV, MPE. Maximum SD card capacity is 32GB.
10. AUX Input Operation

Image: The car stereo with a smartphone connected to its front AUX input via a 3.5mm audio cable, demonstrating external device connectivity.
- Connect Device: Connect your external audio device (e.g., smartphone, MP3 player) to the AUX IN jack on the front panel using a 3.5mm audio cable.
- Select AUX Mode: Press the MODE button until 'AUX' is displayed.
- Control Playback: Control playback (play, pause, skip tracks) directly from your connected external device. The car stereo will act as an audio output.
11. Remote Control

Image: The remote control for the Eaglerich Model 520 car stereo, showing its various buttons for power, mode, volume, track control, and numeric presets.
The included remote control provides convenient access to most functions. Point the remote control towards the IR receiver on the car stereo's front panel.
- Power (⑁): Turn unit on/off.
- MODE: Change audio source.
- VOL +/-: Adjust volume.
- ◀► (Previous/Next): Skip tracks or tune radio stations.
- ⏸ (Play/Pause): Play or pause media.
- BAND: Select FM band.
- Numeric Buttons (1-6): Recall preset radio stations.
- EQ: Cycle through equalizer presets.
- MUTE: Mute/unmute audio.
- CLK: Display/set clock.
12. Troubleshooting
If you encounter issues with your Eaglerich Model 520, refer to the following common problems and solutions:
| Problem | Possible Cause | Solution |
|---|---|---|
| No power | Incorrect wiring; Blown fuse; Loose connection | Check power (Yellow, Red) and ground (Black) connections. Verify the fuse in the car's fuse box and on the stereo's wiring harness. |
| No sound | Incorrect speaker wiring; Volume too low; Mute activated; Incorrect source selected | Check speaker connections. Increase volume. Deactivate mute. Ensure correct audio source (FM, USB, BT, AUX) is selected. |
| Bluetooth not connecting | Unit not in BT mode; Device not discoverable; Incorrect pairing process | Ensure stereo is in BT mode. Make sure your phone's Bluetooth is on and discoverable. Re-attempt pairing process (Section 8.1). |
| USB/SD not playing | Unsupported file format; Corrupted media; Incorrect mode; Max capacity exceeded | Ensure files are MP3/WMA/WAV/MPE. Try a different USB/SD card. Select USB/SD mode. Ensure media is 32GB or less. |
| Poor FM reception | Antenna not connected; Weak signal area; Damaged antenna | Check antenna connection. Try tuning in a different location. Inspect antenna for damage. |
13. Specifications
- Model: 520
- Power Supply: 12V DC (10.8V-14.4V)
- Max Power Output: 4 x 45W
- FM Tuning Range: 87.5 MHz - 108 MHz
- Bluetooth Version: 5.0
- Supported Audio Formats: MP3, WMA, WAV, MPE
- USB/SD Card Support: Up to 32GB
- Connectivity: Bluetooth, USB, SD, AUX (3.5mm Jack)
- Dimensions (Product): 7.4 x 4.72 x 1.97 inches (18.8 x 12 x 5 cm)
- Item Weight: 12.7 ounces
14. Warranty and Support
This Eaglerich product is covered by a standard manufacturer's warranty. For specific warranty terms, please refer to the documentation provided at the time of purchase or contact your retailer. For technical support or service inquiries, please contact Eaglerich customer service through the contact information provided with your purchase or on the official Eaglerich website.


