Introduction
This manual provides instructions for the proper installation, operation, and maintenance of the Balboa Water Group Pump Union (Model 2614029). This component is designed to connect plumbing to a pump in pool and spa systems, featuring a 2-inch buttress thread on one side and a 2-inch slip connection on the other.
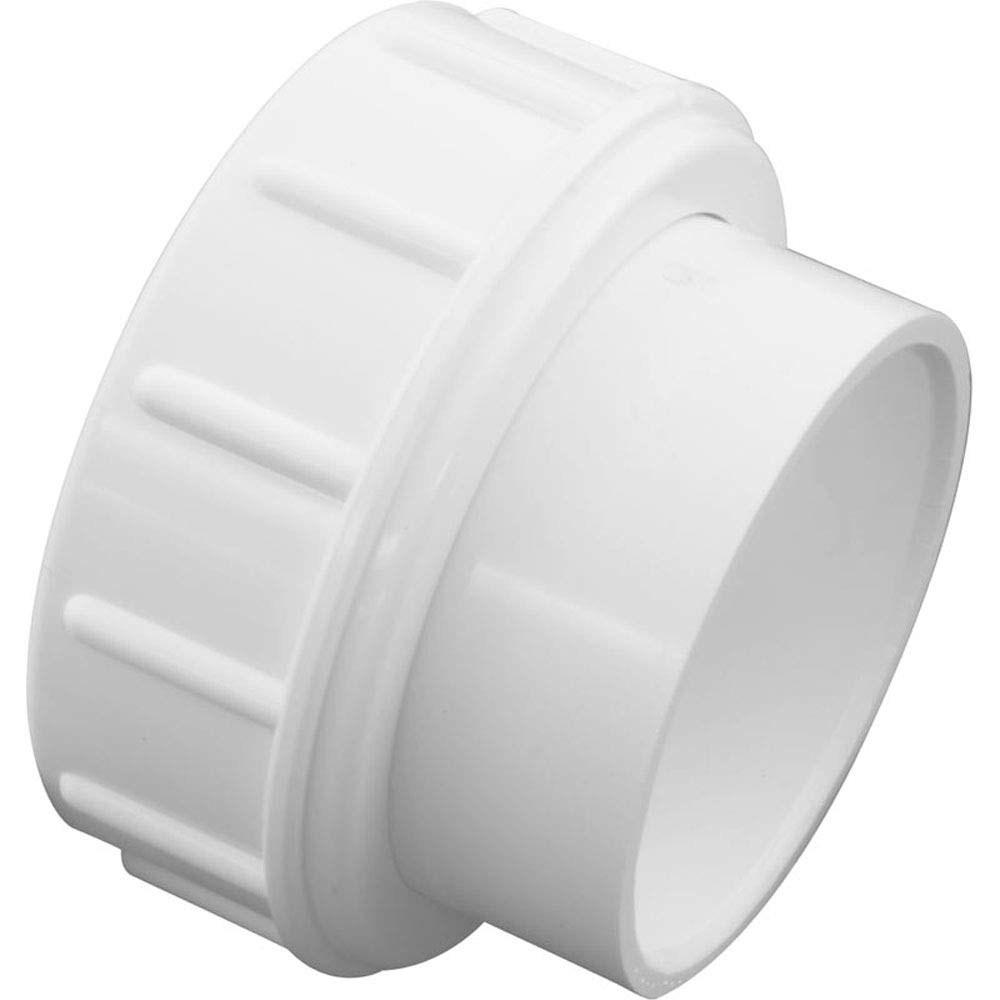
Figure 1: Balboa Water Group Pump Union. This image shows the complete union assembly, including the buttress threaded nut, the slip tailpiece, and the gasket.
Safety Information
Always observe the following safety precautions during installation and maintenance:
- Ensure all power to the pump and associated equipment is disconnected before beginning any work.
- Wear appropriate personal protective equipment (PPE), such as safety glasses and gloves.
- Verify that the system is depressurized and drained before disconnecting any plumbing.
- Consult a qualified professional if you are unsure about any installation steps.
Setup and Installation
This section outlines the steps for installing the pump union.
Required Tools and Materials:
- PVC cement and primer (for slip connection)
- Pipe thread sealant (if required for buttress thread, consult pump manufacturer)
- Channel locks or pipe wrench
- Clean rags
Installation Steps:
- Prepare the Connections: Ensure the pump's threaded port and the PVC pipe for the slip connection are clean and free of debris.
- Assemble the Union: The union consists of three main parts: the buttress threaded nut, the slip tailpiece, and a rubber gasket. Place the gasket inside the buttress threaded nut.
- Attach Slip Tailpiece: Apply PVC primer to the outside of the PVC pipe and the inside of the slip tailpiece. Then, apply PVC cement to both surfaces and firmly push the PVC pipe into the slip tailpiece, twisting slightly to ensure a good bond. Hold for a few seconds to set. Allow adequate curing time as per PVC cement manufacturer's instructions.
- Connect to Pump: Thread the buttress nut (with the gasket and slip tailpiece attached) onto the pump's threaded port. Hand-tighten first, then use channel locks or a pipe wrench to tighten an additional 1/4 to 1/2 turn. Do not overtighten, as this can damage the threads or crack the union.
- Leak Check: Once the PVC cement has fully cured and the system is ready, slowly repressurize the system and carefully check for any leaks around the union connections.
Operation
The pump union is a static plumbing component. Its "operation" involves maintaining a secure, leak-free connection between the pump and the plumbing system.
- Initial System Start-up: After installation, carefully monitor the union for any signs of leaks during the initial start-up of the pump.
- Regular Monitoring: Periodically inspect the union during routine system checks to ensure there are no drips or moisture around the connection points.
Maintenance
Regular maintenance helps ensure the longevity and reliability of the pump union.
- Annual Inspection: At least once a year, inspect the union for any signs of wear, cracks, or discoloration. Check the gasket for brittleness or compression set.
- Gasket Replacement: If leaks occur or the gasket appears worn, replace it with a new, compatible gasket. Ensure the system is drained and depressurized before replacing the gasket.
- Cleaning: Keep the exterior of the union clean from dirt and chemical residues, which can degrade the plastic over time.
Troubleshooting
This section addresses common issues you might encounter with the pump union.
Issue: Leakage at the Union Connection
- Cause 1: Insufficient Tightening.
Solution: Ensure the system is depressurized. Gently tighten the buttress nut an additional 1/8 to 1/4 turn using a wrench. Do not overtighten. Repressurize and check for leaks.
- Cause 2: Damaged or Worn Gasket.
Solution: Depressurize and drain the system. Disassemble the union and inspect the rubber gasket. If it is cracked, brittle, or flattened, replace it with a new, compatible gasket. Reassemble and check for leaks.
- Cause 3: Cracked Union Nut or Tailpiece.
Solution: Depressurize and drain the system. Inspect the plastic components for any cracks, especially around the threads. If cracks are present, the entire union must be replaced. This often occurs due to overtightening or chemical exposure.
Issue: Difficulty Disconnecting the Union
- Cause: Overtightening or Seizing.
Solution: Use a pipe wrench or large channel locks for leverage. If the union is severely seized, careful application of heat (e.g., with a heat gun on a low setting, avoiding direct flame) to the nut may help expand it slightly, but proceed with extreme caution to avoid damaging the plastic or surrounding components. If unsuccessful, the union may need to be cut and replaced.
Specifications
| Feature | Detail |
|---|---|
| Brand | Balboa Water Group |
| Model Number | 2614029 |
| Size | 2 inches |
| Material | Stainless Steel (Note: Product description indicates plastic union, but specifications list Stainless Steel. Assume the primary functional component is plastic, with potential stainless steel fasteners or internal components. For the union body, it's typically PVC/ABS.) |
| Connector Type | Union |
| Thread Size | 2" |
| Thread Type | Buttress Thread |
| Item Dimensions (L x W x H) | 3.55 x 3.55 x 1.65 inches |
| Item Weight | 4.8 ounces |
| UPC | 753610342830 |
Note on Material: While specifications list "Stainless Steel," pump unions are typically made from durable plastics like PVC or ABS. The "Stainless Steel" might refer to internal components or a general category error in the source data. Users should verify the actual material upon purchase.
Warranty and Support
Warranty Information: Specific warranty details for this product are not provided in this manual. Please refer to the original product packaging, the manufacturer's official website (Balboa Water Group), or contact your point of purchase for comprehensive warranty terms and conditions.
Customer Support: For technical assistance, replacement parts, or further inquiries, please contact Balboa Water Group directly through their official customer support channels or the retailer from whom the product was purchased.