
Introduction
This manual provides detailed instructions for the installation, operation, and maintenance of your BOYO Vision VTC175M Vehicle Backup Camera System. This system includes a 5-inch rearview monitor and a license plate backup camera, designed to enhance safety and convenience when reversing your vehicle. Please read this manual thoroughly before installation and use to ensure proper functionality and to prevent damage.
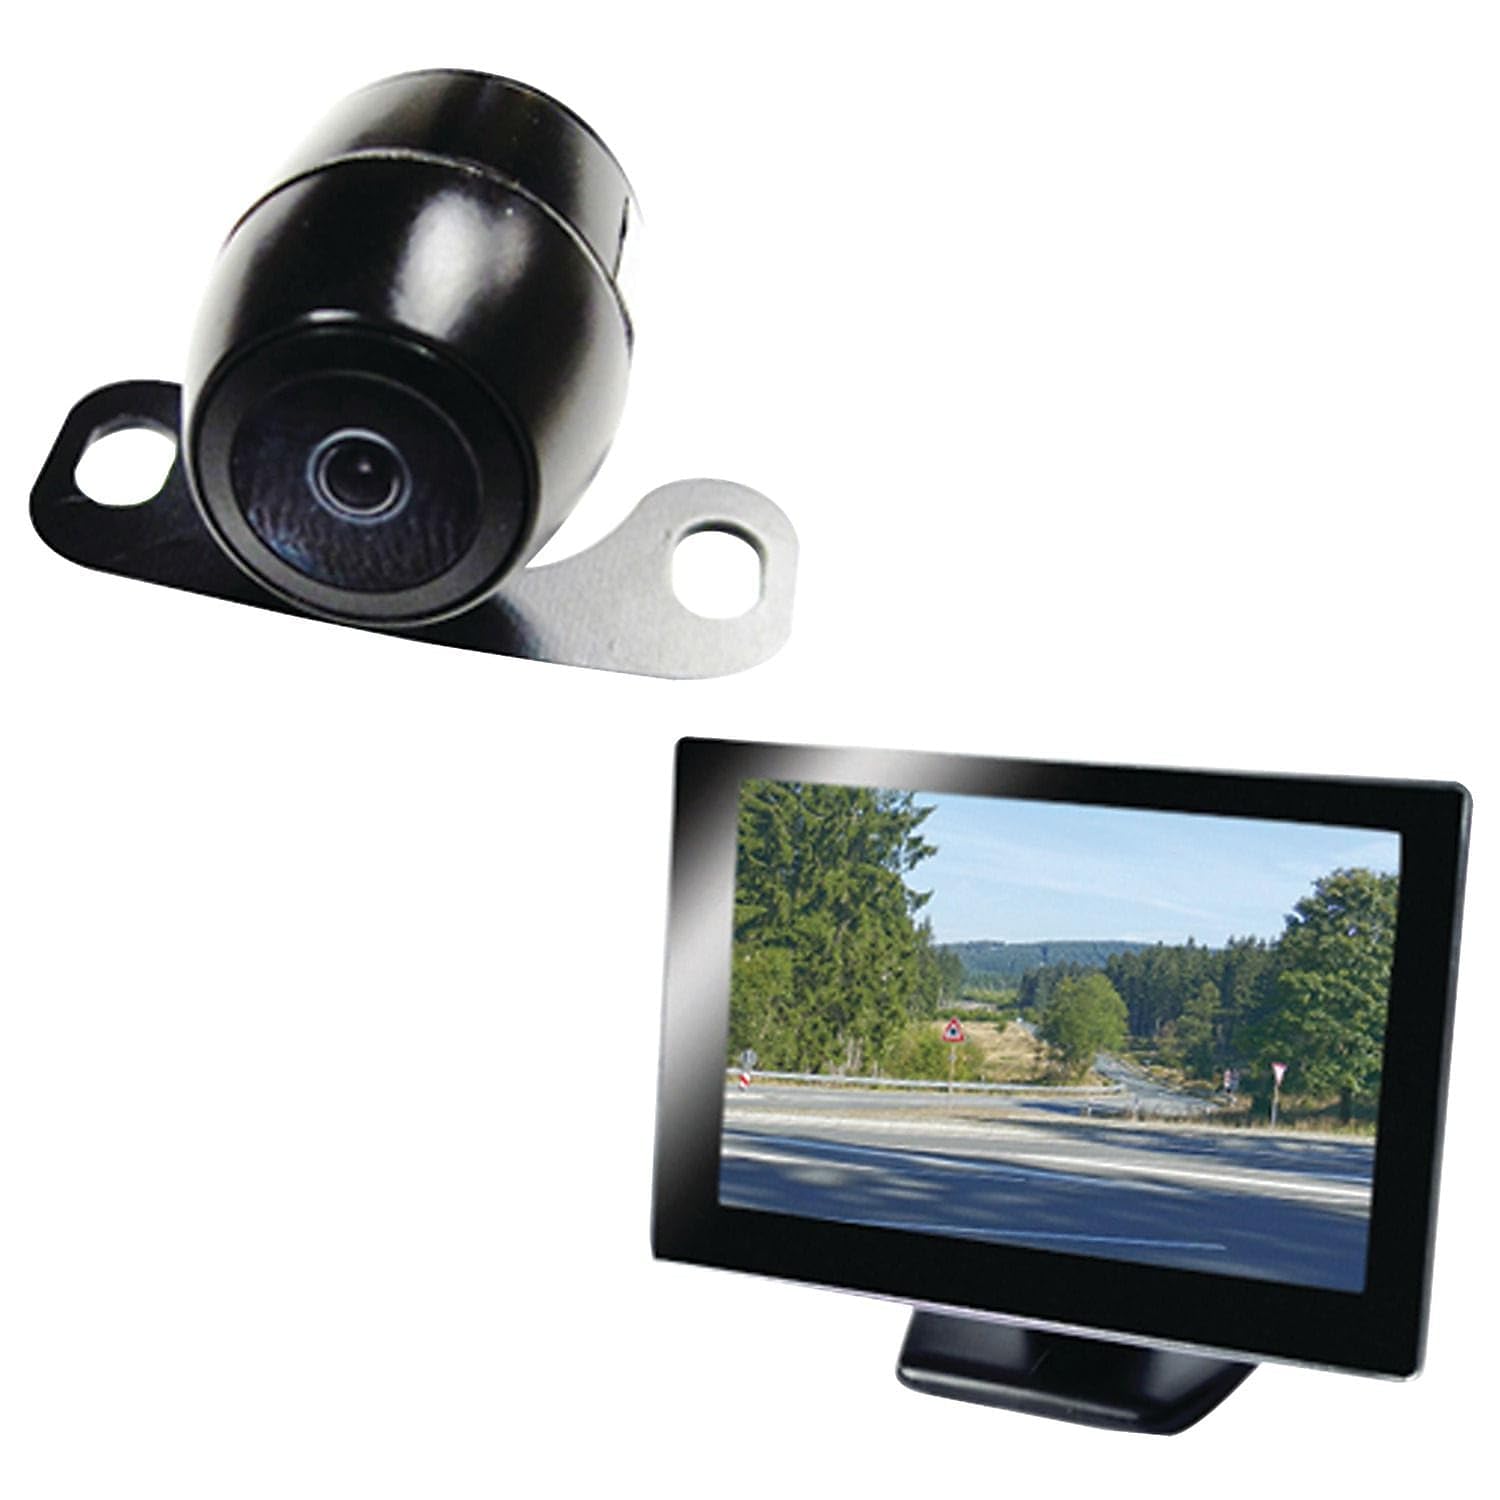
Figure 1: BOYO Vision VTC175M Vehicle Backup Camera System.
Package Contents
The BOYO Vision VTC175M kit includes the following components:
- Concealed License Plate Backup Camera
- 5-inch Digital TFT LCD Monitor
- Camera Power Harness
- Monitor Power Cable
- Video Extension Cable (RCA)
- Sun Shade for Monitor
- Dash Mount
- Windshield Mount
- Windshield Mount Adapter

Figure 2: All components included in the VTC175M package.
Key Features
Camera Features
- High Sensitivity 1/4" HD Color CMOS Sensor
- Super Sensitive Low Lux Performance for clear imaging in low light
- Waterproof (IP68) rating for protection against heavy rain and immersion
- Parking Guide Lines: Selectable On/Off
- Reverse/Non-Reverse Image: Selectable (allows use as a front-view camera)
Monitor Features
- 5-inch Digital TFT LCD Monitor
- 800x480 Resolution
- 16:9 Widescreen Aspect Ratio
- 350:1 Contrast Ratio
- 2 Video Inputs for additional cameras or video devices
- Auto switching when in reverse gear
- PAL/NTSC auto switch compatibility
- Slim and sleek design
- Includes removable sunshade

Figure 3: Example of selectable parking guide lines.
Setup and Bench Testing
Pre-Installation Check
Before proceeding with the full vehicle installation, it is highly recommended to perform a bench test. This step is crucial to verify that all components of the backup camera system are functioning correctly and meet your expectations. Bench testing helps identify any defective parts or unexpected behavior before the system is permanently installed, simplifying troubleshooting if issues arise.
Bench Test Procedure
To perform the bench test, you will need a 12V DC power source. Follow these steps to connect and test the system:
- Connect Camera Power: Connect the camera's power harness to the camera pigtail. Ensure the arrow markers and grooves on the connectors align, then press firmly together.
- Connect Video Extension: Connect one RCA connector from the long video extension cable to the RCA connector of the camera's power harness.
- Connect Monitor Video Input: Connect the other RCA connector of the long video extension cable to the "Camera In" RCA connector on the monitor.
- Connect Trigger Wire: Connect the blue trigger wire from the video extension cable to the red pigtail wire at the base of the RCA connector on the monitor side. This simulates the reverse light signal.
- Connect Monitor Power: Connect the red pigtail wire from the monitor's power harness to the red power wire of the camera's power harness. Both will be connected to the 12V positive power source during the test.
- Apply Power: Connect the black wire of the camera's power harness to ground. Then, connect the red power wire (from step 5) to the 12V positive power source. The monitor should power on and display the camera's view.
Video 1: Detailed guide on bench testing the VTC175M system components before vehicle installation.
Installation
Camera Mounting
The license plate camera is designed for discreet mounting behind your vehicle's license plate. Ensure the camera lens has a clear, unobstructed view of the rear. Secure the camera bracket using existing license plate screws or appropriate hardware.
Monitor Mounting
The monitor can be mounted using either the provided dash mount or windshield mount. The dash mount uses double-sided tape for secure placement on the dashboard. The windshield mount uses a suction cup to attach to the windshield. Choose a location that provides optimal visibility without obstructing your view of the road.
Wiring Connections
Route the video extension cable from the camera to the monitor, ensuring it is protected from moving parts and heat sources. Connect the camera's power harness to the vehicle's reverse light circuit (12V positive) and ground. This allows the camera and monitor to activate automatically when the vehicle is shifted into reverse. The blue trigger wire on the video extension cable should also be connected to the reverse light positive to enable automatic monitor switching. For a cleaner installation, consider using quick-snap splice connectors and zip ties to manage wiring.
Warning:
Improper wiring can cause damage to the system or your vehicle. If you are unsure about any wiring steps, consult a professional installer.
Operation
Automatic Activation
When the vehicle is shifted into reverse, the monitor will automatically power on and display the live feed from the backup camera. When you shift out of reverse, the monitor will turn off or switch to another video input if configured.
Parking Guide Lines
The camera features selectable parking guide lines (red, yellow, green) to assist with parking maneuvers. Refer to the camera's specific controls or wiring instructions to toggle these lines on or off.
Image Orientation
The camera offers a selectable reverse/non-reverse image option. This allows the camera to be used for front-viewing applications if desired, by flipping the image horizontally.
Multiple Video Inputs
The monitor has two video inputs. This allows you to connect a second camera (e.g., a front camera or a trailer camera) or another video device. The monitor can be manually switched between inputs if not automatically triggered.
Maintenance
Camera Care
Periodically clean the camera lens with a soft, damp cloth to ensure a clear view. Avoid using abrasive cleaners that could scratch the lens. Despite its waterproof rating, avoid directing high-pressure water jets directly at the camera for extended periods.
Monitor Care
Clean the monitor screen with a soft, lint-free cloth. For stubborn smudges, use a screen-safe cleaning solution. Do not spray liquid directly onto the screen.
Cable Inspection
Regularly inspect all cables and connections for any signs of wear, fraying, or damage. Ensure all connections remain secure to prevent intermittent signal loss or power issues.
Troubleshooting
If you encounter issues with your VTC175M system, refer to the following common problems and solutions:
- No Image on Monitor:
- Check all power connections to the monitor and camera. Ensure they are receiving 12V DC.
- Verify the video extension cable is securely connected at both ends (camera and monitor).
- Ensure the blue trigger wire is correctly connected to the reverse light positive.
- Re-perform the bench test to isolate if the issue is with a component or the vehicle's wiring.
- Flickering or Distorted Image:
- Check for loose video cable connections.
- Ensure power connections are stable and free from interference.
- Verify the camera lens is clean and free from obstructions.
- Monitor Not Activating in Reverse:
- Confirm the reverse light circuit is providing 12V positive when in reverse.
- Check the connection of the blue trigger wire to the reverse light positive.
- Ensure the monitor's power cable is correctly wired.
- Parking Lines Incorrect or Missing:
- Check the camera's loop switch settings for parking guide lines (if applicable).
For further assistance, please contact BOYO Vision customer support.
Specifications
| Feature | Detail |
|---|---|
| Model Number | VTC175M |
| Monitor Screen Size | 5 Inches |
| Monitor Resolution | 800 x 480 |
| Monitor Aspect Ratio | 16:9 |
| Monitor Contrast Ratio | 350:1 |
| Monitor Video Inputs | 2 |
| Camera Sensor | 1/4" HD Color CMOS |
| Camera Waterproof Rating | IP68 |
| Voltage | 12 Volts |
| Connector Type | RCA |
| Product Dimensions | 11"L x 2.9"W x 6.8"H |
| Item Weight | 14.4 ounces |
Warranty and Support
Warranty Information
BOYO Vision products are designed for reliability and performance. For specific warranty terms and conditions, please refer to the warranty card included with your product or visit the official BOYO Vision website. Keep your purchase receipt as proof of purchase for any warranty claims.
Customer Support
If you have any questions, require technical assistance, or need to troubleshoot an issue not covered in this manual, please contact BOYO Vision customer support. Contact information can typically be found on the product packaging, the official website, or your warranty documentation.
Online Resources: Visit the BOYO VISION Store on Amazon


