Introduction
This instruction manual provides detailed guidance for the assembly, operation, and maintenance of your Nirvana FUTONS Queen Size Tri-Fold Wood Futon Frame. Designed for versatility and space-saving, this frame offers multiple positions for sitting, lounging, and sleeping. Please read all instructions carefully before assembly and use to ensure safe and proper operation.

Image: The Nirvana FUTONS Queen Size Tri-Fold Wood Futon Frame shown in a lounger position, highlighting its natural wood finish and slatted design.
Setup and Assembly
The Nirvana FUTONS Queen Size Tri-Fold Wood Futon Frame requires assembly. All necessary hardware is included. A Phillips head screwdriver is required, and a rubber mallet or power drill with a Phillips head bit may be helpful for faster assembly.
Assembly Steps:
- Unpack and Identify Parts: Carefully unpack all components and lay them out. Refer to the included parts list to ensure all pieces are present.
- Attach Wheels to Seat Rails: Secure the wheels to each of the B-37-S Seat Rails using the H-34 3/4" wood screws.
- Insert Dowels: Push the wood dowels (H-11) all the way into the designated holes on the K-9-LL Lounger, K-15 Prop, K-24-L Lounger Rail, K-31-B Back Rail, and K-37-S Seat Rail.
- Assemble Prop Connector: Press the Prop Connector (K-29-P) onto the wood dowels of the K-15 Props and attach with (2) H-19 1-3/4" wood screws.
- Attach Back Rails to Prop Assembly: Attach the (2) K-31-B Back Rails to the outside of the Prop Assembly using (2) 2-1/4" Clevis Pins (H-8). Ensure the Prop Connector swings down so it goes below the Back Rails. Secure Clevis Pins with Hair Pins (H-5). Important: Make sure props are on the INSIDES of the bed rails.
- Attach Back Legs to Rails: Attach the Left Back Leg (K-10-BL) and Right Back Leg (K-10-BR) to the outside of the Back Rails using (2) 3-1/4" Clevis Pins (H-12). Do not use Hair Pins at this time. Ensure the cut-away part of the Back Legs faces in to support the Back Rails.
- Slide Seat Rails: Slide the K-37-S Seat Rails onto the 3-1/4" Clevis Pins and secure with Hair Pins (H-5). Then secure the Back Legs with Wood Screws (H-19). These screws are self-tapping and do not need pilot holes.
- Attach Lounger Legs to Lounger Rails: Push the Leg Connector (K-23-LC) onto the wood dowels on the Lounger Legs (K-9-LL) and attach with Wood Screws (H-19). Attach the Lounger Legs (K-9-LL) to the Lounger Rails using (2) 2-1/4" Clevis Pins (H-8) and secure with Hair Pins (H-5).
- Assemble Seat Deck: Using (3) Middle Slats (K-33-M), push the wood dowels into the edge holes on (2) Seat Slat Caps (K-20-S). Find the (2) Seat Slats (K-37-S) and push them onto the wood dowels on the Seat Slat Caps. The side labeled "SEAT" faces up.
- Assemble Back Deck: Using (3) Middle Slats (K-33-M), push the wood dowels into the edge holes on (2) Back Slat Caps (K-22-B). Find the (2) Back Slats (K-37-B) and push them onto the wood dowels on the Back Slat Caps. The side labeled "BACK" faces up.
- Assemble Lounger Deck: Use (1) Middle Slat (K-33-M) and push the wood dowels into the edge holes on (2) Lounger Slat Caps (K-11-L). Find the (2) Lounger Slats (K-37-L) and push them onto the wood dowels on the Lounger Slat Caps. The side labeled "LOUNGE" faces up.
- Attach Slat Decks to Rails: Push the Slat Decks down onto the Wood Dowels and attach with Wood Screws (H-19). The base may need to be shifted to get the dowels to align with the holes. Wood screws are self-tapping and do not need pilot holes.
Assembly Videos:
Video: Detailed assembly instructions for the KD Lounger frame, demonstrating each step of the construction process.
Video: Assembly guide for the Studio Bifold futon frame, providing visual steps for putting the frame together.
Operating the Futon Frame
The Tri-Fold Futon Frame is designed for easy conversion between multiple positions: bed, various lounging angles, and sofa. It features 13 adjustable positions to suit your comfort needs.
Converting Positions:
- Bed Position: To lay the futon flat into a bed, ensure all sections are fully extended and flat. The frame is designed to support a futon mattress for sleeping.
- Lounger Positions: The backrest can be tilted to various angles for lounging. Lift the back section and adjust the support pegs into the desired notches on the seat rail. There are multiple notches for different recline levels.
- Sofa Position: To convert to a sofa, lift the back section to its most upright position. The front section (footrest) can be swung underneath the seat to create a compact sofa.

Image: The futon frame fully extended in the bed position, ready for a mattress.
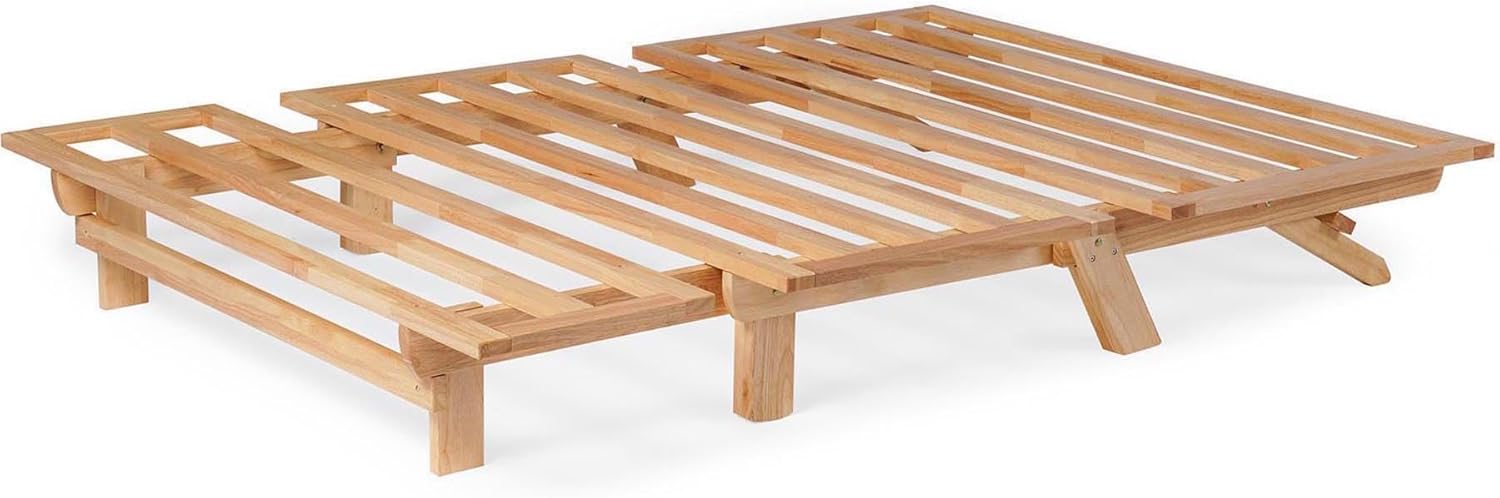
Image: The futon frame configured as a sofa, demonstrating its compact seating arrangement.
Maintenance
To ensure the longevity and appearance of your futon frame, follow these maintenance guidelines:
- Cleaning: Wipe the wood frame with a soft, damp cloth. Avoid harsh chemicals or abrasive cleaners that can damage the natural finish.
- Wood Care: The frame is expertly finished with a natural clear coat. To maintain its beauty, avoid prolonged exposure to direct sunlight or extreme humidity.
- Hardware Check: Periodically check all screws and pins to ensure they are tight. Tighten any loose hardware to maintain stability.
- Weight Limit: Do not exceed the maximum weight recommendation of 550 pounds.
- Mattress Care: Use with a flexible futon mattress designed for tri-fold frames. Consider a non-slip pad to prevent the mattress from sliding when adjusting positions.
Troubleshooting
If you encounter any issues during assembly or operation, consider the following:
- Difficulty with Assembly: Ensure all parts are correctly oriented as per the diagrams. Some users have noted that a power drill can assist with sinking screws into the hardwood. Double-check that dowels and pins are fully inserted.
- Frame Instability: Verify that all screws and pins are securely fastened. Ensure the frame is on a level surface.
- Mattress Sliding: If your futon mattress slides when the frame is in an angled position, consider placing a non-slip grip pad between the mattress and the frame.
- Difficulty Changing Positions: Ensure the mechanism is clear of obstructions. The frame should move smoothly between positions. If resistance is met, re-check the alignment of the moving parts.
Specifications
| Feature | Detail |
|---|---|
| Brand | Nirvana FUTONS |
| Model Number | SF20250630B01N919AVN |
| Size | Queen |
| Material | Wood (Dense solid hardwood) |
| Finish Type | Natural, Wood (Natural clear coat) |
| Product Dimensions | 10"D x 76"W x 56"H |
| Maximum Weight Recommendation | 550 Pounds |
| Reclining Position Count | 13 |
| Special Feature | Adjustable Positions, Heavy Duty Wood, Space Saving, Transform to Bed |
| Included Components | Frame Only (Mattress sold separately) |
Important Safety Information
- Exercise caution around sharp edges during assembly and use.
- Do not load more than 550 pounds onto the futon frame.
- Ensure all connections are secure before using the futon.
Warranty and Support
This Nirvana FUTONS product comes with an exclusive 5-year manufacturer's warranty. For any questions, assistance, or warranty claims, please contact customer support.
Customer Support: Refer to your purchase documentation or the manufacturer's website for contact details.


