1. Introduction
This manual provides detailed instructions for the installation, operation, and maintenance of your KICKER 43DXA2504 bundle, which includes the Harmony Audio HA-A400.4 4-Channel Car Stereo Amplifier and the HA-AK4 8 Gauge Amplifier Installation Kit, along with essential accessories. Please read this manual thoroughly before installation and use to ensure proper function and safety.
Package Contents:
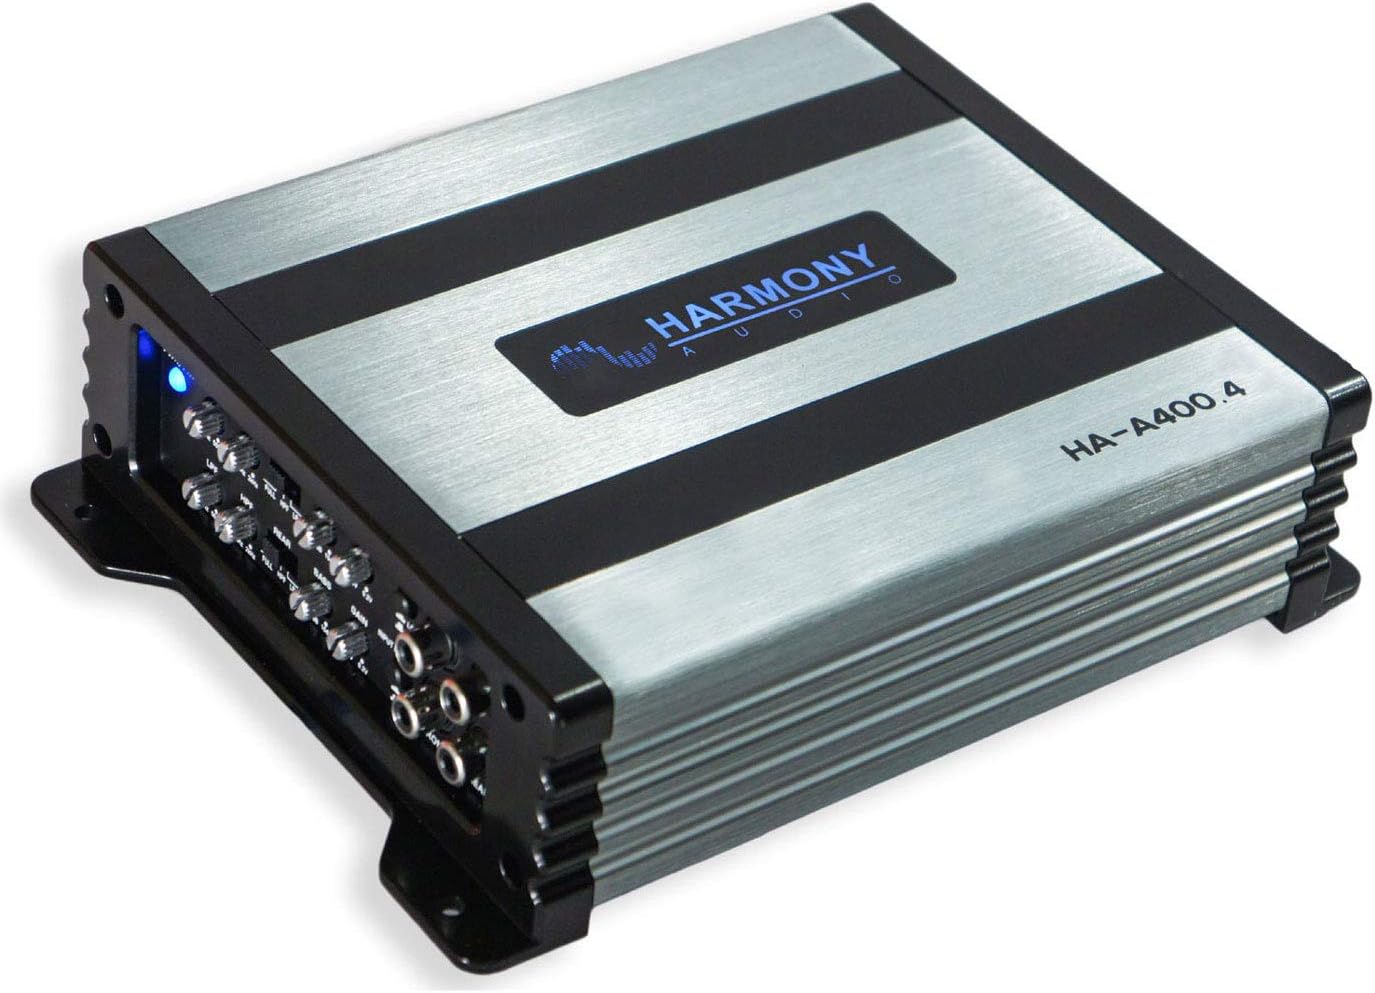
- 1 x Harmony Audio HA-A400.4 Car Stereo Alloy Amp (4 Channel, 800W Full Range Speaker or Sub Amplifier)
- 1 x Harmony Audio HA-AK4 Car Stereo Complete 4 Gauge 1800W Amp Amplifier Install Kit - Nickel
- 2 x Harmony Audio 46KISL Car Audio Amp Amplifier Speaker Wire to 2 Channel RCA Adapter
- 1 x Harmony Audio HA-RCA17 Car Audio 2 Channel Stereo 17 Foot Twisted Pair RCA Cable
- 1 x Harmony Audio HA-MIDI80 Car Stereo Fuseholder 3 Pack 80 Amp MIDI Fuses - Nickel
2. Setup and Installation
Proper installation is crucial for optimal performance and safety. If you are unsure about any part of the installation process, consult a professional car audio installer.
2.1 Safety Precautions
- Disconnect the vehicle's negative battery terminal before starting any electrical work.
- Ensure all wiring is properly insulated and secured to prevent shorts and damage.
- Mount the amplifier in a location that allows for adequate ventilation and is protected from moisture.
- Use appropriate gauge wiring as provided in the HA-AK4 kit.
2.2 Component Overview


2.3 Wiring Connections
- Power Wire (Red, 8 GA): Connect one end to the positive (+) terminal of your vehicle's battery. Install the 80 Amp MIDI fuse holder within 18 inches (45 cm) of the battery. Run the other end to the amplifier's +12V terminal.
- Ground Wire (Black, 8 GA): Connect one end to a clean, unpainted metal surface on the vehicle's chassis, ensuring a solid electrical connection. The ground point should be as short as possible, ideally less than 3 feet (1 meter). Connect the other end to the amplifier's GND terminal.
- Remote Turn-On Wire (Blue, 17 FT): Connect one end to the remote output of your head unit. Connect the other end to the amplifier's REM terminal. This wire turns the amplifier on and off with your head unit. The amplifier also supports DC Offset turn-on if your head unit does not have a remote output.
- RCA Input Cables (HA-RCA17): Connect the HA-RCA17 cable from the RCA outputs of your head unit to the RCA input jacks on the HA-A400.4 amplifier. If your head unit lacks RCA outputs, use the provided 46KISL Speaker Wire to RCA Adapters by connecting your head unit's speaker outputs to the adapter, then the adapter's RCA outputs to the amplifier's RCA inputs.
- Speaker Wires: Connect your speakers to the amplifier's speaker output terminals. Ensure correct polarity (+ to + and - to -) for each speaker. The HA-A400.4 is a 4-channel amplifier, allowing for connection of up to four speakers or two speakers in a bridged configuration. Refer to the amplifier's specific terminal markings for correct connections.
3. Operating Instructions
Once the amplifier is correctly installed and wired, you can begin operating your car audio system.
3.1 Initial Power-Up
- Reconnect the vehicle's negative battery terminal.
- Turn on your car's ignition and then your head unit. The amplifier should power on automatically via the remote turn-on wire or DC offset. A power indicator light on the amplifier will illuminate.
3.2 Adjusting Amplifier Settings
The HA-A400.4 amplifier features controls for optimizing sound output. These typically include:
- Gain Control: Adjust the gain to match the output voltage of your head unit. Start with the gain at its minimum setting and slowly increase it until you achieve clear, undistorted sound at your desired maximum volume level from the head unit. Avoid setting the gain too high, as this can cause distortion and damage to speakers.
- Crossover Settings (if applicable): Depending on the amplifier model, there may be controls for High-Pass Filter (HPF) and Low-Pass Filter (LPF). Adjust these to direct appropriate frequencies to your speakers or subwoofers. For full-range speakers, you might use a high-pass filter to protect them from low bass frequencies.
4. Maintenance
Regular maintenance helps ensure the longevity and performance of your amplifier and wiring kit.
- Cleaning: Periodically clean the amplifier's exterior with a soft, dry cloth. Ensure ventilation openings are free from dust and debris. Do not use harsh chemicals or abrasive cleaners.
- Connection Checks: Annually, or if you notice performance issues, check all wiring connections (power, ground, remote, RCA, speaker) to ensure they are secure and free from corrosion.
- Fuse Replacement: If the amplifier stops working, check the 80 Amp MIDI fuse in the fuse holder. If blown, replace it only with a fuse of the exact same rating (80 Amp MIDI). Never use a higher-rated fuse, as this can lead to electrical damage or fire.
5. Troubleshooting
If you encounter issues with your amplifier, refer to the following common problems and solutions:
| Problem | Possible Cause | Solution |
|---|---|---|
| Amplifier does not power on |
|
|
| No sound output |
|
|
| Distorted sound |
|
|
| Amplifier overheats |
|
|
6. Specifications
Harmony Audio HA-A400.4 Car Stereo Alloy Amplifier
- Channels: 4
- Power Handling (RMS @ 14.4V):
- 4 Ohm Stereo: 75 Watts x 4
- 4 Ohm Bridged: 200 Watts x 2
- 2 Ohm Stereo: 85 Watts x 4
- Power Handling (PEAK @ 14.4V):
- 4 Ohm Stereo: 150 Watts x 4
- 4 Ohm Bridged: 400 Watts x 2
- 2 Ohm Stereo: 170 Watts x 4
- Frequency Response: 10Hz-30kHz
- Signal to Noise Ratio: 95dB (A-weighted)
- Input Turn On: DC Offset or 12V Remote
- Maximum Supply Voltage: 14.4 Volts (DC)
- Minimum Supply Voltage: 14.4 Volts (DC)
- Mounting Type: Freestanding
- Item Dimensions (L x W x H): Approximately 17 x 11 x 11 inches (for the bundle)
Harmony Audio HA-AK4 8 Gauge Amplifier Installation Kit
- Power Cable: 17FT Flexible Matte Gray & Black RCA Cable (Note: This seems to be a typo in the source description, likely referring to power/ground cables)
- Remote Wire: 17FT Flexible Matte Blue
- Fuse Holder: ANL Fuse Holder
- Fuse: 150 Amp ANL Fuse (Note: The bundle includes 80 Amp MIDI fuses, use those with the MIDI fuse holder)
- Ring Terminals: (2) 4GA Blue & Black 5/16"
- Spade Terminals: (2) 4GA Blue & Black, (5) 16GA Blue & Black
- Split Loom: 6FT
Harmony Audio 46KISL Speaker Wire to 2 Channel RCA Adapter
- Cable Length: 2 Ft. (0.6m)
- Channels: 2-Channel
- Wire Gauge: 16 Gauge speaker wire to RCAs
- Features: Split-pin RCAs with silver-tinned and OFC wire, includes female to female adapters
Harmony Audio HA-RCA17 2 Channel Stereo RCA Cable
- Cable Length: 17 Foot
- Channels: 2 Channel
- Type: Twisted Pair RCA Cable
Harmony Audio HA-MIDI80 Fuseholder & Fuses
- Fuse Type: MIDI
- Fuse Rating: 80 Amp
- Quantity: 3 Fuses
- Finish: Nickel Plated
7. Warranty Information
This KICKER bundle is covered by a manufacturer's warranty. Specific warranty terms and duration may vary. Please retain your proof of purchase for warranty claims. For detailed warranty information, refer to the official KICKER website or contact their customer support.
8. Customer Support
For technical assistance, troubleshooting beyond this manual, or warranty inquiries, please contact KICKER customer support through their official website or the contact information provided with your purchase. When contacting support, please have your product model number (KICKER17-AMP-PACK15) and proof of purchase readily available.
KICKER Official Website: www.kicker.com