
stage_front_savannah/purchase-07476
User Manual: UNIMUX-4X8-U 4x8 USB Matrix KVM Switch
Model: UNIMUX-4X8-U (stage_front_savannah/purchase-07476)
Introduction
This manual provides comprehensive instructions for the setup, operation, and maintenance of the UNIMUX-4X8-U 4x8 USB Matrix KVM Switch. This device allows multiple users to control multiple computers from a single set of keyboard, video, and mouse (KVM) peripherals. It is designed for efficient management of server rooms, data centers, or any environment requiring centralized control of multiple systems.
Setup Instructions
1. Unpacking and Inspection
Carefully remove the KVM switch from its packaging. Inspect the unit for any signs of damage during transit. Ensure all components listed in the packing slip are present.
2. Physical Placement
Place the KVM switch on a stable, flat surface or mount it in a standard 19-inch rack using appropriate rack-mount kits (sold separately). Ensure adequate ventilation around the unit to prevent overheating.
3. Connecting Peripherals (Console Ports)
Connect your USB keyboard, USB mouse, and monitor to the designated console ports on the front or rear panel of the KVM switch. Refer to the image below for port identification.

Figure 1: Front Panel of UNIMUX-4X8-U KVM Switch. This image displays the front of the KVM switch, featuring a display screen, an array of control buttons, and various status indicator lights. These elements are used for direct interaction and monitoring of the switch's status.
4. Connecting Computers (CPU Ports)
Connect each computer's USB and video output to the corresponding CPU ports on the KVM switch using appropriate KVM cables (not included). The UNIMUX-4X8-U supports up to 8 computers. Ensure each connection is secure.
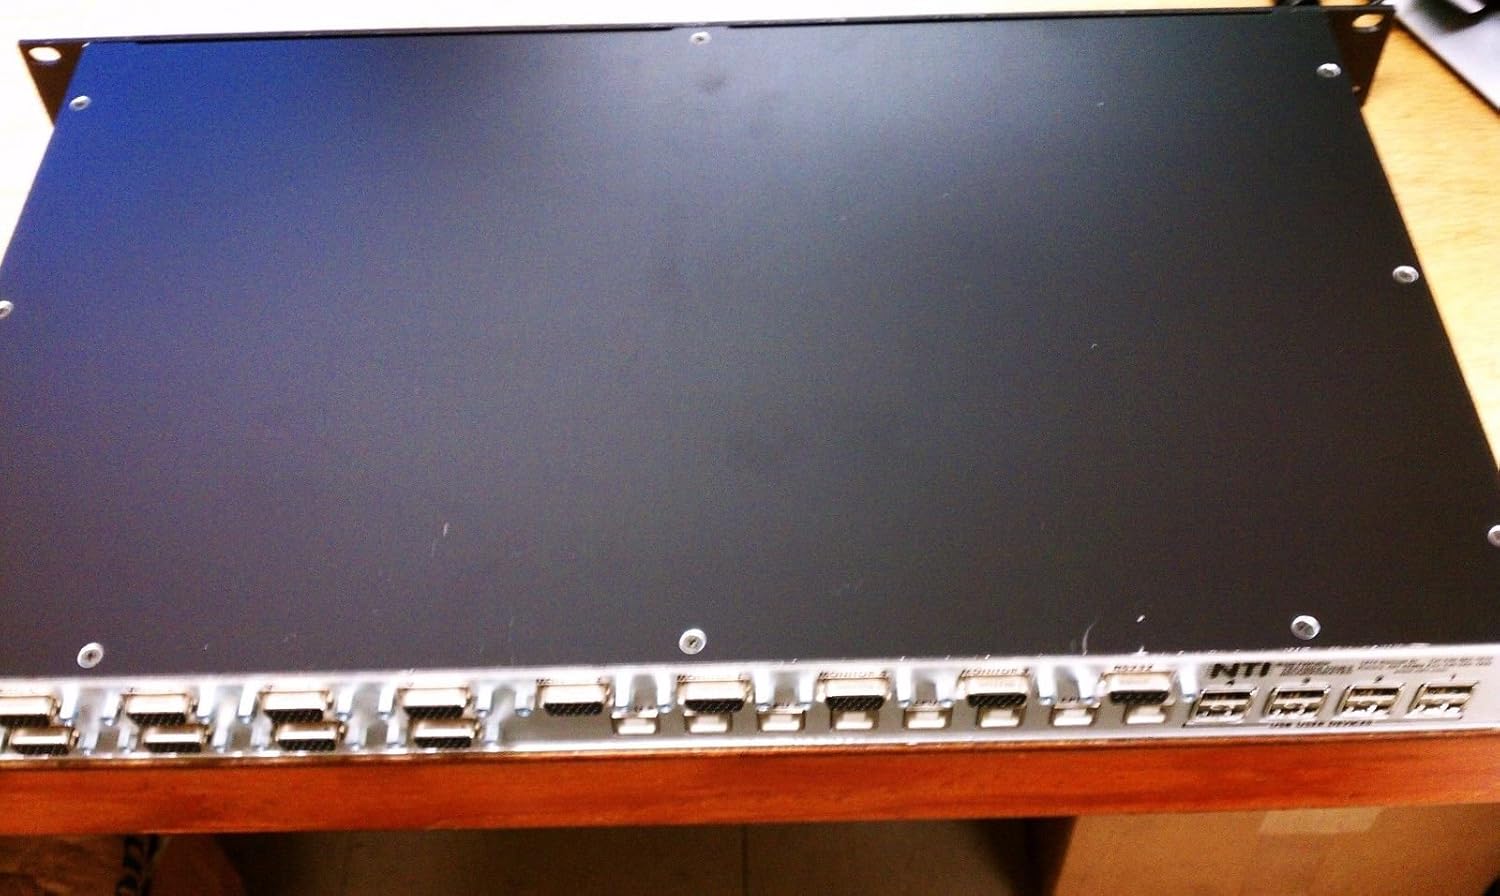
Figure 2: Rear Panel of UNIMUX-4X8-U KVM Switch. This image shows the rear of the KVM switch, which is equipped with multiple rows of USB and video input ports. These ports are used to connect the various computers that will be managed by the KVM switch.
5. Power Connection
Connect the provided power adapter to the KVM switch's power input port, then plug the adapter into a grounded electrical outlet. The power LED on the front panel should illuminate.
Operating Instructions
1. Switching Between Computers
The UNIMUX-4X8-U offers several methods for switching between connected computers:
- Front Panel Buttons: Press the corresponding numbered button on the front panel to select the desired computer.
- Hotkeys: Use specific keyboard hotkey combinations (e.g., Scroll Lock + Scroll Lock + [Port Number]) to switch. Refer to the full product manual for a complete list of hotkey commands.
- OSD (On-Screen Display): Access the OSD menu by pressing a designated hotkey (e.g., Scroll Lock + Scroll Lock + F12) to navigate and select computers via a graphical interface on your monitor.
2. LED Indicators
The front panel features various LED indicators that provide status information:
- Power LED: Indicates the unit is powered on.
- Port LEDs: Illuminate to show which computer port is currently active.
- Link LEDs: Indicate a successful connection to a computer.
Maintenance
1. Cleaning
To maintain optimal performance, periodically clean the exterior of the KVM switch with a soft, dry cloth. Do not use liquid cleaners or aerosol sprays directly on the unit. Ensure the unit is powered off before cleaning.
2. Environmental Considerations
Keep the KVM switch in a cool, dry environment, away from direct sunlight, excessive heat, and moisture. Avoid placing it near strong electromagnetic fields.
3. Firmware Updates
Check the manufacturer's website periodically for firmware updates. Firmware updates can improve performance, add new features, or resolve known issues. Follow the instructions provided with the firmware update package carefully.
Troubleshooting
Common Issues and Solutions:
- No Video Display:
- Ensure all video cables are securely connected to both the KVM switch and the computers/monitor.
- Verify the monitor is powered on and set to the correct input source.
- Try restarting the KVM switch and the connected computer.
- Keyboard/Mouse Not Responding:
- Check USB cable connections from the keyboard/mouse to the KVM switch, and from the KVM switch to the computer.
- Ensure the keyboard and mouse are standard USB devices. Some specialized gaming or wireless peripherals may require specific drivers or direct connection.
- Try connecting the keyboard/mouse directly to the computer to confirm they are functional.
- Unable to Switch Computers:
- Confirm the KVM switch is powered on.
- Ensure the hotkey sequence is being entered correctly and within the specified time frame.
- If using front panel buttons, ensure they are not stuck and respond to presses.
- Intermittent Connectivity:
- Check for loose cable connections.
- Ensure the KVM switch is not experiencing power fluctuations.
- Consider using higher quality KVM cables, especially for longer distances.
Specifications
| Feature | Detail |
|---|---|
| Model Number | stage_front_savannah/purchase-07476 |
| ASIN | B01N7RBZWV |
| Manufacturer | stage_front_savannah |
| Date First Available | October 8, 2019 |
| Product Type | 4x8 USB Matrix KVM Switch |
| Connectivity | USB, Video (specific type not detailed in input) |
Warranty Information
Specific warranty details for this product are not provided in the available information. Please refer to the original purchase documentation or contact the seller/manufacturer directly for warranty terms and conditions.
Technical Support
For technical assistance or further inquiries regarding the UNIMUX-4X8-U KVM Switch, please contact the manufacturer or your point of purchase. Contact information is typically available on the manufacturer's official website or through your reseller.
Ask a question about this manual
Ask about setup, troubleshooting, compatibility, parts, safety, or missing instructions. Manuals+ will review the question and use this page’s manual context to help answer it.