Introduction
Thank you for choosing the XtremepowerUS Deluxe Recumbent Fitness Exercise Bike. This manual provides essential information for the safe assembly, operation, and maintenance of your exercise bike. Please read it thoroughly before initial use and retain it for future reference.
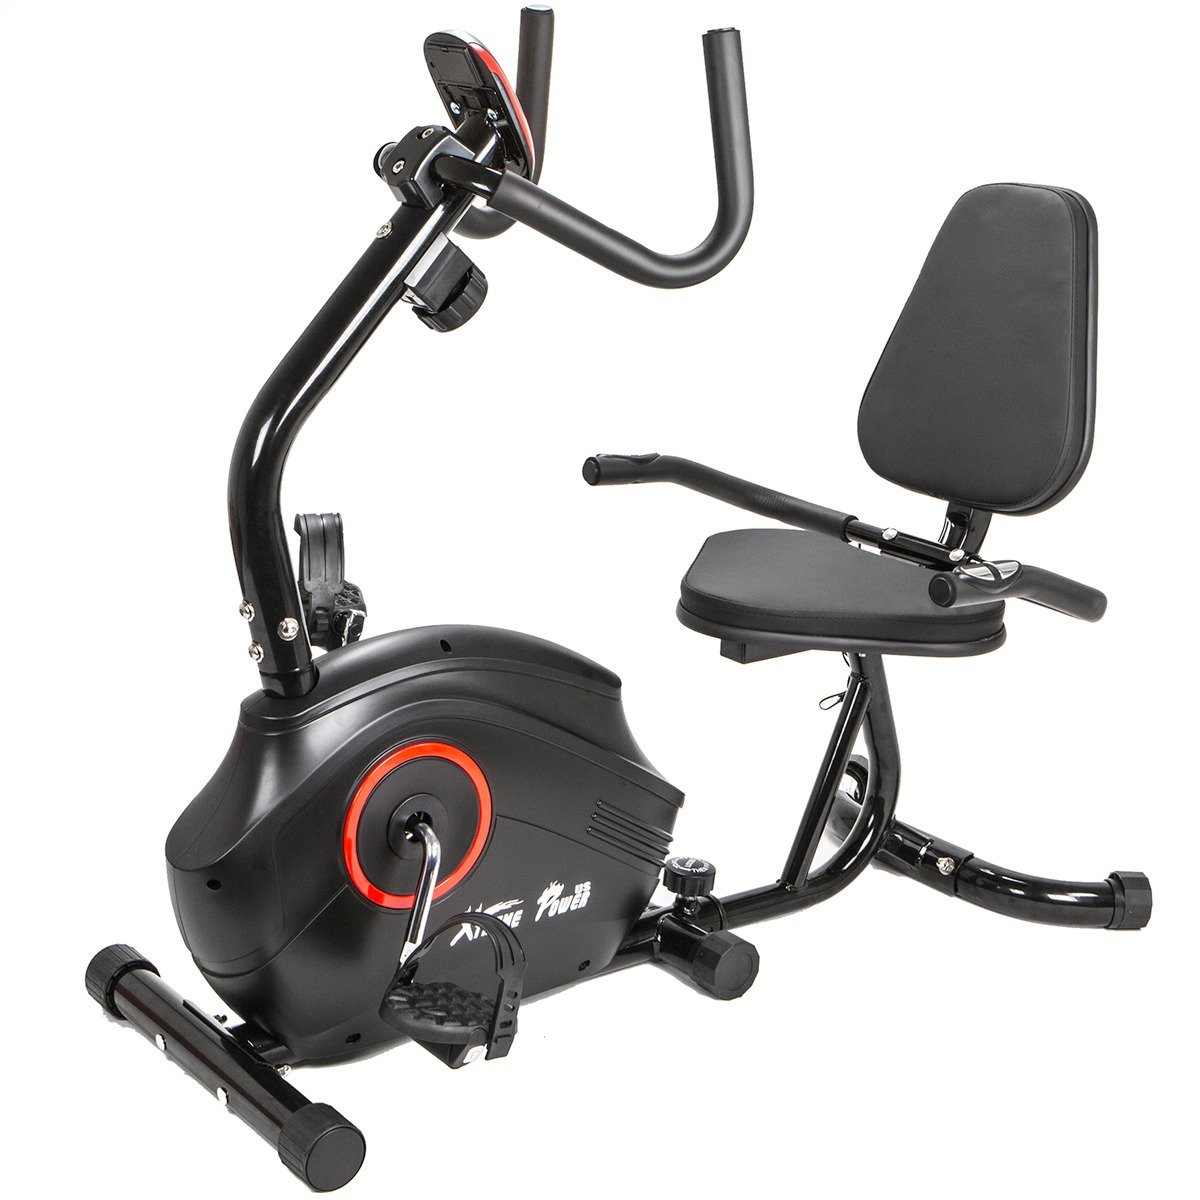
Image: The XtremepowerUS Deluxe Recumbent Fitness Exercise Bike, fully assembled.
Safety Information
Before using this equipment, please observe the following safety precautions:
- Consult your physician before starting any exercise program.
- Ensure all parts are securely assembled before each use.
- Keep children and pets away from the equipment during operation.
- Place the bike on a flat, stable surface with adequate clearance around it.
- Do not exceed the maximum user weight of 200 lbs (90.7 kg).
- Wear appropriate exercise attire and footwear.
- Stop exercising immediately if you feel faint, dizzy, or experience pain.
- This product is intended for indoor use only.
Package Contents
Verify that all components are present before beginning assembly. If any parts are missing or damaged, contact customer support.
- Magnetic Recumbent Bike (main frame components)
- Seat and Backrest
- Pedals
- Handlebars with Pulse Grips
- Stabilizers (front and rear)
- Resistance Adjustment Knob
- Hardware Kit (bolts, washers, nuts, tools)
- User Manual
Assembly Instructions
Assembly requires careful attention to detail. It is recommended to have two people for certain steps. Lay out all parts on a clear, flat surface before starting.
- Attach Stabilizers: Secure the front and rear stabilizers to the main frame using the provided bolts and washers. Ensure they are firmly tightened to provide a stable base.
- Install Pedals: Attach the left and right pedals to the crank arms. Note that pedals are often marked 'L' for left and 'R' for right, and the left pedal typically tightens counter-clockwise.
- Assemble Seat and Backrest: Mount the seat and backrest onto the seat post and frame. Ensure the adjustable lever mechanism is correctly installed for proper seat positioning.
- Attach Handlebars: Secure the handlebars to the front post. Connect any pulse grip wires if applicable.
- Connect Resistance Cable: Carefully connect the resistance adjustment cable to the main resistance mechanism. This step can be intricate; ensure the cable is not kinked and allows for smooth adjustment.
- Final Checks: Review all connections and ensure all bolts are tightened. Test the resistance mechanism and seat adjustment.

Image: An exploded view or components of the exercise bike, illustrating parts before assembly.

Image: Detail of the adjustable seat and backrest, highlighting the ergonomic design.
Operating Instructions
Using your recumbent bike effectively:
- Mounting the Bike: Carefully sit on the seat, placing your feet on the pedals.
- Adjusting Resistance: Use the resistance adjustment knob, typically located near the handlebars or under the console, to select one of the 8 magnetic resistance levels. Turn clockwise for higher resistance, counter-clockwise for lower.
- Starting Your Workout: Begin pedaling at a comfortable pace.
- Monitoring Heart Rate: Grip the pulse sensors on the handlebars to display your heart rate on the monitor. Maintain a steady grip for accurate readings.
- Using the Monitor: The integrated monitor displays workout data such as time, distance, speed, calories burned, and pulse. Refer to the separate monitor manual (if provided) for detailed instructions on its functions.

Image: A user demonstrating the pulse grip feature on the handlebars.
Adjustments
Proper adjustment ensures comfort and effectiveness during your workout.
- Seat Adjustment: The padded seat features an adjustable lever. To adjust, dismount the bike, locate the lever beneath the seat, pull it to release, and slide the seat forward or backward to your desired position. Ensure your knees have a slight bend at the furthest pedal extension. Release the lever to lock the seat in place.
- Resistance Adjustment: The bike offers 8 levels of magnetic resistance. Turn the resistance knob clockwise to increase the workout intensity and counter-clockwise to decrease it.

Image: Close-up of the seat adjustment lever and rail system.
Maintenance
Regular maintenance helps prolong the life of your exercise bike.
- Cleaning: Wipe down the bike with a damp cloth after each use to remove sweat and dust. Avoid abrasive cleaners.
- Inspecting Connections: Periodically check all bolts, nuts, and connections to ensure they are tight. Tighten any loose fasteners.
- Lubrication: The magnetic resistance system is generally maintenance-free. However, if you notice any squeaking from moving parts (e.g., seat rail), apply a small amount of silicone-based lubricant.
- Storage: Store the bike in a dry, cool place away from direct sunlight and extreme temperatures. The front-mounted transport wheels allow for easy relocation.
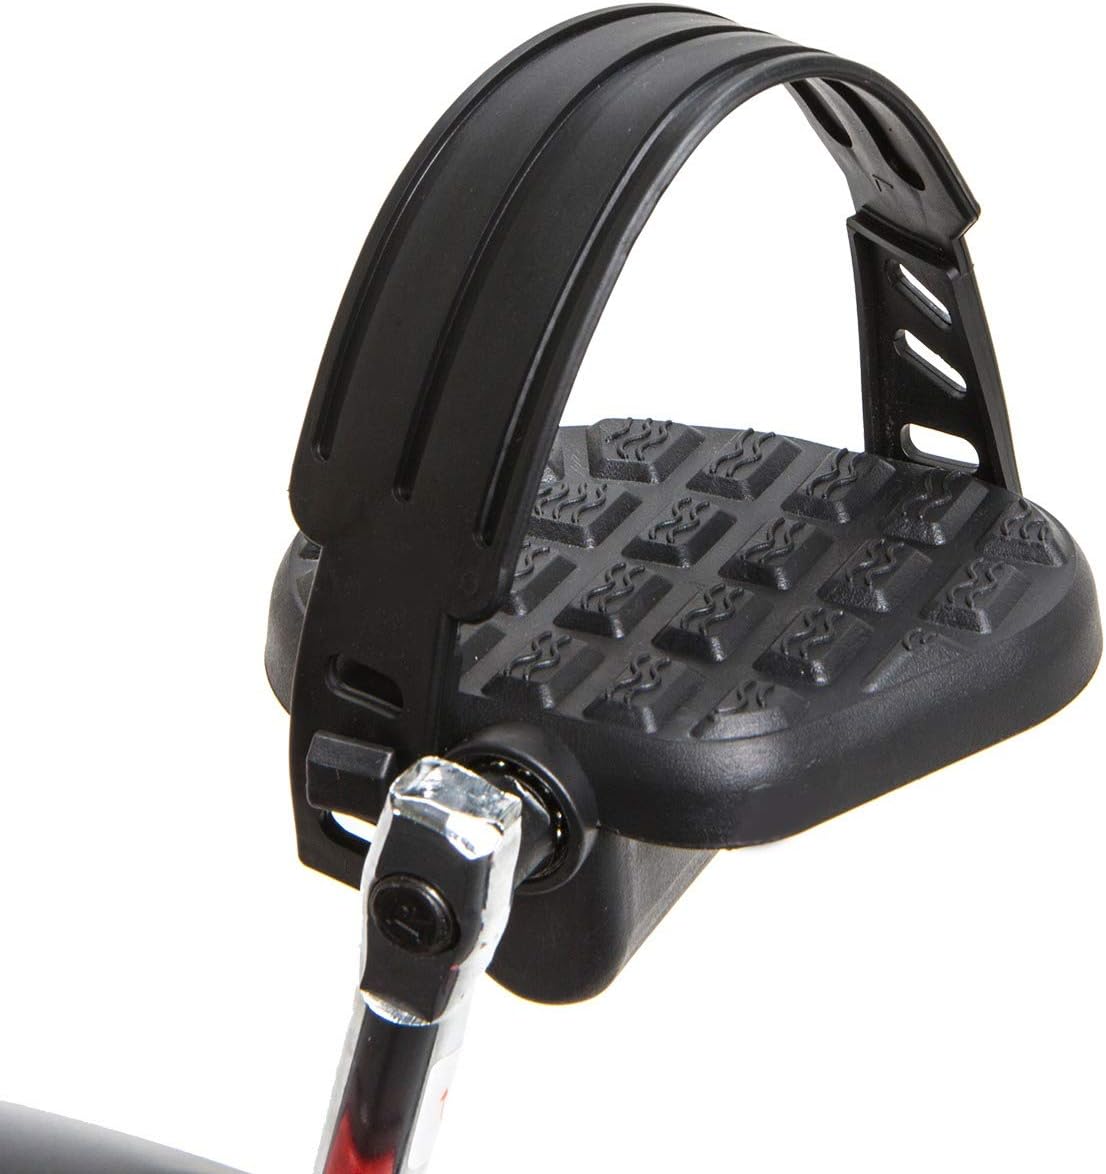
Image: Detail of the transport wheels for easy movement of the bike.
Troubleshooting
| Problem | Possible Cause | Solution |
|---|---|---|
| Bike is unstable or wobbly. | Loose assembly bolts; uneven floor surface. | Ensure all assembly bolts are securely tightened. Place the bike on a level surface. Adjust floor levelers on stabilizers if present. |
| Resistance not changing or feels inconsistent. | Resistance cable improperly connected or damaged; internal mechanism issue. | Check the connection of the resistance cable. Ensure it is not kinked or obstructed. If the issue persists, contact customer support. |
| Pulse monitor not displaying heart rate. | Hands not firmly gripping sensors; dry hands; sensor malfunction. | Ensure both hands are firmly and completely gripping the metal pulse sensors. Lightly moisten hands if they are too dry. If the problem continues, contact customer support. |
| Squeaking or grinding noises during use. | Loose parts; lack of lubrication on moving components. | Inspect all connections and tighten any loose bolts. Apply silicone lubricant to any moving parts that appear to be rubbing. |
Specifications
- Brand: XtremepowerUS
- Model Name: 96127-XP
- Resistance Mechanism: Magnetic
- Number of Resistance Levels: 8
- Maximum Weight Recommendation: 200 Pounds (90.7 kg)
- Item Weight: 50 Pounds (22.7 kg)
- Color: Black
- Special Features: Adjustable Seat, Pulse Grip, Transport Wheels
- Recommended Uses: Indoor
- Power Source: Magnetic Manual
- Material: Mixed
Warranty and Support
This XtremepowerUS product is covered by a 90-day warranty from the date of purchase. This warranty covers manufacturing defects in materials and workmanship under normal use.
For warranty claims, technical assistance, or to order replacement parts, please contact XtremepowerUS customer support. Please have your model number (96127-XP) and proof of purchase available when contacting support.
Manufacturer: XtremepowerUS


