1. Introduction
This manual provides essential instructions for the installation, operation, and maintenance of your SANSCO 8-channel 5-in-1 HD 1080P Home Security DVR Recorder. This DVR is designed to provide reliable surveillance for your home or business, supporting multiple camera technologies and offering remote access capabilities. Please read this manual thoroughly before using the device to ensure proper setup and functionality.
2. Product Overview and Features
The SANSCO 8CH 5-in-1 HD 1080P DVR is a versatile digital video recorder offering advanced surveillance features:
- High Definition Recording: Records video in clear 1080p HD resolution across all 8 channels.
- 5-in-1 Compatibility: Supports various camera technologies, ensuring broad compatibility.
- Efficient Compression: Utilizes H.264 compression to maximize hard drive recording time and facilitate quick video transfer for remote viewing.
- Remote Access: View live and recorded footage from anywhere using compatible mobile apps (iPhone, iPad, Android) or Internet Explorer on a PC.
- Video and Audio Inputs/Outputs: Features 8 video input channels, HDMI/VGA video outputs, 4 audio input channels, and 1 audio output channel.
- Multi-Mode Operation: Supports simultaneous recording, playback, and internet access.
- Motion Detection: Configurable motion detection zones trigger recording and instant email alerts.
3. Package Contents
Verify that all items are present in the package:
- 1x SANSCO 8-channel 1080p Standalone DVR (Hard Drive NOT included)
- 1x Power Adapter
- 1x Quick Setup Guide
- 1x USB Mouse

Figure 3.1: Included items: DVR unit, USB mouse, and power adapter.
4. Setup Guide
4.1 Hard Drive Installation (Required for Recording)
An internal hard disk drive (HDD) is not included with this DVR. It is required for recording and playback of surveillance footage. Refer to the Quick Setup Guide for detailed instructions on how to install a compatible SATA hard drive into the DVR unit.
4.2 Connection Diagram
Follow the diagram below to connect your cameras, monitor, network, and power to the DVR.

Figure 4.1: Rear panel connection ports for the DVR.
4.3 Basic Connection Steps
For a simple setup, follow these steps:
- Connect your surveillance cameras to the DVR's video input ports (BNC connectors).
- Connect a monitor (TV or PC monitor) to the DVR's HDMI or VGA output port.
- Connect the DVR to your network router using an Ethernet cable for remote access.
- Connect the USB mouse to a USB port on the DVR.
- Connect the power adapter to the DVR and then to a power outlet.

Figure 4.2: Simple connection overview for the DVR system.
5. Operating Instructions
5.1 Live View
Once powered on and connected to a monitor, the DVR will display the live feeds from connected cameras. Use the USB mouse to navigate the on-screen menu for various viewing options, such as single-camera view, multi-camera grid view, and digital zoom.
5.2 Remote Access
To access your DVR remotely via smartphone, tablet, or PC:
- Download the App: Search for the recommended surveillance app (e.g., Xmeye) on your device's app store (iOS or Android).
- QR Code Scan: Use the app to scan the QR code displayed on your DVR's monitor (usually found in the network settings) to quickly add your device.
- PC Access: For PC viewing, you may need to install a compatible client software or use a browser plugin. Some users utilize Android emulators like BlueStacks to run the mobile app on a PC.

Figure 5.1: Remote access options for viewing live feeds.
5.3 Motion Detection and Alerts
Configure motion detection settings through the DVR's menu. You can define specific areas within the camera's view to trigger recording and send instant email alerts when motion is detected. This feature helps conserve storage space and notifies you of important events.
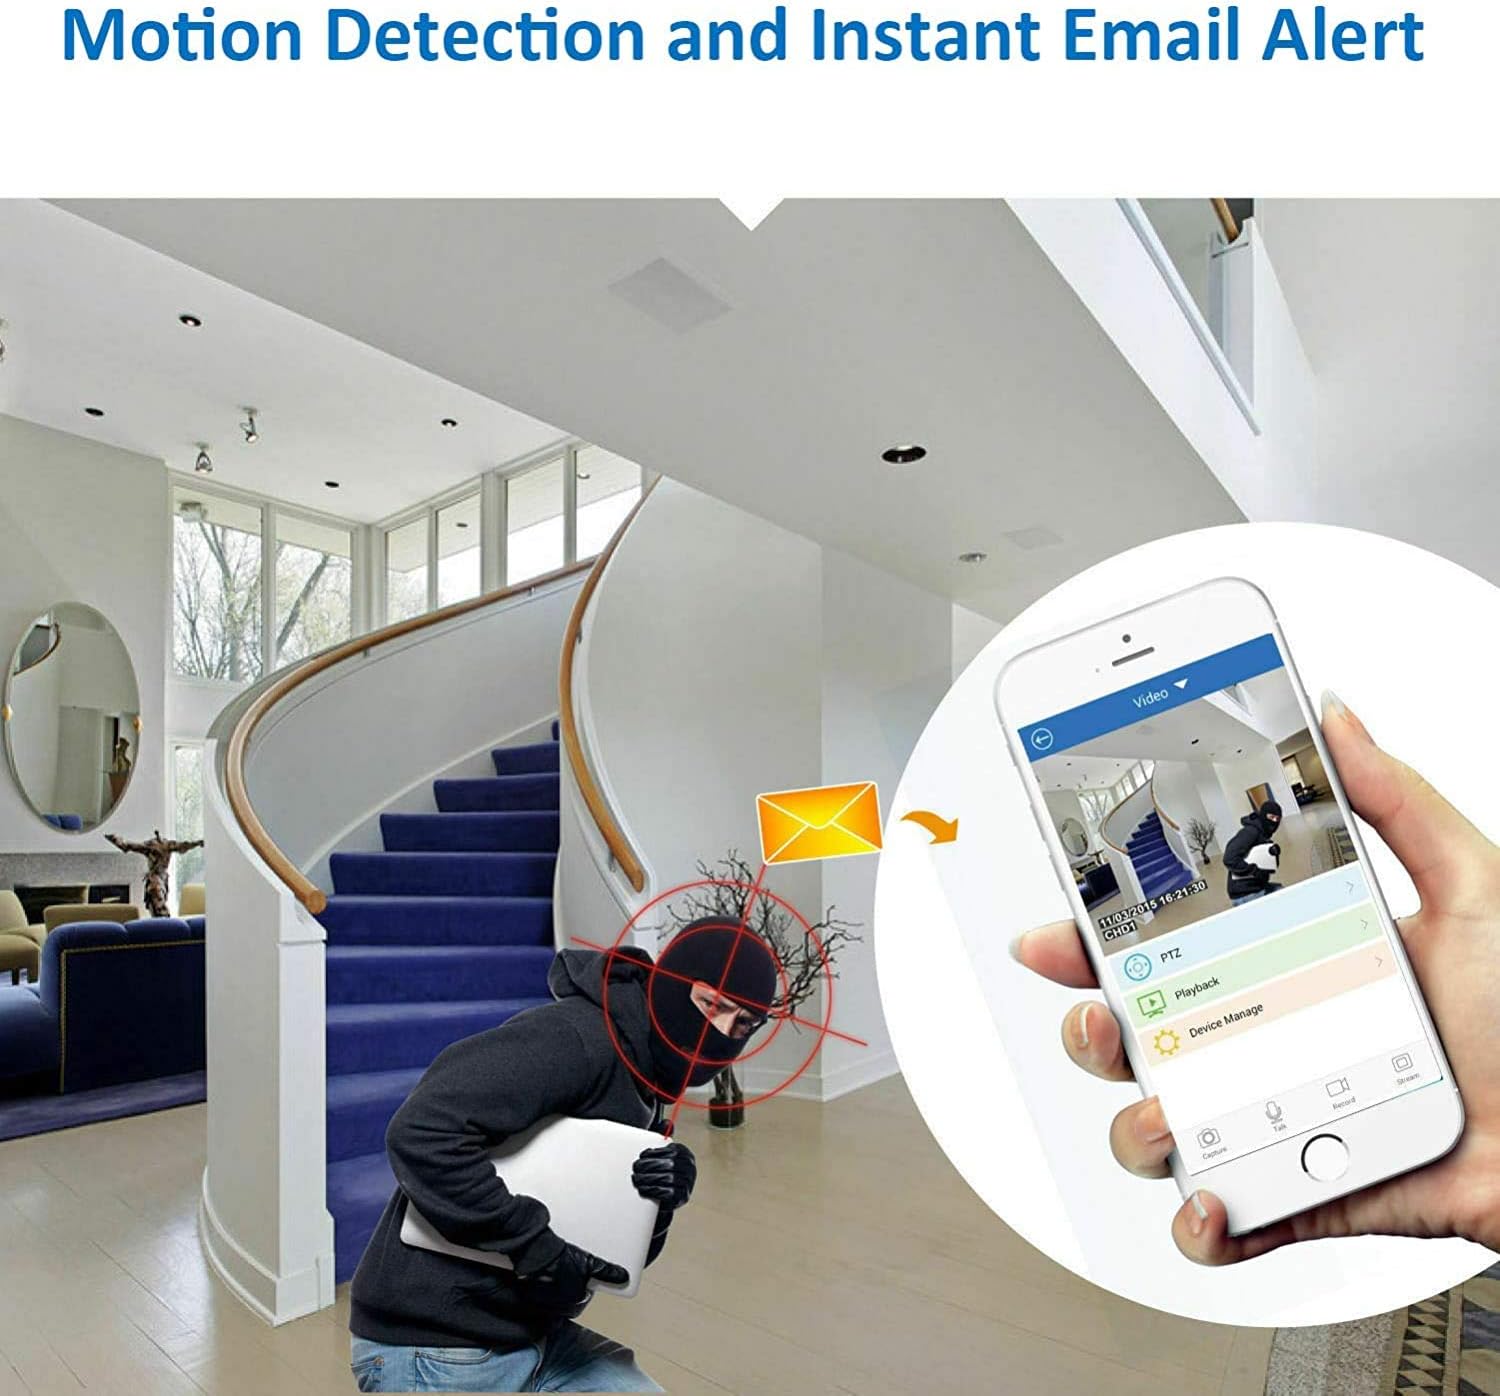
Figure 5.2: Motion detection triggering an instant email alert.
5.4 Recording
The DVR supports continuous 24/7 recording, scheduled recording, and motion-activated recording. Ensure a hard drive is properly installed and formatted for recording functionality. Recorded footage can be played back directly on the DVR or accessed remotely via the app.
6. Maintenance
- Hard Drive Management: Regularly check the hard drive status. Format the hard drive periodically if needed, understanding that formatting will erase all recorded data.
- Ventilation: Ensure the DVR unit has adequate ventilation. Avoid placing it in enclosed spaces or stacking other equipment on top of it, as it can generate heat during operation.
- Password Security: For security, change all default passwords (e.g., for admin and guest accounts) immediately after initial setup. Use strong, unique passwords.
- Firmware Updates: Periodically check the SANSCO official website for any available firmware updates to ensure optimal performance and security.
7. Troubleshooting
- No Recording/Playback: Verify that a hard drive is installed, properly connected, and formatted. Check recording schedules and motion detection settings.
- No Video Output: Ensure the monitor is correctly connected to the HDMI or VGA port and is set to the correct input source. Check power to the DVR and monitor.
- Remote Access Issues: Confirm the DVR is connected to the internet via an Ethernet cable. Check network settings on the DVR and ensure your mobile device has an active internet connection. Verify app settings and device ID.
- DVR Runs Hot: Ensure the DVR is placed in a well-ventilated area with sufficient space around it to dissipate heat. Avoid direct sunlight or heat sources.
- Forgotten Password: Refer to the Quick Setup Guide or contact SANSCO support for password reset procedures.
8. Specifications
| Feature | Specification |
|---|---|
| Brand | SANSCO |
| Model Number | 4CH-FBA |
| Number of Channels | 8 (Video Input) |
| Video Capture Resolution | 1080p |
| Connectivity Technology | Ethernet, HDMI, USB, VGA |
| Special Feature | Motion Sensor |
| Memory Storage Capacity | 8 GB (Internal System Memory) |
| Power Source | DC Power Adapter |
| Compatible Devices | Cameras |
| Signal Format | Digital |
| Night Vision | Supported (with compatible cameras) |
| Video Input | BNC, HDMI, USB, VGA |
| Item Weight | 3.31 Pounds |
| Item Dimensions (L x W x H) | 13.78 x 12.6 x 5.12 inches |
9. Warranty and Support
For warranty information, please refer to the documentation included with your purchase or contact your retailer. For technical support, consult the Quick Setup Guide or visit the official SANSCO website for resources and contact options.