
Introduction
The GBS elettronica Jolly Open 4 is a universal fixed-code learning remote control designed to duplicate and replace various gate and garage door remote controls. It operates on a 433 MHz frequency and can memorize up to four different fixed codes, allowing it to control multiple devices. Its compact design includes a sliding cover to prevent accidental button presses.
Product Overview
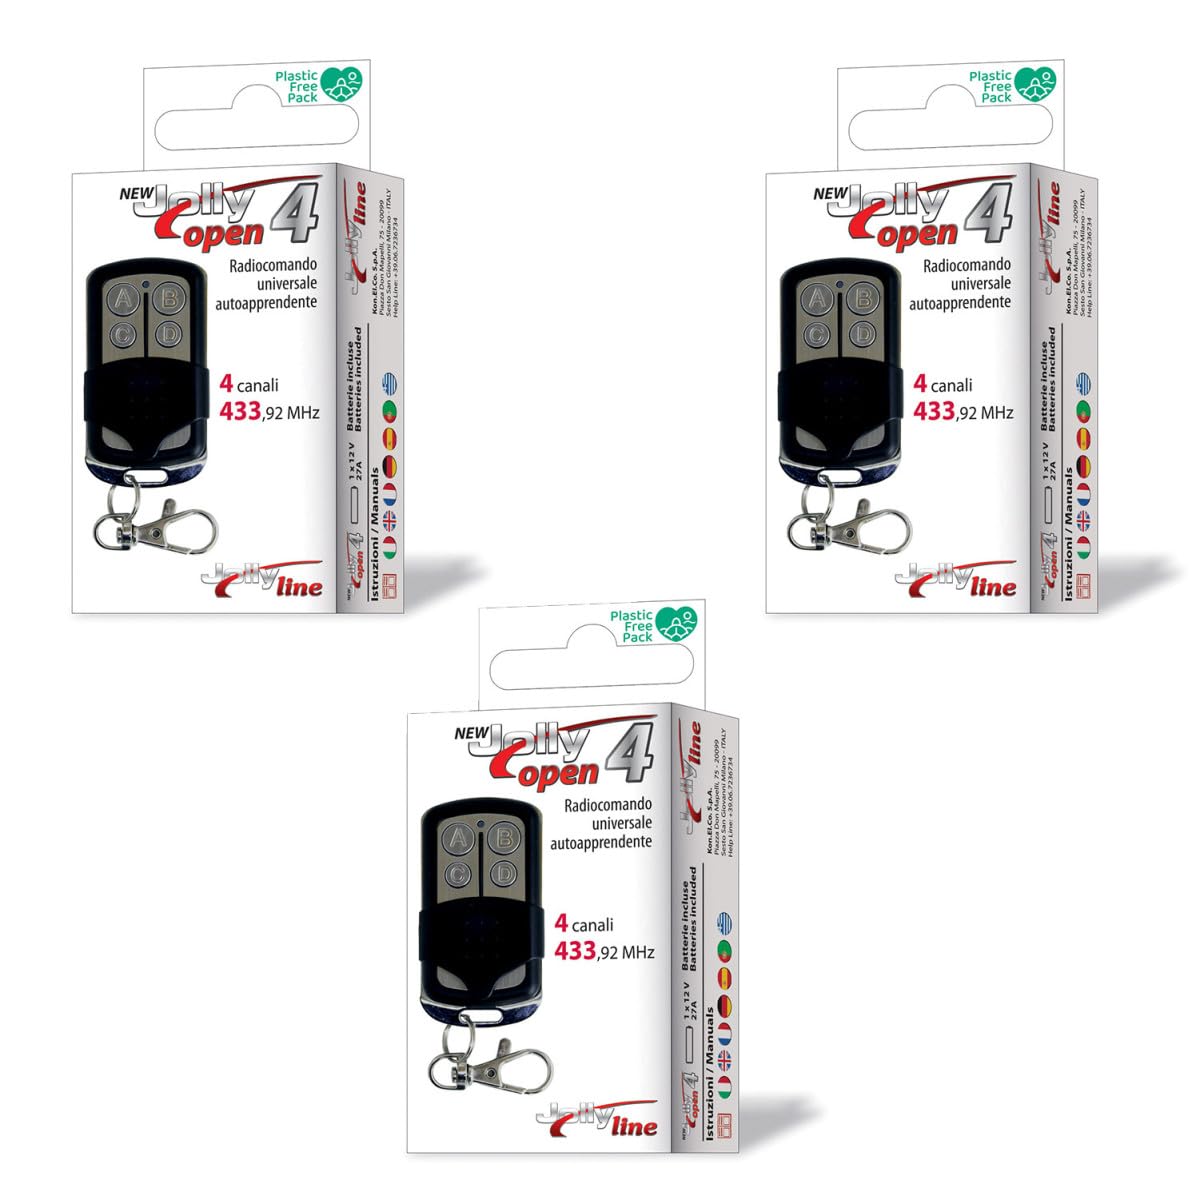
Figure 1: GBS elettronica Jolly Open 4 Remote Control. This image shows the GBS elettronica Jolly Open 4 remote control. It features a black body with a silver-colored base and four gray buttons labeled A, B, C, and D. A sliding cover protects the buttons. A metal keyring and clip are attached to the remote for portability.
The Jolly Open 4 remote control features four programmable buttons (A, B, C, D) and a protective sliding cover. It is designed for ease of use and portability, with an integrated keyring attachment.
- Four Programmable Buttons: Allows control of up to four different devices or functions.
- Sliding Key Cover: Protects buttons from accidental activation.
- Compact Design: Easy to carry and store.
- Fixed Code Learning: Capable of duplicating most 433 MHz fixed-code remote controls.
Important Compatibility Information
This remote control is designed for fixed-code systems only operating at 433 MHz. It is not compatible with rolling code (also known as "code hopping") systems. To verify compatibility with your existing remote, check if your original remote control has a strip of micro-switches (DIP switches) with ON/OFF positions. Fixed-code remotes typically feature these switches.
The Jolly Open 4 is also not compatible with frequencies outside of the 433 MHz range, such as 27 MHz, 31 MHz, 33 MHz, 49 MHz, 224 MHz, or others.
Setup and Programming
Follow these steps to program your GBS elettronica Jolly Open 4 remote control:
- Clear Existing Codes (First Use or Reset):
- Press and hold buttons A and B simultaneously on the Jolly Open 4 until the LED indicator flashes rapidly (approximately 3 seconds).
- Release both buttons. The LED will flash slowly, indicating that all memorized codes have been cleared.
- Enter Learning Mode:
- Place your original remote control and the Jolly Open 4 side-by-side, as close as possible.
- Press and hold the button on the Jolly Open 4 that you wish to program (e.g., button A). The LED will flash slowly.
- Copy Code from Original Remote:
- While still holding the button on the Jolly Open 4, press and hold the corresponding button on your original remote control.
- Keep both buttons pressed until the LED on the Jolly Open 4 flashes rapidly and continuously. This indicates successful code learning.
- Release both buttons.
- Program Additional Buttons:
- Repeat steps 2 and 3 for any other buttons (B, C, D) you wish to program with different original remote controls or functions.
- Test the Remote:
- After programming, test the Jolly Open 4 remote control by pressing the programmed buttons near your gate or garage door receiver to ensure it operates correctly.
Note: If the LED does not flash rapidly and continuously during step 3, try repositioning the remotes or ensuring the original remote's battery is strong. Some remotes may require a slightly different distance or angle for successful learning.
Operating Instructions
Once programmed, operating the Jolly Open 4 remote control is straightforward:
- Activate Device: Press the programmed button (A, B, C, or D) corresponding to the gate or garage door you wish to operate.
- Sliding Cover: Slide the protective cover down to access the buttons, and slide it back up when not in use to prevent accidental presses.
Maintenance
Battery Replacement
The Jolly Open 4 uses a Lithium battery. When the remote's range decreases or the LED indicator becomes dim, it is time to replace the battery.
- Locate the battery compartment on the back or side of the remote control.
- Carefully open the compartment using a small screwdriver or coin if necessary.
- Remove the old Lithium battery.
- Insert a new Lithium battery of the same type, ensuring correct polarity (+/-).
- Close the battery compartment securely.
Note: The Jolly Open 4 is designed to retain memorized codes even during battery replacement, so re-programming should not be necessary after changing the battery.
Cleaning
Wipe the remote control with a soft, dry cloth. Do not use abrasive cleaners or immerse the device in water.
Troubleshooting
- Remote not learning codes:
- Ensure your original remote is a fixed-code type and operates at 433 MHz.
- Verify the original remote's battery is strong.
- Try different distances and angles between the two remotes during programming.
- Ensure all existing codes on the Jolly Open 4 are cleared before attempting to program.
- Remote has short operating range:
- Check the battery in the Jolly Open 4 and replace if necessary.
- Ensure there are no obstructions between the remote and the receiver.
- Verify the receiver antenna is properly positioned.
- Remote not operating the gate/garage door:
- Confirm the remote was programmed successfully (LED flashes rapidly).
- Ensure the gate/garage door receiver is powered on and functioning correctly.
- Re-attempt the programming steps if unsure.
Specifications
| Brand | GBS |
| Model Name | JOLLY-OPEN-4 |
| Connectivity Technology | Radio Frequency (RF) |
| Special Feature | Universal, Learning Remote |
| Operating Frequency | 433 MHz |
| Compatible Devices | Fixed-code gate and garage door openers (e.g., 100951, dip switch, jolly open 4 compatible models) |
| Maximum Supported Devices | 4 (via 4 programmable buttons) |
| Number of Buttons | 4 |
| Controller Type | Remote Control |
| Maximum Range | 10 Meters (approximate, depends on environment) |
| Battery Type | Lithium |
Warranty Information
Warranty information for this product is not available in the provided documentation. Please refer to your purchase receipt or contact the retailer for details regarding warranty coverage.
Support
For technical assistance or further inquiries, please contact the manufacturer GBS elettronica or your product retailer. Specific support contact details are not available in this manual.


