OSD Audio ACE870
OSD 8" Trimless Ceiling Speaker Instruction Manual
Model: ACE870 | Brand: OSD Audio
1. Introduction
This manual provides comprehensive instructions for the installation, operation, and maintenance of your OSD Audio ACE870 8" Trimless Ceiling Speaker. Designed for LCR (Left, Center, Right) home theater surround sound applications, this speaker features a trimless grille for a seamless appearance and advanced audio components for an immersive listening experience. Please read this manual thoroughly before installation and use to ensure proper setup and optimal performance.

Figure 1.1: The OSD ACE870 Trimless Ceiling Speaker with its grille removed, showcasing the internal components and the trimless design.
2. Safety Information
Always adhere to the following safety guidelines to prevent damage to the speaker, property, or personal injury:
- Ensure all power to the installation area is disconnected before beginning any wiring or installation work.
- Consult a qualified electrician if you are unsure about electrical wiring.
- Do not expose the speaker to excessive moisture or extreme temperatures. This product is not waterproof.
- Use appropriate tools and safety equipment during installation.
- Ensure the mounting surface (ceiling) can adequately support the weight of the speaker.
- Do not attempt to modify or repair the speaker yourself. Refer all servicing to qualified personnel.
3. Package Contents
Verify that all items are present in the package:
- 1 x OSD Audio ACE870 Trimless Ceiling Speaker
If any items are missing or damaged, please contact OSD Audio customer support.
4. Setup and Installation
4.1 Planning Speaker Placement
The ACE870 speaker is designed for in-ceiling installation and features a 15-degree angled woofer and pivoting tweeter, making it ideal for LCR and surround sound applications, including Dolby Atmos setups. Consider the following for optimal sound:
- For LCR channels, position speakers in the front ceiling, angled towards the primary listening area.
- For surround or height channels, place speakers strategically to create an immersive sound field, following your amplifier's recommendations for Dolby Atmos or other surround formats.
- Ensure there are no obstructions (e.g., joists, pipes, electrical wires) in the ceiling cavity where you plan to install the speaker.

Figure 4.1: Example of a Dolby Atmos home theater speaker setup, illustrating potential placement for ceiling speakers.
4.2 Installation Steps
- Prepare the Opening: Using the provided template (if included, otherwise measure carefully), mark the cutout area on the ceiling. Ensure the marked area is clear of any obstructions. Carefully cut the opening using a drywall saw or appropriate tool.
- Run Speaker Wire: Route high-quality speaker wire (e.g., 12/2 gauge) from your amplifier or receiver to the speaker cutout. Leave enough slack for easy connection.
- Connect Speaker Wire: Connect the speaker wire to the binding posts on the speaker. Ensure correct polarity (+ to + and - to -) from the amplifier to the speaker. The ACE870 uses standard speaker wire connections.
- Insert Speaker: Carefully insert the speaker into the cutout. The mounting clamps will automatically swing out and secure the speaker as you tighten the screws on the front baffle.
- Attach Grille: The trimless grille attaches magnetically to the speaker baffle. Align the grille and gently place it onto the speaker until it snaps into place.

Figure 4.2: Example of speaker cable used for connecting the speaker to an amplifier.

Figure 4.3: Diagram illustrating the process of installing a ceiling speaker into a prepared opening.
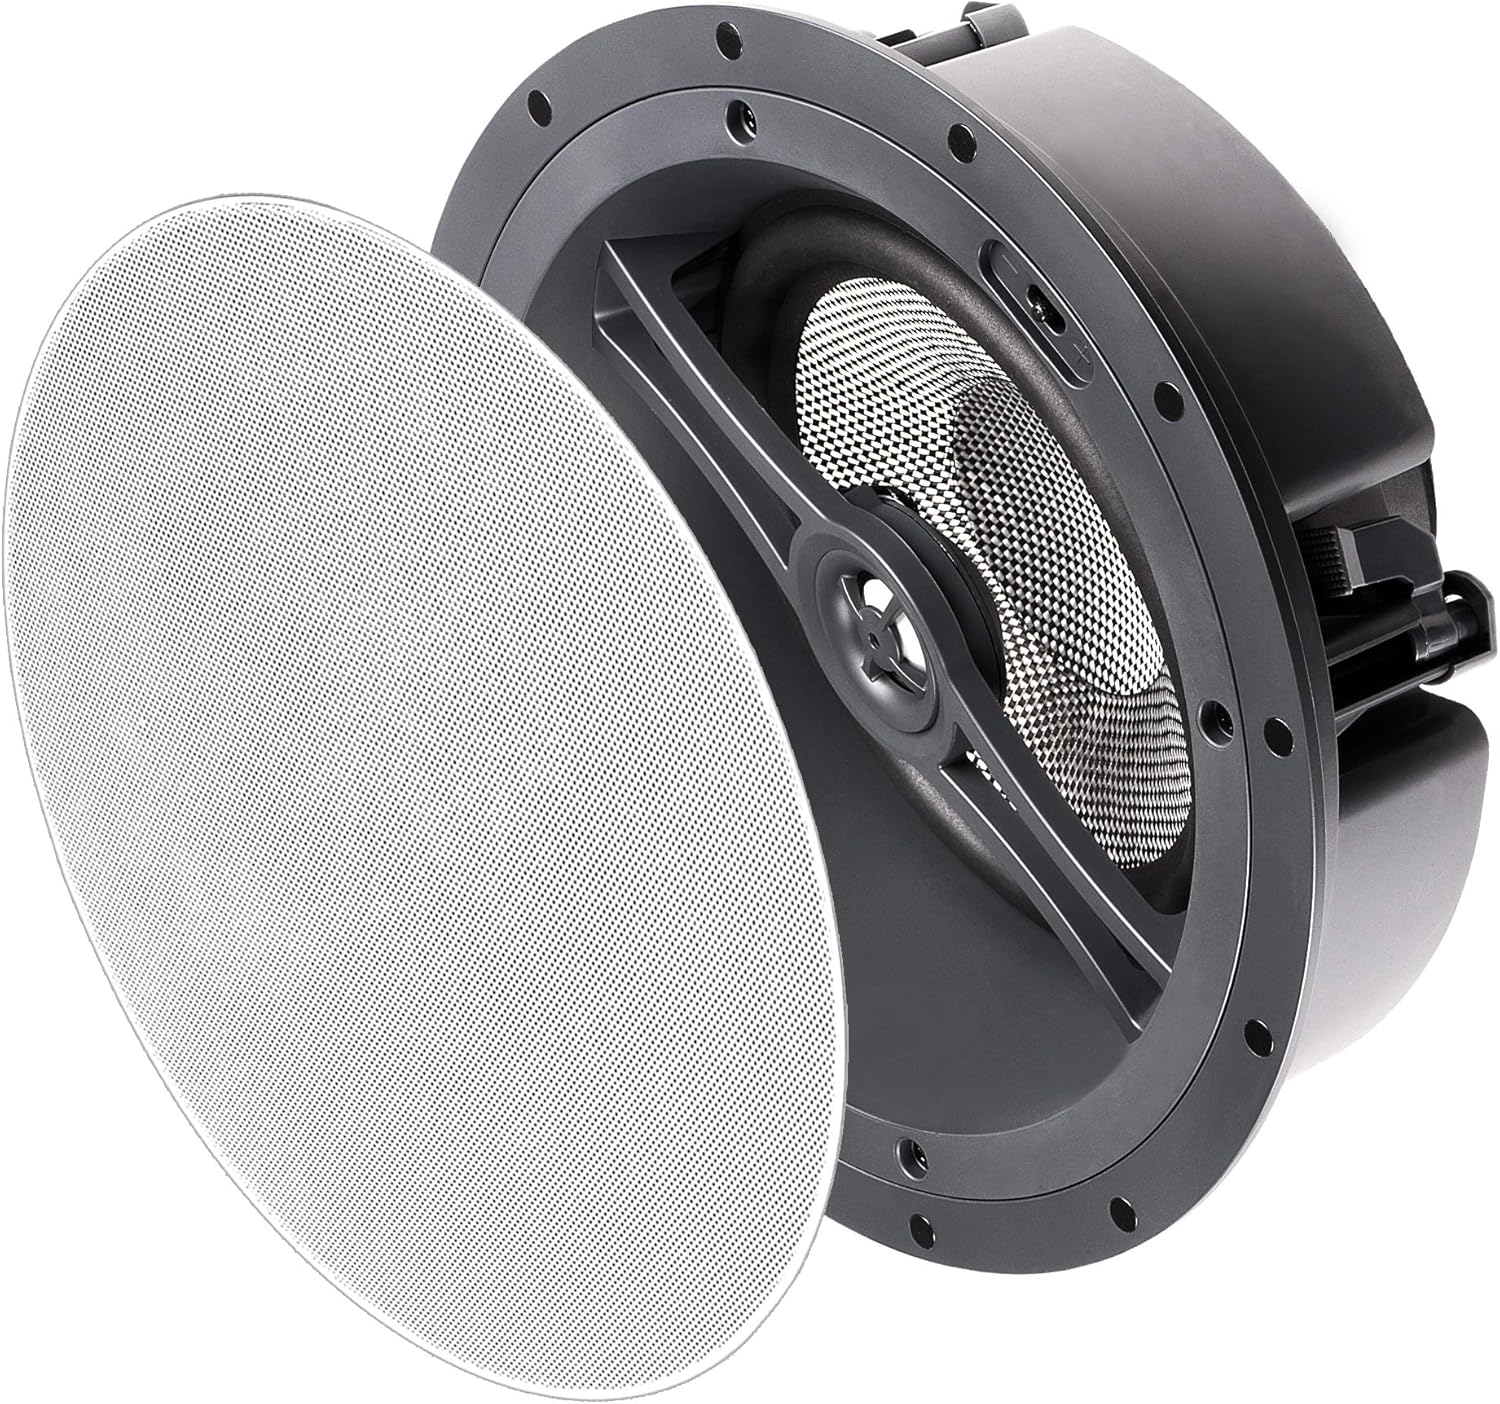
Figure 4.4: The OSD ACE870 speaker with its magnetic trimless grille detached, ready for installation or removal.
5. Operating the Speaker
5.1 Audio Adjustments
The ACE870 speaker features contour switches that allow you to tailor the bass and treble response to your listening preference and room acoustics. These switches are typically located near the woofer or tweeter on the speaker baffle, accessible before the grille is attached.
- Bass Contour Switch: Adjusts the low-frequency output. Use to compensate for room acoustics or personal preference.
- Treble Contour Switch: Adjusts the high-frequency output. Use to brighten or soften the sound.
Experiment with these settings to achieve the desired sound profile for your home theater system.

Figure 5.1: A close-up view of the speaker's woofer and pivoting tweeter, where contour switches are typically located.
5.2 System Integration
Connect the ACE870 speaker to a compatible home theater receiver or amplifier. Ensure the amplifier's power output does not exceed the speaker's maximum power handling of 175 watts. The speaker is designed to work with 8 Ohm impedance systems.
While the speaker itself does not have direct voice control, it can be integrated into a voice-controlled home theater system through your compatible receiver or smart home hub.
6. Maintenance
The OSD ACE870 speaker requires minimal maintenance:
- Cleaning: Gently wipe the trimless grille with a soft, dry cloth to remove dust. Do not use abrasive cleaners or solvents.
- Inspection: Periodically check the speaker grille for any signs of damage or discoloration.
- Environment: Ensure the speaker is not exposed to direct sunlight, excessive heat, or moisture, as these can affect its performance and lifespan.
7. Troubleshooting
If you encounter issues with your OSD ACE870 speaker, refer to the following common problems and solutions:
| Problem | Possible Cause | Solution |
|---|---|---|
| No sound from speaker | Loose or incorrect wiring; Amplifier off or input not selected; Speaker damaged. | Check all speaker wire connections at both the speaker and amplifier, ensuring correct polarity. Verify amplifier is on and correct input is selected. Test with another speaker if possible. |
| Distorted or unclear sound | Overdriven amplifier; Incorrect contour switch settings; Loose speaker grille. | Reduce amplifier volume. Adjust bass/treble contour switches. Ensure grille is securely attached. Check for any physical damage to the speaker cone. |
| Speaker cuts in and out | Loose wiring; Amplifier overheating; Short circuit in wiring. | Inspect all wiring for loose connections or frayed wires. Ensure amplifier has adequate ventilation. If problem persists, consult a professional. |
If the problem persists after trying these solutions, please contact OSD Audio customer support.
8. Specifications
| Feature | Detail |
|---|---|
| Model Name | ACE870 |
| Speaker Type | Atmospheric, LCR, In-Ceiling |
| Special Feature | Dolby Enabled, Hi Res Audio, Trimless Grille, Contour Switches |
| Recommended Uses | For Surround Sound Systems, Home Theater |
| Compatible Devices | Home Theater Receivers/Amplifiers |
| Woofer Diameter | 8 Inches (Carbon Fiber Composite Cone, 15-degree angled) |
| Tweeter | 1 Inch Aluminum Dome (Pivoting) |
| Speaker Maximum Output Power | 175 Watts |
| Impedance | 8 Ohm |
| Connectivity Technology | Speaker Wire |
| Audio Output Mode | Surround |
| Mounting Type | Ceiling Mount |
| Color | Trimless (White grille, paintable) |
| Product Dimensions | 5.37"D x 11.5"W x 11.5"H |
| Item Weight | 0.01 Ounces (Note: This weight seems incorrect, likely a data entry error. Actual weight would be higher.) |
| Included Components | 1 Speaker |
| Is Waterproof | FALSE (Not Water Resistant) |
| Control Method | Voice (via compatible system) |
| Manufacturer | OSD Audio |
| UPC | 819603012279 |
9. Warranty and Support
9.1 Warranty Information
The OSD Audio ACE870 Trimless Ceiling Speaker comes with a limited warranty. For specific details regarding the warranty period, coverage, and terms, please refer to the warranty card included with your product or visit the official OSD Audio website.
9.2 Customer Support
For technical assistance, troubleshooting, or warranty claims, please contact OSD Audio customer support. You can find contact information on the official OSD Audio website or through your retailer.
Visit the OSD Audio Store on Amazon for more information and product resources.
Ask a question about this manual
Ask about setup, troubleshooting, compatibility, parts, safety, or missing instructions. Manuals+ will review the question and use this page’s manual context to help answer it.