Introduction
This manual provides detailed instructions for the installation, operation, and maintenance of your Hifonics ZXX-600.4 Zeus 4-Channel Bridgeable Amplifier. Please read this manual thoroughly before attempting to install or operate the amplifier to ensure proper function and safety. The Hifonics ZXX-600.4 is a 600-watt, 4-channel A/B Class car audio amplifier designed for high-quality sound reproduction in automotive environments.
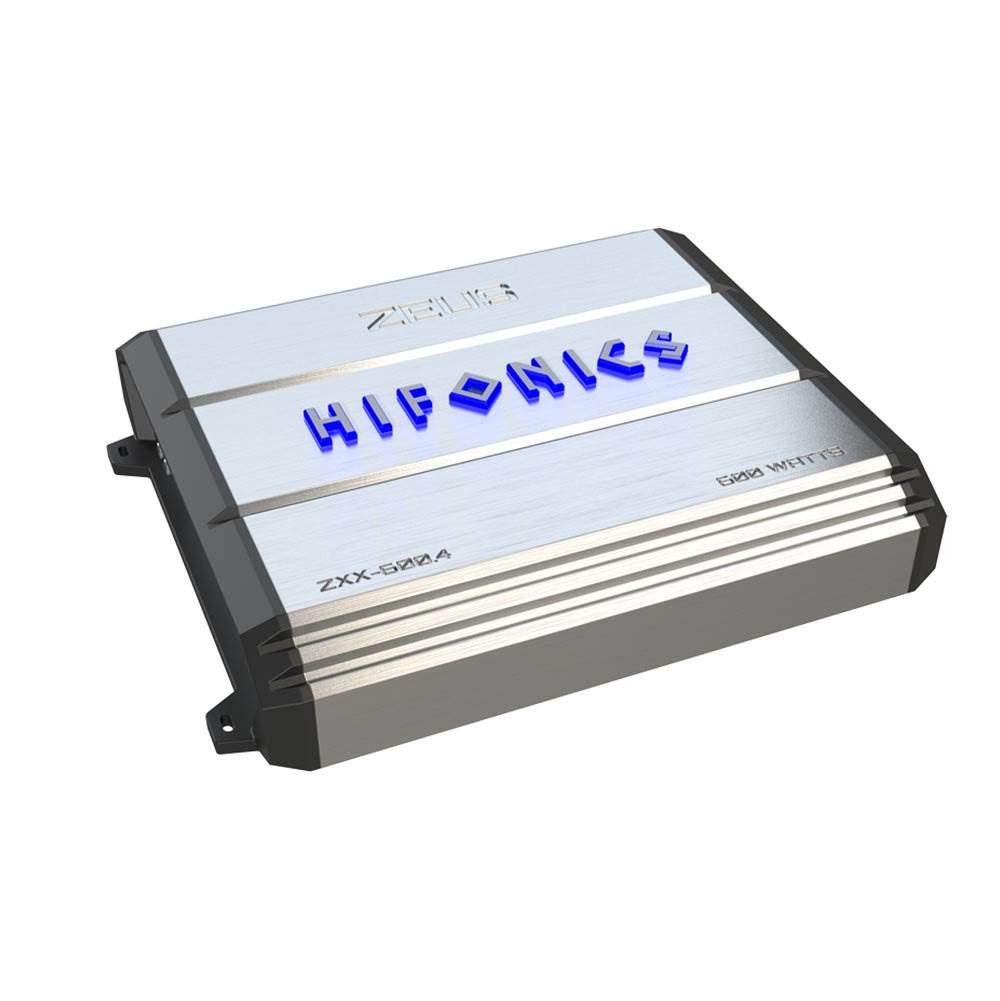
Image: Top view of the Hifonics ZXX-600.4 Zeus amplifier, featuring its sleek silver finish and prominent Hifonics branding.
Safety Information
- Professional Installation Recommended: Due to the complexity of car audio systems and electrical connections, professional installation is highly recommended.
- Disconnect Battery: Always disconnect the vehicle's negative battery terminal before starting any installation to prevent electrical shorts and damage.
- Proper Wiring: Use appropriate gauge wiring for power, ground, and speaker connections as specified in this manual to prevent overheating and ensure optimal performance.
- Ventilation: Ensure the amplifier is mounted in a location with adequate ventilation to prevent overheating. Avoid mounting in enclosed spaces without airflow.
- Fuse Protection: Always use the correct fuse rating for the amplifier and ensure proper inline fusing for the main power wire.
- Avoid Moisture: Do not expose the amplifier to moisture or water.
- Secure Mounting: Securely mount the amplifier to prevent it from becoming a projectile in the event of a sudden stop or accident.
Product Features
- 600 Watt 4-channel A/B Class car audio amplifier.
- Onboard electronic crossover for precise audio tuning.
- Angled and illuminated terminals for easier wiring and visual appeal.
- Illuminated Hifonics logo when powered on.
- Old School Hifonics Heatsink design for superior heat dissipation.
- Integrated protection circuits for thermal, overload, DC, and speaker short conditions.
- Lighted indicators on the amplifier end panel for protection status.
- Dual coil Pulse Width Modulated (PWM) power supply to maintain constant voltage.
- Utilizes Ultra-Fi output devices for enhanced audio performance.

Image: Top view of the Hifonics ZXX-600.4 Zeus amplifier, featuring the illuminated 'ZEUS' and 'HIFONICS' logos, and the model number ZXX-600.4.

Image: Close-up of the Hifonics ZXX-600.4 amplifier, showing the "600 WATTS" marking on the heatsink, indicating its power output.
Package Contents
Upon unpacking, please ensure all items are present and in good condition:
- Hifonics ZXX-600.4 Zeus 4-Channel Bridgeable Amplifier
- User Manual (this document)
- Mounting Hardware (screws, washers)
- Extra Fuses
- Allen Keys
Setup and Installation
Proper installation is crucial for the performance and longevity of your amplifier. If you are not experienced with car audio wiring, it is highly recommended to seek professional installation.
Mounting Location
- Choose a dry, well-ventilated location away from direct sunlight and heat sources.
- Ensure sufficient airflow around the amplifier's heatsink to prevent overheating.
- Mount the amplifier securely to a solid surface using the provided hardware.
Wiring Connections
Before making any connections, disconnect the vehicle's negative battery terminal.
- Power (B+): Run a heavy gauge power cable (e.g., 4 AWG or 8 AWG depending on total system power) directly from the positive terminal of the vehicle's battery to the amplifier's B+ terminal. Install an inline fuse holder within 18 inches (45 cm) of the battery.
- Ground (GND): Connect a heavy gauge ground cable of the same length as the power cable from the amplifier's GND terminal to a clean, unpainted metal surface on the vehicle's chassis. Ensure a solid, low-resistance connection.
- Remote Turn-On (REM): Connect a smaller gauge wire (e.g., 18 AWG) from the amplifier's REM terminal to the remote turn-on output of your head unit. This wire signals the amplifier to turn on and off with the head unit.
- RCA Inputs: Connect RCA cables from your head unit's pre-amp outputs to the amplifier's RCA input jacks. Ensure correct channel matching (Front L/R, Rear L/R).
- Speaker Outputs: Connect your speakers to the amplifier's speaker output terminals. Pay close attention to polarity (+ and -) for each speaker. The ZXX-600.4 can be configured for 4-channel stereo or 2-channel bridged operation. Refer to the amplifier's specific terminal layout for bridging instructions.

Image: Angled view of the Hifonics ZXX-600.4 amplifier, displaying the various input and output terminals for power, ground, remote, RCA, and speaker connections.
Operating Instructions
Once installed, the amplifier requires proper adjustment for optimal sound quality and system protection.
Initial Power-Up
- Double-check all wiring connections for security and correct polarity.
- Ensure the amplifier's gain controls are set to their minimum (fully counter-clockwise) position.
- Reconnect the vehicle's negative battery terminal.
- Turn on your head unit. The Hifonics logo on the amplifier should illuminate, indicating it is powered on.
Gain Adjustment
The gain control matches the amplifier's input sensitivity to the output level of your head unit. It is not a volume control.
- Set your head unit's volume to about 75-80% of its maximum level.
- Slowly increase the amplifier's gain control until you hear distortion, then back it off slightly until the sound is clear.
- Repeat for all channels.
Crossover Settings
The ZXX-600.4 features an electronic crossover. Adjust these settings based on the type of speakers connected to each channel.
- Full Range: For speakers reproducing all frequencies.
- High Pass Filter (HPF): For speakers (e.g., component sets, coaxial speakers) that should not reproduce low bass frequencies. Adjust the frequency knob to cut off frequencies below a certain point (e.g., 80Hz-120Hz).
- Low Pass Filter (LPF): For subwoofers (if bridging channels for a subwoofer). Adjust the frequency knob to cut off frequencies above a certain point (e.g., 80Hz-120Hz).
Maintenance
The Hifonics ZXX-600.4 amplifier is designed for reliable operation with minimal maintenance. However, periodic checks can help ensure its longevity.
- Cleaning: Periodically wipe the amplifier's exterior with a soft, dry cloth to remove dust and debris. Do not use liquid cleaners or solvents.
- Ventilation: Ensure that the heatsink fins are free from obstructions to allow for proper heat dissipation.
- Wiring Inspection: Annually inspect all power, ground, remote, and speaker connections for corrosion, fraying, or looseness. Tighten any loose connections.
- Fuse Check: If the amplifier fails to power on, check the inline fuse near the battery and the fuses on the amplifier itself. Replace blown fuses only with the correct rating.
Troubleshooting
If you experience issues with your amplifier, consult the following troubleshooting guide before contacting support.
| Problem | Possible Cause | Solution |
|---|---|---|
| Amplifier does not turn on (no illuminated logo) |
|
|
| No sound output |
|
|
| Distorted sound |
|
|
| Amplifier overheats (protection light on) |
|
|
Specifications
| Specification | Value |
|---|---|
| Brand | Hifonics |
| Model | ZXX-600.4 |
| Number of Channels | 4 |
| Output Power | 600 Watts |
| Amplifier Class | A/B Class |
| Item Dimensions (L x W x H) | 16.5 x 11.5 x 3.5 inches |
| Item Weight | 6.1 Pounds |
| Mounting Type | Surface Mount |
| GTIN / UPC | 806576226383 |
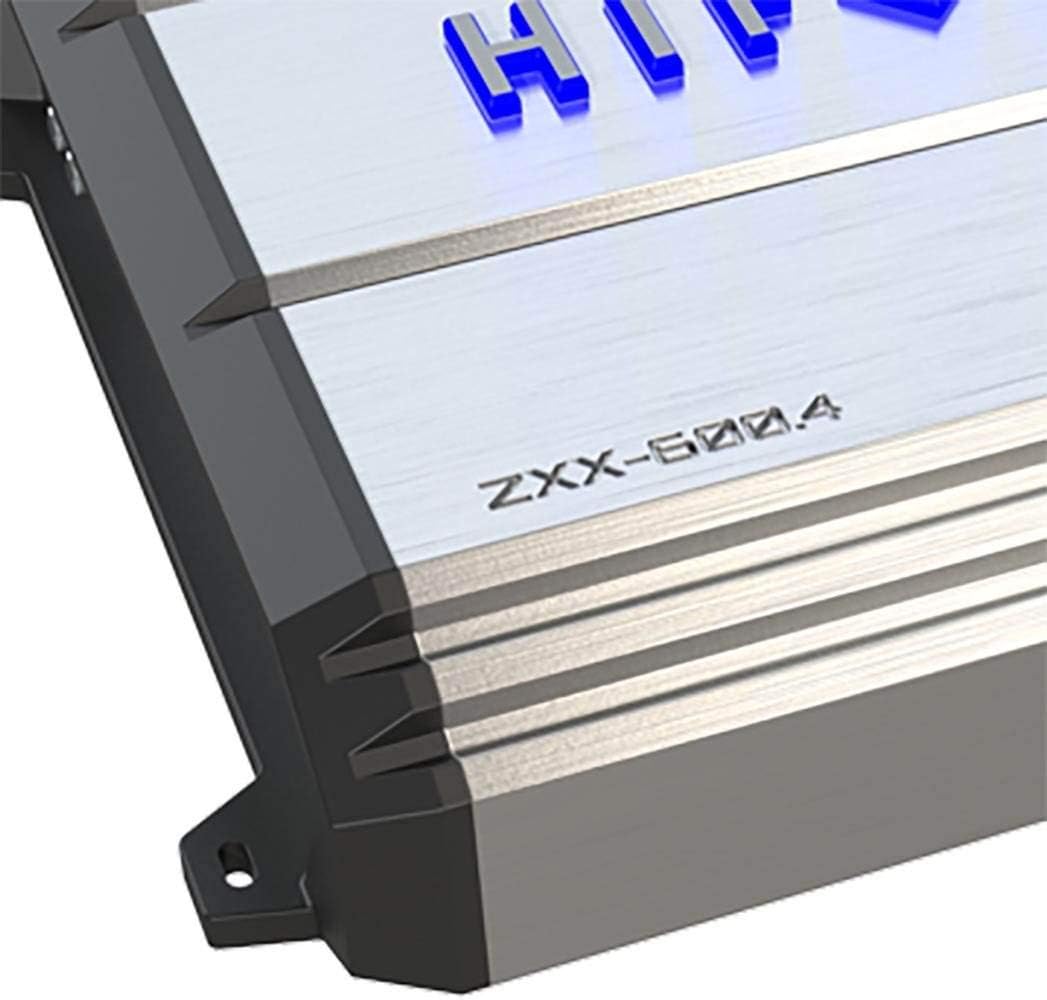
Image: Side view of the Hifonics ZXX-600.4 amplifier, illustrating the heatsink fins designed for efficient cooling and the mounting tabs for secure installation.
Warranty and Support
For warranty information and technical support, please contact the manufacturer directly. Details regarding warranty coverage and service procedures are typically provided with your purchase documentation or can be found on the official Hifonics website.
Manufacturer: Hifonics
Warranty Description: Please contact the manufacturer