1. Important Safety Information
Please read these instructions carefully before installing or using your Troy Lighting F5523 Origami LED Small Pendant. Keep this manual for future reference.
- WARNING: This product can expose you to chemicals including lead, which is known to the State of California to cause cancer and birth defects or other reproductive harm. For more information go to www.P65Warnings.ca.gov.
- All electrical connections must be in accordance with local codes, ordinances, or the National Electric Code (NEC). Consult a qualified electrician if you are unfamiliar with proper electrical wiring connections.
- To avoid electric shock, disconnect power at the main fuse box or circuit breaker before installation or servicing.
- This fixture is intended for indoor use only. Do not install in wet or damp locations.
- Ensure the fixture is securely mounted to a structural element of the ceiling.
2. Package Contents
Verify that all components are present before beginning installation.
- Pendant Fixture Body (1)
- Frosted Clear Glass Globe (1)
- G9 Wedge LED Bulb (1)
- Canopy (1) - 6" Diameter x 0.75" Thick
- Stems: (1) 6", (2) 12", (1) 18" (Total 4 stems)
- Mounting Hardware (various screws, wire nuts, etc.)
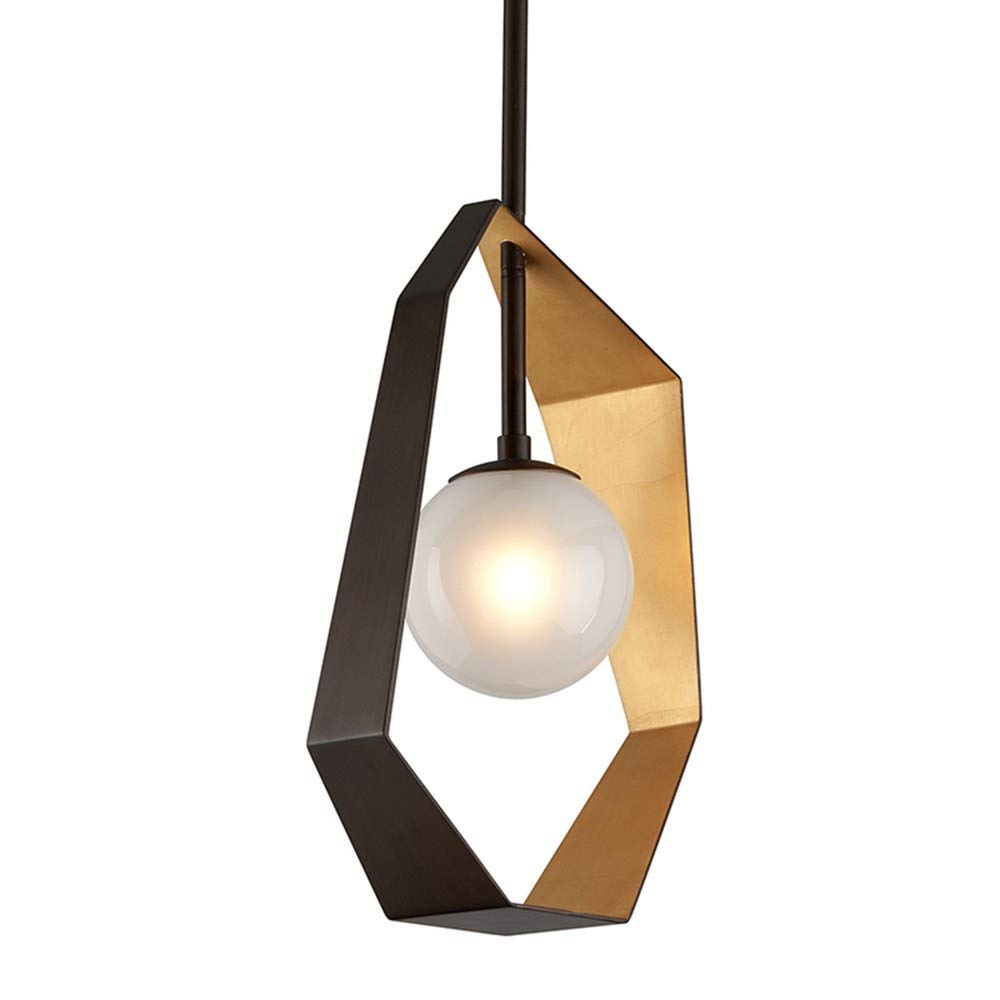
Image of the Troy Lighting F5523 Origami LED Small Pendant, showcasing its bronze and gold leaf finish with a frosted clear glass globe.
3. Setup and Installation
Professional installation is recommended. Ensure power is OFF at the circuit breaker before proceeding.
- Prepare for Installation: Turn off electricity at the main fuse box or circuit breaker. Clear the work area.
- Assemble Stems: Determine the desired hanging height. Connect the appropriate combination of 6", 12", and 18" stems to the fixture body and the canopy. Ensure wires are threaded through the stems.
- Mount Canopy: Secure the mounting bracket (usually included with hardware) to the junction box in the ceiling. Ensure it is firmly attached to a structural element. Attach the canopy to the mounting bracket.
- Electrical Connections: Connect the fixture's black wire to the house's black (hot) wire, the fixture's white wire to the house's white (neutral) wire, and the fixture's ground wire to the house's ground wire (or green ground screw on the mounting bracket). Secure connections with wire nuts.
- Secure Fixture: Carefully push all wires into the junction box. Secure the canopy to the mounting bracket, ensuring no wires are pinched.
- Install Bulb: Insert the provided 4-watt G9 Wedge LED bulb into the socket. Handle the bulb by its base to avoid touching the glass.
- Attach Glass Globe: Carefully attach the frosted clear glass globe to the fixture body according to the specific design (usually by threading or securing with small screws).
- Restore Power: Turn the electricity back on at the main fuse box or circuit breaker.
4. Operating Instructions
The Troy Lighting F5523 Origami LED Small Pendant is designed for simple operation.
- Power On/Off: Operate the pendant using a standard wall switch connected to the fixture's circuit.
- App Control: The product specifications mention 'App Control'. If your specific model includes smart features, refer to the separate smart device pairing instructions provided with the smart control module or consult the manufacturer's website for app setup details.
- Light Output: The fixture provides a warm white light (3000K color temperature) suitable for various indoor environments.
5. Maintenance
Regular maintenance will help preserve the appearance and functionality of your pendant light.
- Cleaning: To clean the fixture, ensure power is off. Wipe with a soft, dry, or slightly damp cloth. Do not use abrasive cleaners, solvents, or polishes as they may damage the finish.
- Bulb Replacement: If the LED bulb needs replacement, ensure power is off. Allow the bulb to cool completely. Carefully remove the old G9 Wedge LED bulb and insert a new 4-watt G9 Wedge LED bulb. Do not exceed the maximum wattage specified.
- Glass Care: The frosted clear glass globe can be cleaned with a mild glass cleaner applied to a cloth, not directly to the glass.
6. Troubleshooting
If you encounter issues with your pendant light, refer to the following common problems and solutions.
- Light Does Not Turn On:
- Check if the circuit breaker is tripped.
- Ensure the wall switch is in the 'ON' position.
- Verify the bulb is correctly seated in the socket and is not burnt out.
- Check electrical connections for loose wiring (ensure power is off before inspecting).
- Light Flickers:
- Ensure the bulb is fully screwed in or properly seated.
- Check for loose wire connections at the fixture or junction box (power off).
- If using a dimmer, ensure it is compatible with LED bulbs.
- Humming Noise:
- Some LED bulbs or dimmer switches may produce a slight hum. If bothersome, try a different brand of LED bulb or a different dimmer.
7. Specifications
| Brand | Troy Lighting |
| Model Number | F5523 |
| Material | Hand-Worked Iron, Frosted Clear Glass |
| Finish | Bronze with Gold Leaf |
| Dimensions (L x W x H) | 11.75" x 11.75" x 24" |
| Item Weight | 9.9 Pounds |
| Light Source | 1 x G9 Wedge LED Bulb (Included) |
| Wattage | 4 Watts |
| Lumens | 280 Lumens |
| Color Temperature | 3000K |
| CRI | 80 |
| Voltage | 120 Volts |
| Indoor/Outdoor Use | Indoor Only |
| Certifications | UL Certified |
8. Warranty Information
This Troy Lighting F5523 Origami LED Small Pendant comes with a 1-year limited manufacturer warranty.
The warranty covers defects in materials and workmanship under normal use. It does not cover damage resulting from improper installation, accident, misuse, abuse, or unauthorized modifications. Please retain your proof of purchase for warranty claims.
9. Customer Support
If you have any questions, require assistance with installation, or need to make a warranty claim, please contact Troy Lighting customer service.
- Website: Visit the official Troy Lighting website for support resources and contact information.
- Contact: Refer to the packaging or the manufacturer's website for the most current customer service contact details (phone number, email).