Introduction
This manual provides comprehensive instructions for the installation, operation, and maintenance of your Kicker KXA8001 KX Series Mono Class D Subwoofer Amplifier. Please read this manual thoroughly before attempting installation or operation to ensure proper use and to prevent damage to the unit or your vehicle's audio system.
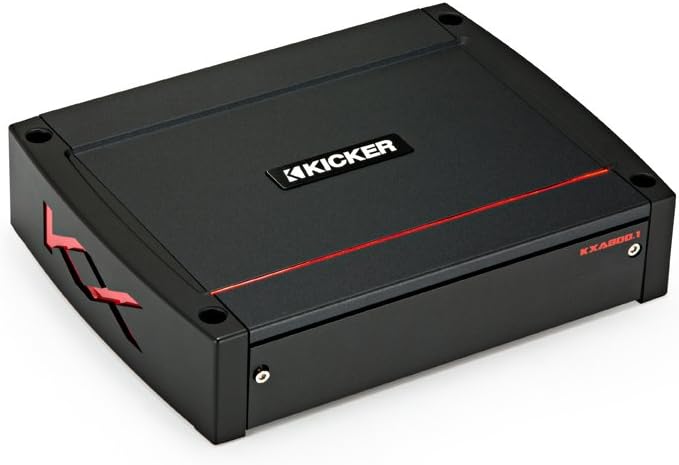
Image: Top view of the Kicker KXA8001 amplifier, showcasing its sleek black design with the KICKER logo and a red accent line.
Safety Information
Always observe the following safety precautions to prevent injury or damage:
- Disconnect the vehicle's battery negative terminal before any wiring.
- Ensure proper grounding to the vehicle chassis.
- Use appropriate gauge wiring for power, ground, and speaker connections.
- Avoid mounting the amplifier in locations exposed to direct sunlight, excessive heat, or moisture.
- Do not operate the amplifier if it is damaged or malfunctioning.
- Seek professional installation if you are unsure about any steps.
Setup
Unpacking
Carefully remove the amplifier and all accessories from the packaging. Verify that all components are present:
- Kicker KXA8001 Amplifier
- Mounting hardware
- Wireless remote control
- Owner's manual (this document)
Mounting
Choose a mounting location that provides adequate ventilation and protection from moisture. Secure the amplifier using the provided mounting hardware. Ensure the mounting surface is solid and can support the amplifier's weight.
Wiring Connections
Proper wiring is crucial for optimal performance and safety. Refer to the diagram below for connection points.

Image: Rear view of the Kicker KXA8001 amplifier, showing the power, ground, remote, input, output, and speaker terminals.
- Power (BATT +12V): Connect a direct wire from the positive terminal of your vehicle's battery. Install a fuse holder within 18 inches (45 cm) of the battery.
- Ground (GND): Connect a wire of the same gauge as the power wire to a clean, painted metal surface of the vehicle chassis. Ensure a solid, low-resistance connection.
- Remote (REM): Connect to the remote turn-on lead from your head unit. If your head unit lacks a remote output, use the "Auto Turn-On" feature (DC Offset or Audio Signal Detect).
- Input (RCA): Connect RCA cables from your head unit's subwoofer output to the amplifier's input.
- Speaker Output: Connect your subwoofer(s) to the speaker terminals. Ensure correct polarity and impedance matching. The KXA8001 is stable down to 1 ohm.
Operating
Initial Settings and Adjustments
The KXA8001 features a control panel for fine-tuning audio output. Access these controls by removing the top cover.

Image: Close-up view of the Kicker KXA8001 amplifier's control panel, showing various adjustment knobs and switches for gain, crossover, bass boost, and subsonic filter.
- Gain Control (GAIN): Adjust this to match the output level of your head unit. Start with the gain at minimum and slowly increase until distortion is audible, then back off slightly.
- Low-Pass Crossover (LO-PASS): Sets the upper frequency limit for the subwoofer. Typically set between 80 Hz and 120 Hz.
- Subsonic Filter (SUB SONIC): Filters out ultra-low frequencies that are inaudible and can damage subwoofers. Set slightly below your enclosure's tuning frequency, usually between 20 Hz and 30 Hz.
- Bass Boost (BOOST): Provides an adjustable bass enhancement at a specific frequency. Use sparingly to avoid distortion.
- KICK EQ: This feature allows for further bass customization. Adjust the CENTER frequency and BANDWIDTH to tailor the bass response.
Wireless Remote Control
The KXA8001 includes a wireless remote for convenient bass level adjustment from the driver's seat. Pair the remote with the amplifier according to the instructions provided with the remote.
Shocwave Bass Restoration
The Shocwave processor analyzes the audio signal and restores missing low-frequency information, enhancing bass impact. Adjust the level to your preference, ensuring it does not introduce distortion.
Maintenance
The KXA8001 amplifier requires minimal maintenance. Keep the unit clean and free from dust and debris. Use a soft, dry cloth for cleaning. Do not use harsh chemicals or abrasive cleaners.
Periodically check all wiring connections to ensure they are secure and free from corrosion. Loose connections can lead to performance issues or damage.
Troubleshooting
| Problem | Possible Cause | Solution |
|---|---|---|
| No power/No sound | Blown fuse, loose power/ground connection, no remote turn-on signal. | Check fuses, verify all power and ground connections, ensure remote wire is connected and receiving 12V. |
| Distorted sound | Gain set too high, improper crossover settings, damaged speaker. | Reduce gain, adjust crossover frequencies, check speaker for damage. |
| Amplifier overheats | Insufficient ventilation, improper impedance load, gain too high. | Ensure adequate airflow around the amplifier, verify speaker impedance, reduce gain. |
| No bass output | Incorrect input connections, low-pass filter set too high, subwoofer polarity reversed. | Check RCA connections, adjust low-pass filter, verify subwoofer wiring polarity. |
Specifications
| Feature | Detail |
|---|---|
| Amplifier Class | Class D |
| RMS Power (4 Ohms) | 400 watts x 1 |
| RMS Power (2 Ohms) | 800 watts x 1 |
| RMS Power (1 Ohm) | 800 watts x 1 (+/-10%) |
| Frequency Response | 25 Hz - 200 Hz |
| Low-Pass Crossover | Variable 40-160 Hz, 24 dB/octave |
| Subsonic Filter | Variable 10-80 Hz, 24 dB/octave |
| Bass Boost | Variable 0-18 dB at 20-80 Hz |
| Input Sensitivity | Low Level: 125mV-5V, High Level: 250mV-10V |
| Dimensions (H x W x D) | Approx. 2.125" x 8.1875" x 11.1875" (5.4cm x 20.8cm x 28.4cm) |
| Weight | 3.04 Kilograms (6.7 lbs) |
Warranty Information
The Kicker KXA8001 amplifier comes with a 1-Year Limited Warranty from the date of original purchase. This warranty covers defects in material and workmanship under normal use. It does not cover damage caused by improper installation, accident, misuse, abuse, neglect, or unauthorized modification.
For warranty service, retain your original purchase receipt. Contact KICKER customer support for return authorization and further instructions.
Support
For technical assistance, troubleshooting, or general inquiries, please contact KICKER customer support:
- Website: www.kicker.com
- Phone: Refer to the KICKER website for regional contact numbers.
- Email: Refer to the KICKER website for support email addresses.
When contacting support, please have your amplifier model number (KXA8001) and serial number ready.