
Introduction
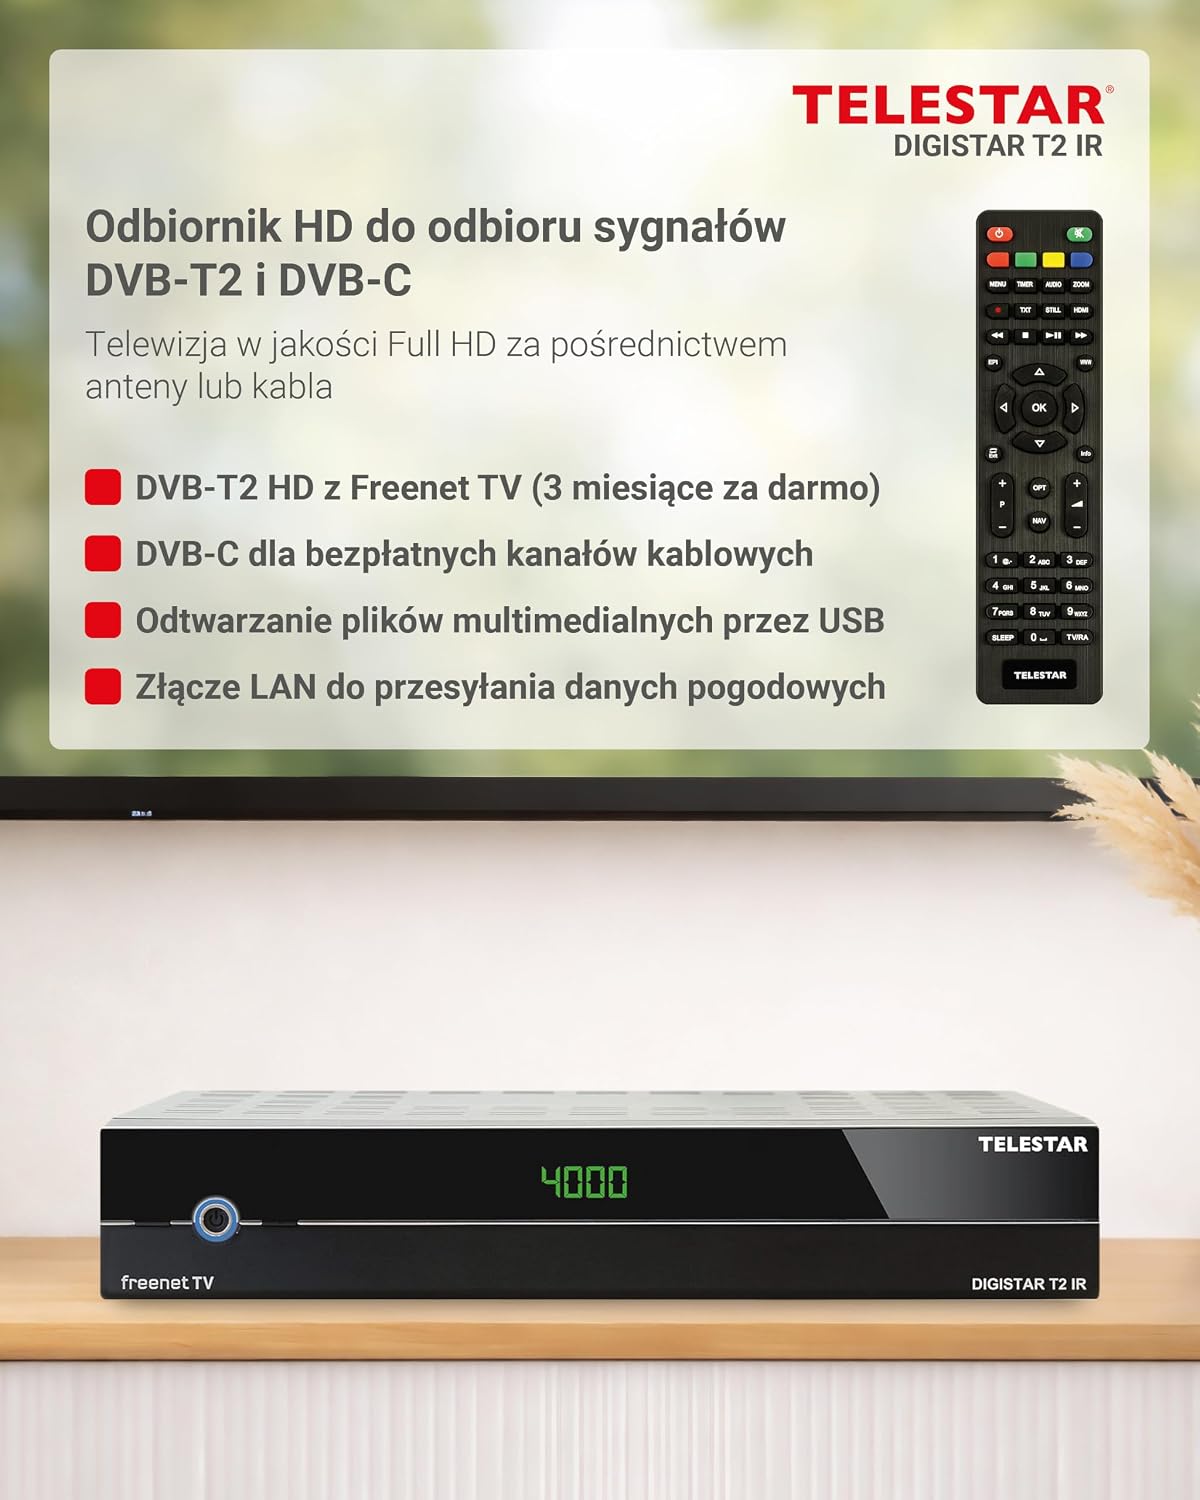
The Telestar DIGISTAR T2 IR is a versatile DVB-T2 and DVB-C HDTV receiver designed for high-quality digital television and radio reception. Housed in a durable metal casing, this device supports both free-to-air and encrypted programs conforming to DVB-T2 HDTV HEVC and unencrypted DVB-C cable standards. It features a USB interface for multimedia playback, allowing you to enjoy various video, audio, and image files. Network integration via LAN provides access to current weather data. Additional features include a four-digit LED display, Scart connection, Electronic Program Information (EPI), parental control, and a Plug & Play installation assistant. The receiver is engineered for energy efficiency, ensuring minimal power consumption.

Front view of the Telestar DIGISTAR T2 IR receiver.
Package Contents
Please check the box for the following items:
- Telestar DIGISTAR T2 IR Receiver
- Remote control
- Power adapter
- User manual (this document)
Product Overview
Front Panel

The front panel features the four-digit LED display and basic controls.
Rear Panel Connections
The rear panel provides all necessary ports for connecting the receiver to your television and other devices.

Detailed diagram of the rear panel connections.
- ANT IN: For connecting your DVB-T2 or DVB-C antenna/cable.
- USB: For connecting external storage devices for multimedia playback.
- ETHERNET: For network connection to access weather data and other online features.
- HDMI: High-Definition Multimedia Interface for connecting to an HDTV.
- S/PDIF: Digital audio output.
- TV SCART: Analog video and audio connection for older televisions.
- AUDIO L/R: Analog stereo audio output.
- Smart Card Chip Down: Slot for an IRDETO smart card.
- AC IN: Power input (200-240V~, 50/60Hz, Max 15W).

Actual view of the receiver's rear panel.
Remote Control
The included remote control allows full operation of the receiver.
The remote control for the DIGISTAR T2 IR receiver.
Setup
1. Connecting the Receiver
- Antenna Connection: Connect your DVB-T2 antenna or DVB-C cable to the ANT IN port on the rear panel.
- Video/Audio Connection:
- For HDTVs, connect an HDMI cable from the receiver's HDMI port to an HDMI input on your TV.
- For older TVs, connect a Scart cable from the receiver's TV SCART port to the Scart input on your TV.
- For external audio systems, use the S/PDIF or AUDIO L/R outputs.
- Network Connection (Optional): Connect an Ethernet cable from the receiver's ETHERNET port to your router for internet-based features like weather data.
- Smart Card Insertion (If applicable): If you have an IRDETO smart card for encrypted channels, insert it into the Smart Card Chip Down slot with the chip facing downwards.
- Power Connection: Connect the power adapter to the AC IN port on the receiver, then plug the adapter into a wall outlet.
2. First-Time Installation
Upon first power-on, the receiver will typically launch a Plug & Play installation assistant. Follow the on-screen prompts to:
- Select your preferred language.
- Perform an automatic channel scan for DVB-T2 and DVB-C channels.
- Configure basic settings such as time zone.
Operating Instructions
Basic Operation
- Power On/Off: Press the POWER button on the remote control or the front panel.
- Channel Selection: Use the P+/- buttons to change channels sequentially, or enter channel numbers directly using the numeric keypad.
- Volume Control: Use the VOL+/- buttons to adjust the audio volume.
- Menu Access: Press the MENU button to access the main menu for settings and features.
Electronic Program Information (EPI)
Press the EPI button on the remote control to view program information, including a multi-day preview of upcoming broadcasts.
USB Multimedia Playback
The receiver supports playback of various multimedia files from external USB storage devices.

The receiver supports convenient playback of photos, music, and videos via USB.
- Connect a USB drive (flash drive or hard drive) to the USB port on the receiver.
- Navigate to the multimedia section in the main menu.
- Select the desired file type (video, audio, or image) and browse your USB content.
- Use the remote control to play, pause, skip, or stop playback.
Network Features
When connected to your home network via the Ethernet port, the DIGISTAR T2 IR can provide access to current weather data and potentially other online services.
IRDETO Card Reader
The integrated IRDETO card reader allows access to encrypted DVB-T2 and DVB-C programs when a valid smart card is inserted.
Maintenance
Cleaning
To clean the receiver, disconnect it from the power supply. Use a soft, dry cloth to wipe the exterior. Do not use liquid cleaners or abrasive materials.
Software Updates
Periodically check the manufacturer's website for available software updates. Updates can improve performance, add new features, or resolve issues. Follow the instructions provided with the update carefully.
Troubleshooting
If you encounter problems with your receiver, please refer to the following common issues and solutions:
- No Power:
- Ensure the power adapter is securely connected to the receiver and a working power outlet.
- Check if the power outlet is functional by plugging in another device.
- No Signal/Poor Picture Quality:
- Verify that the antenna or cable is correctly connected to the ANT IN port.
- Check your antenna's position and orientation for optimal signal reception.
- Perform a channel scan again through the receiver's menu.
- No Sound:
- Check the volume level on both the receiver and your TV.
- Ensure audio cables (HDMI, Scart, L/R Audio) are properly connected.
- Check the audio output settings in the receiver's menu.
- Remote Control Not Working:
- Replace the batteries in the remote control.
- Ensure there are no obstructions between the remote control and the receiver's IR sensor.
If the problem persists, please consult the manufacturer's support resources.
Specifications
- Brand:
- TELESTAR
- Model Number:
- 5310498
- Color:
- Black
- Product Dimensions (L x W x H):
- 12.7 cm x 21 cm x 4.4 cm
- Product Weight:
- 780 Grams
- Connectivity Technology:
- HDMI, Scart, USB
- Total USB Ports:
- 1
- Total HDMI Ports:
- 1
- Audio Output Mode:
- Stereo
- Memory Capacity:
- 2 GB
- Compatible Devices:
- Television
- Supported Audio Format:
- [Multiple]
- Recommended Product Uses:
- Receiving and decrypting satellite and digital television signals
- Total Video Output Ports:
- 2
- Video Output Resolution:
- 1080p pixels
- Supported Formats:
- DVB-T2, DVB-C, MP3, MP4, H.265
- Aspect Ratio:
- 16:9

Dimensions of the Telestar DIGISTAR T2 IR receiver.
Warranty Information
For detailed warranty information, please refer to the warranty card included with your product or visit the official TELESTAR website. Keep your proof of purchase for any warranty claims.
Customer Support
If you require further assistance or have questions not covered in this manual, please contact TELESTAR customer support. Contact details can typically be found on the manufacturer's official website or in the product packaging.


