SUPERNIGHT EBT219, EBT575, OG-220
SUPERNIGHT RGB 5050 SMD LED Strip Light User Manual
Model: EBT219, EBT575, OG-220
Introduction
Thank you for purchasing the SUPERNIGHT RGB 5050 SMD LED Strip Light. This manual provides detailed instructions for the safe and efficient use of your new LED strip light. Please read this manual thoroughly before installation and operation, and retain it for future reference.
This 10-meter RGB LED strip features 600 high-quality 5050 SMD LEDs, offering vibrant colors and versatile lighting options. It comes with a 44-key remote control for easy color and mode selection, and a DC 24V 5A power supply for reliable operation. The strip is IP65 waterproof, making it suitable for various indoor and outdoor applications.
Package Contents
- 1 x 10-meter RGB 5050 SMD LED Strip (600 LEDs)
- 1 x 44-key IR Remote Control
- 1 x RGB Control Box
- 1 x DC 24V 5A Power Supply with EU Plug

Image: All components included in the SUPERNIGHT RGB LED Strip Light kit, showing the LED strip reel, 44-key remote control, RGB control box, and power supply unit.
Safety Instructions
- Ensure the power supply is disconnected before installation or maintenance.
- Use only the provided DC 24V 5A power supply. Using an incorrect power supply may damage the product and void the warranty.
- Do not bend the LED strip sharply, as this may damage the circuit board or LEDs.
- Although the strip is IP65 waterproof, the power supply and control box are not. Ensure these components are protected from water and moisture, especially for outdoor installations.
- Do not connect the LED strip directly to AC power.
- Keep out of reach of children.
- Do not cover the power supply or LED strip with flammable materials during operation to prevent overheating.
Setup and Installation
Preparation:
- Unroll the LED strip completely before powering it on to prevent overheating.
- Clean the surface where the LED strip will be installed. Ensure it is dry, smooth, and free of dust or oil for optimal adhesion.
- Plan the layout of your LED strip.
Cutting the LED Strip (Optional):
The LED strip can be cut to your desired length. Look for the designated cutting marks (usually indicated by a scissor icon or copper pads) every 6 LEDs. Cut only along these marks to avoid damaging the circuit.

Image: A detailed view of the LED strip, highlighting the individual LEDs and the designated cutting points marked by copper pads, allowing for customization of length.
Adhering the LED Strip:
Peel off the adhesive backing from the LED strip. Carefully press the strip onto the prepared surface, ensuring firm contact along its entire length. For long-term stability, especially on rough or vertical surfaces, consider using additional mounting clips or silicone adhesive (not included).
Connecting Components:
- Connect the 4-pin connector of the LED strip to the RGB control box. Ensure the arrows on both connectors align.
- Connect the DC output plug of the power supply to the input jack of the RGB control box.
- Plug the power supply into a standard EU wall outlet.

Image: The 44-key infrared remote control alongside the RGB control box, illustrating the connection points for the LED strip and power supply.
Operating Instructions
The LED strip is controlled by the included 44-key IR remote control. Point the remote directly at the IR receiver on the RGB control box for optimal response.

Image: The LED strip coiled on its reel, showcasing a spectrum of vibrant colors it can produce, from blue to red, green, purple, and yellow.
Remote Control Functions:
| Button | Function |
|---|---|
| On/Off | Turns the LED strip on or off. |
| R, G, B, W | Directly selects Red, Green, Blue, or White color. |
| Color Buttons (20 colors) | Selects various preset static colors. |
| Brightness Up/Down (▲ / ▼) | Adjusts the brightness of static colors. |
| DIY1-DIY6 | Custom color memory buttons. Press a DIY button, then use the R/G/B arrows to mix your desired color, then press the DIY button again to save. |
| JUMP3, JUMP7 | Cycles through 3 or 7 colors with a jump effect. |
| FADE3, FADE7 | Fades through 3 or 7 colors smoothly. |
| QUICK, SLOW | Adjusts the speed of dynamic modes (JUMP, FADE, FLASH, AUTO). |
| FLASH | Strobe effect with white light. |
| AUTO | Cycles through all dynamic modes automatically. |
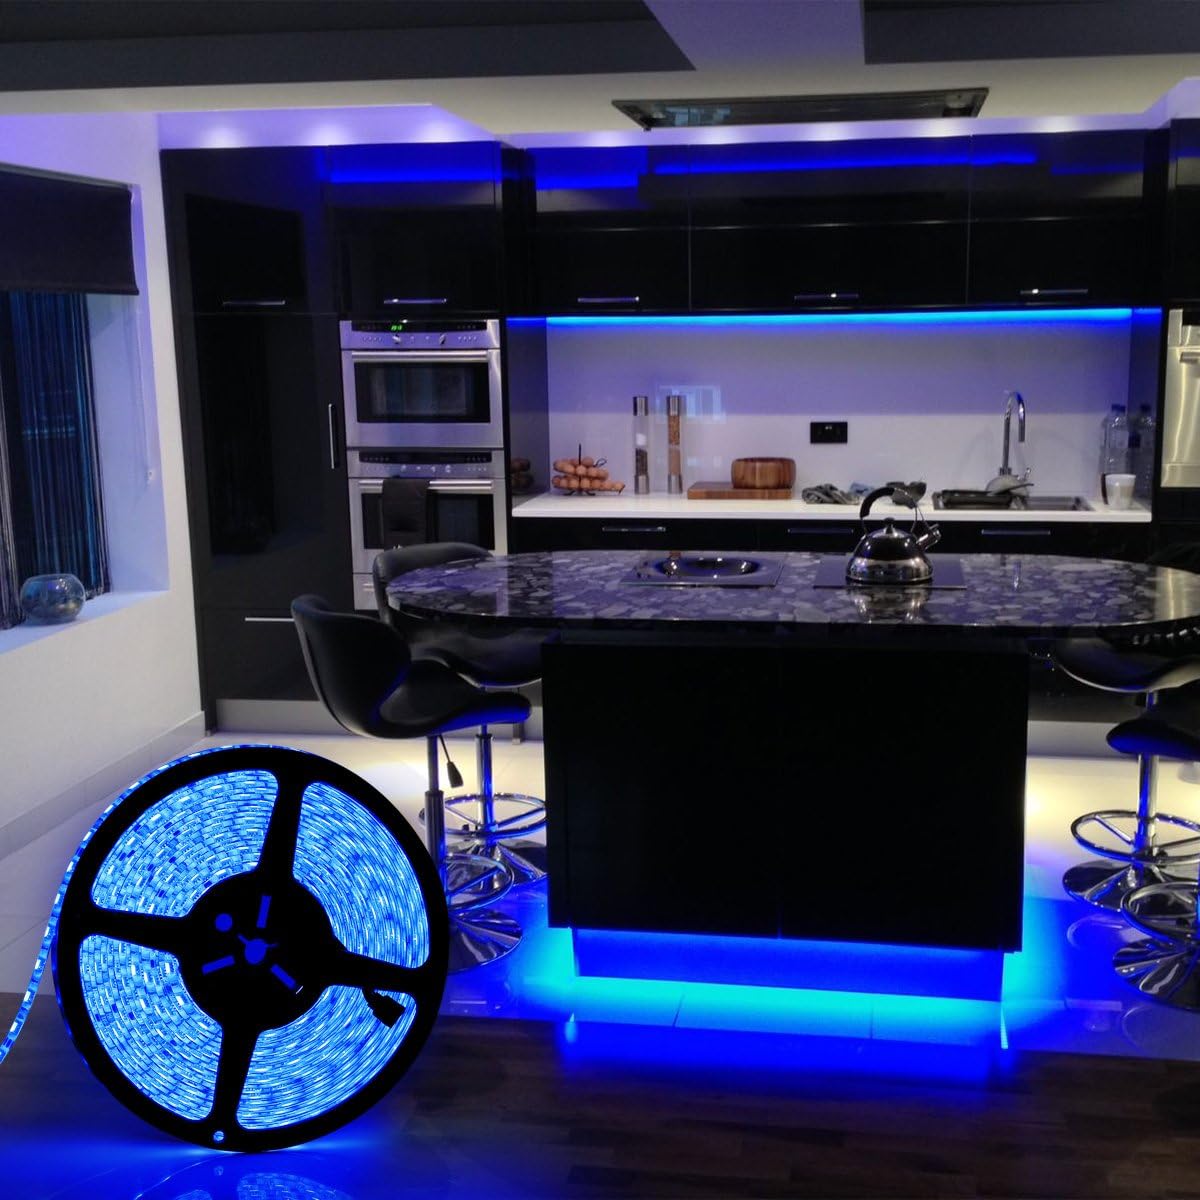
Image: An example of the LED strip installed in a modern kitchen, providing ambient blue lighting under cabinets and around an island, demonstrating its decorative application.

Image: The LED strip installed behind a bed's headboard, casting a soft blue glow upwards, creating a relaxing and decorative lighting effect in a bedroom.

Image: The LED strip creatively wrapped around a Christmas tree, showcasing its versatility for festive and decorative lighting applications.
Maintenance
- Cleaning: Disconnect power before cleaning. Gently wipe the LED strip with a soft, dry cloth. Do not use abrasive cleaners or solvents.
- Adhesion: If the strip begins to peel, re-secure it with additional adhesive or mounting clips.
- Storage: If storing the LED strip for an extended period, ensure it is clean, dry, and coiled loosely to prevent damage.
Troubleshooting
| Problem | Possible Cause | Solution |
|---|---|---|
| LED strip does not light up. |
|
|
| Remote control not working. |
|
|
| Colors are incorrect or incomplete. |
|
|
| LED strip overheats. |
|
|
Specifications
| Feature | Detail |
|---|---|
| Brand | SUPERNIGHT |
| Model Numbers | EBT219, EBT575, OG-220 |
| LED Type | 5050 SMD RGB |
| LED Quantity | 600 LEDs (60 LEDs/meter) |
| Strip Length | 10 meters |
| Input Voltage | DC 24V |
| Power Supply | DC 24V 5A (EU Plug) |
| Power Consumption | 60 Watts |
| Waterproof Rating | IP65 (LED Strip only) |
| Lifespan | Approx. 50,000 hours |
| Control Method | 44-key IR Remote Control |
| Energy Efficiency Class | F |
| Product Weight | 990 grams |
| Package Dimensions | 28.4 x 26.4 x 7.5 cm |

Image: The energy efficiency label for the SUPERNIGHT LED strip, indicating an energy class of F and a consumption of 60 kWh/1000h. For more details, scan the QR code or visit eprel.ec.europa.eu/qr/1476668.
Warranty and Support
This product comes with a standard manufacturer's warranty. Please refer to your purchase documentation for specific warranty terms and duration. For technical support, troubleshooting assistance, or warranty claims, please contact your retailer or the manufacturer directly using the contact information provided with your purchase.
Please retain your proof of purchase for warranty purposes.
Ask a question about this manual
Ask about setup, troubleshooting, compatibility, parts, safety, or missing instructions. Manuals+ will review the question and use this page’s manual context to help answer it.