
1. Introduction
This manual provides comprehensive instructions for the installation, operation, and maintenance of your Delaney Hardware Callan Newport Entry Door Lock. This single cylinder lever is designed for exterior doors, offering both security and ease of use. It is compatible with doors measuring 1-3/8 inches to 1-3/4 inches thick and features a non-handed design, allowing installation on both left- and right-handed doors.
Please read all instructions carefully before beginning installation to ensure proper function and security.
2. Package Contents
Verify that all components are present before starting installation. If any parts are missing or damaged, please contact Delaney Hardware customer service.
- Exterior Lever Assembly
- Interior Lever Assembly
- Latch Mechanism
- Strike Plate
- Mounting Screws
- Keys (typically 2)
- Installation Template (if included)
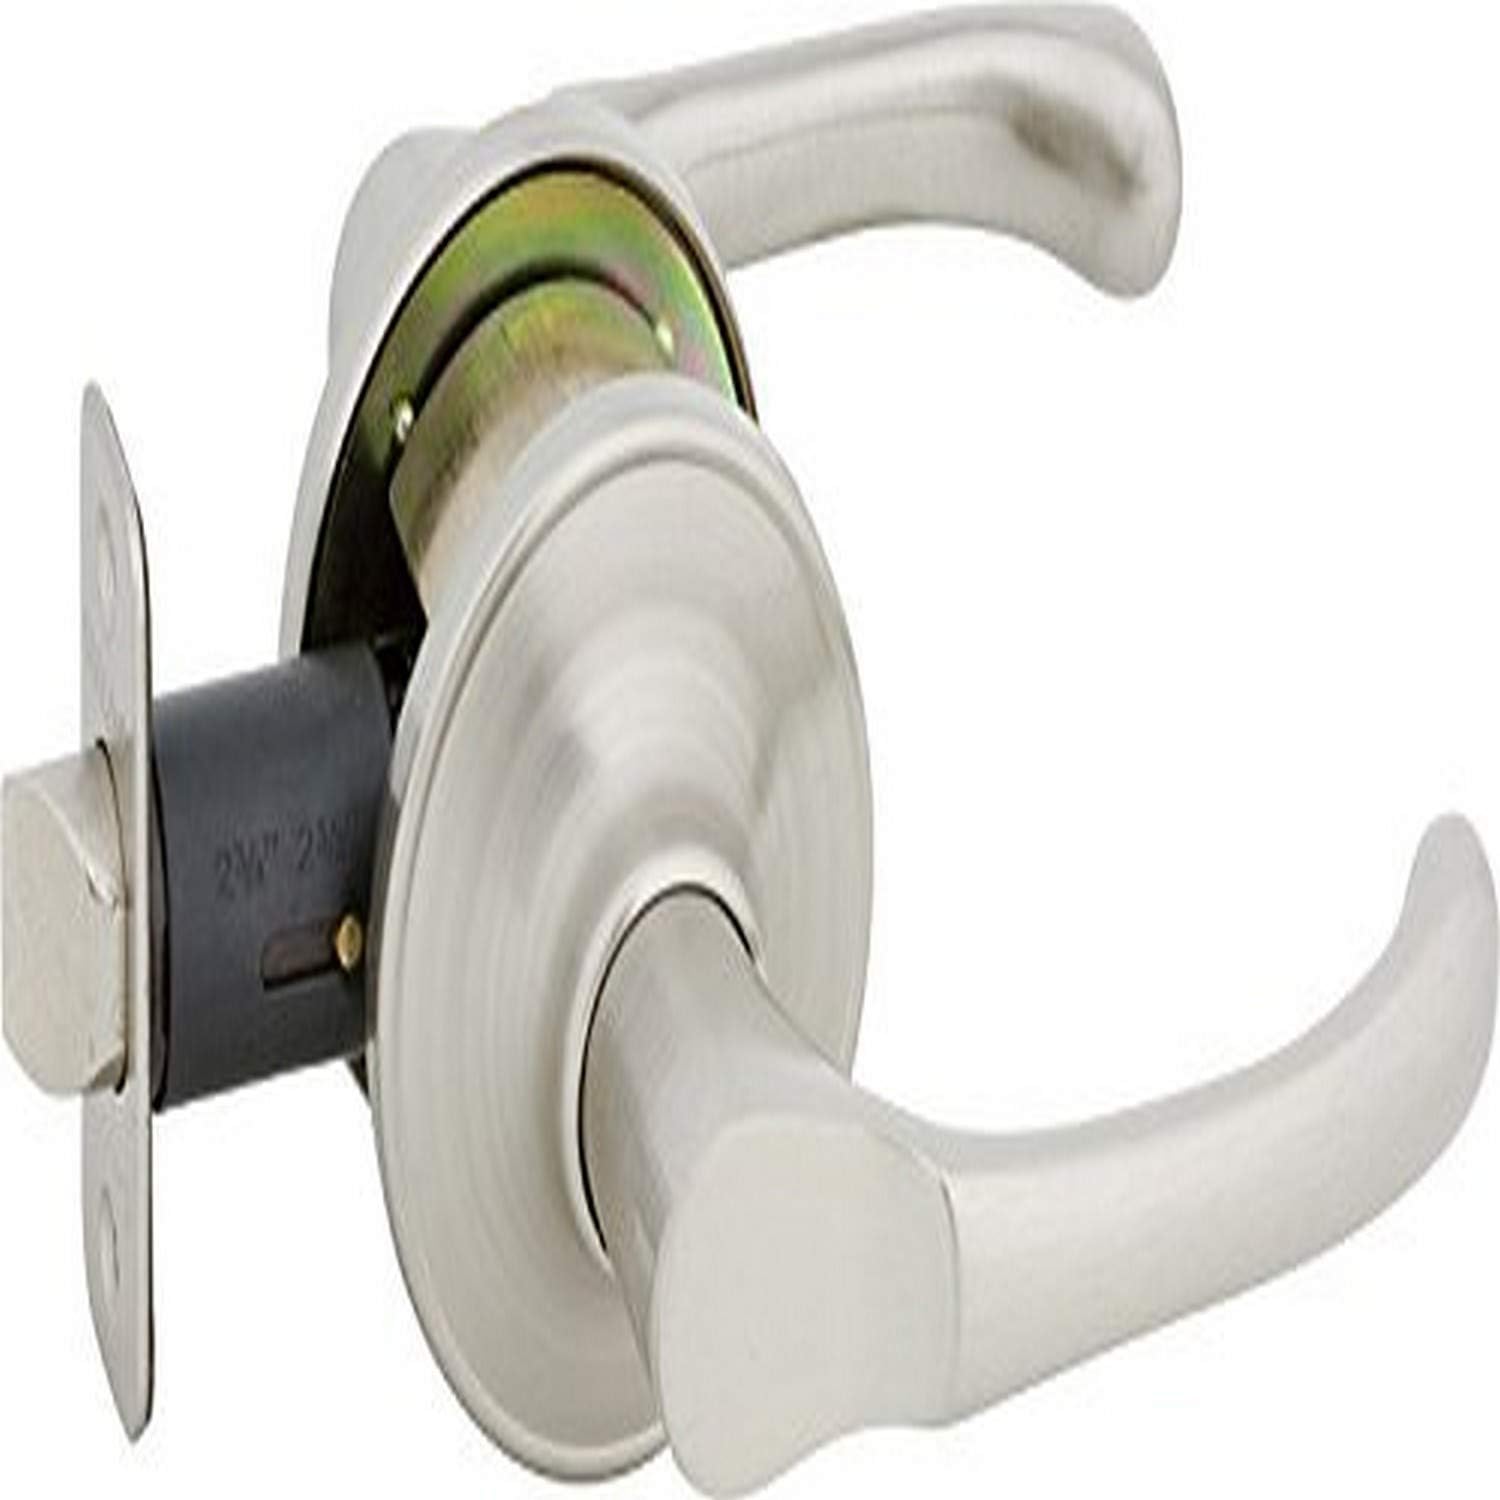
Figure 1: Complete Delaney Hardware Callan Newport Entry Door Lock set. This image displays the exterior and interior lever handles, the latch mechanism, and the strike plate, all in a satin nickel finish.
3. Specifications
| Model Number | 500T-NE-US15-G2-Entrance |
| Material | Zinc |
| Finish | Satin Nickel |
| Door Thickness Compatibility | 1-3/8 inches to 1-3/4 inches |
| Handle Type | Lever |
| Lock Type | Key Lock (Exterior), Thumbturn (Interior) |
| Weight | Approximately 2.1 Pounds |
| UPC/GTIN | 694036480013 |
4. Setup (Installation)
Installation requires a Philips head screwdriver. No specialized tools are needed. This lock is non-handed and can be installed on both left- and right-swinging doors.
4.1 Prepare the Door
- Ensure your door has standard bore holes (typically 2-1/8 inches diameter for the lock body and 1 inch diameter for the latch).
- Verify the backset measurement (distance from the door edge to the center of the bore hole) is either 2-3/8 inches or 2-3/4 inches. Adjust the latch mechanism if necessary.
4.2 Install the Latch
- Insert the latch mechanism into the edge bore hole of the door.
- Secure the latch with the provided screws. Ensure the latch bolt faces the door frame.
4.3 Install the Exterior Lever
- Insert the spindle and mounting posts of the exterior lever assembly through the latch and the door's main bore hole.
- Ensure the key cylinder is oriented correctly.
4.4 Install the Interior Lever
- Align the interior lever assembly with the mounting posts and spindle from the exterior assembly.
- Secure the interior assembly to the exterior assembly using the provided mounting screws. Tighten screws evenly until snug, but do not overtighten.
4.5 Install the Strike Plate
- Close the door and mark the position where the latch bolt strikes the door frame.
- Chisel out a shallow recess for the strike plate and drill pilot holes for the screws.
- Attach the strike plate to the door frame with the provided screws. Ensure the latch bolt engages smoothly.
4.6 Test Operation
- With the door open, test the lever action and the locking/unlocking mechanism using both the key and the interior thumbturn.
- Close the door and test the lock's function again to ensure smooth operation and proper latch engagement.
5. Operating Instructions
5.1 Locking the Door
- From the Exterior: Insert the key into the keyway and turn it to engage the lock. Remove the key.
- From the Interior: Rotate the thumbturn on the interior lever to engage the lock.
5.2 Unlocking the Door
- From the Exterior: Insert the key into the keyway and turn it to disengage the lock. Turn the lever to open the door.
- From the Interior: Rotate the thumbturn on the interior lever to disengage the lock. Turn the lever to open the door.
6. Maintenance
6.1 Cleaning
To maintain the finish of your lock, clean it regularly with a soft, damp cloth. Avoid using abrasive cleaners, harsh chemicals, or polishing agents, as these can damage the finish.
6.2 Lubrication
Periodically (e.g., once a year), apply a small amount of graphite-based lubricant to the key cylinder and the latch mechanism. Do not use oil-based lubricants, as they can attract dust and debris, leading to operational issues.
7. Troubleshooting
| Problem | Possible Cause | Solution |
|---|---|---|
| Lever is stiff or difficult to turn. | Misalignment during installation, lack of lubrication, debris. | Check mounting screws for overtightening. Lubricate the latch mechanism. Ensure no obstructions are present. |
| Key does not turn or is difficult to insert. | Debris in keyway, incorrect key, worn key. | Ensure you are using the correct key. Apply graphite lubricant to the keyway. If the key is worn, use a spare. |
| Latch bolt does not retract fully or extend. | Misalignment of lock components, bent latch bolt, debris. | Recheck installation steps, especially the alignment of the interior and exterior assemblies. Clear any debris from the latch area. |
| Door does not lock or unlock properly. | Strike plate misalignment, latch bolt not engaging. | Adjust the strike plate position on the door frame to ensure proper engagement with the latch bolt. Verify the thumbturn or key mechanism is fully engaging the lock. |
8. Warranty and Support
Delaney Hardware is committed to providing quality products and customer satisfaction. While specific warranty details are not included in this manual, Delaney Hardware stands by its products and offers expert customer service.
For technical assistance, warranty inquiries, or to report missing/damaged parts, please contact Delaney Hardware directly. Contact information can typically be found on the product packaging or the official Delaney Hardware website.
Delaney Hardware has proudly served the hardware market for over 30 years, combining superior products with great value.