1. Introduction
This manual provides detailed instructions for the installation, operation, and maintenance of your Malibu Intermatic LV365T Low Voltage Lighting Timer Transformer. This device is designed to automate the control of low voltage outdoor lighting systems, providing convenience and energy efficiency.
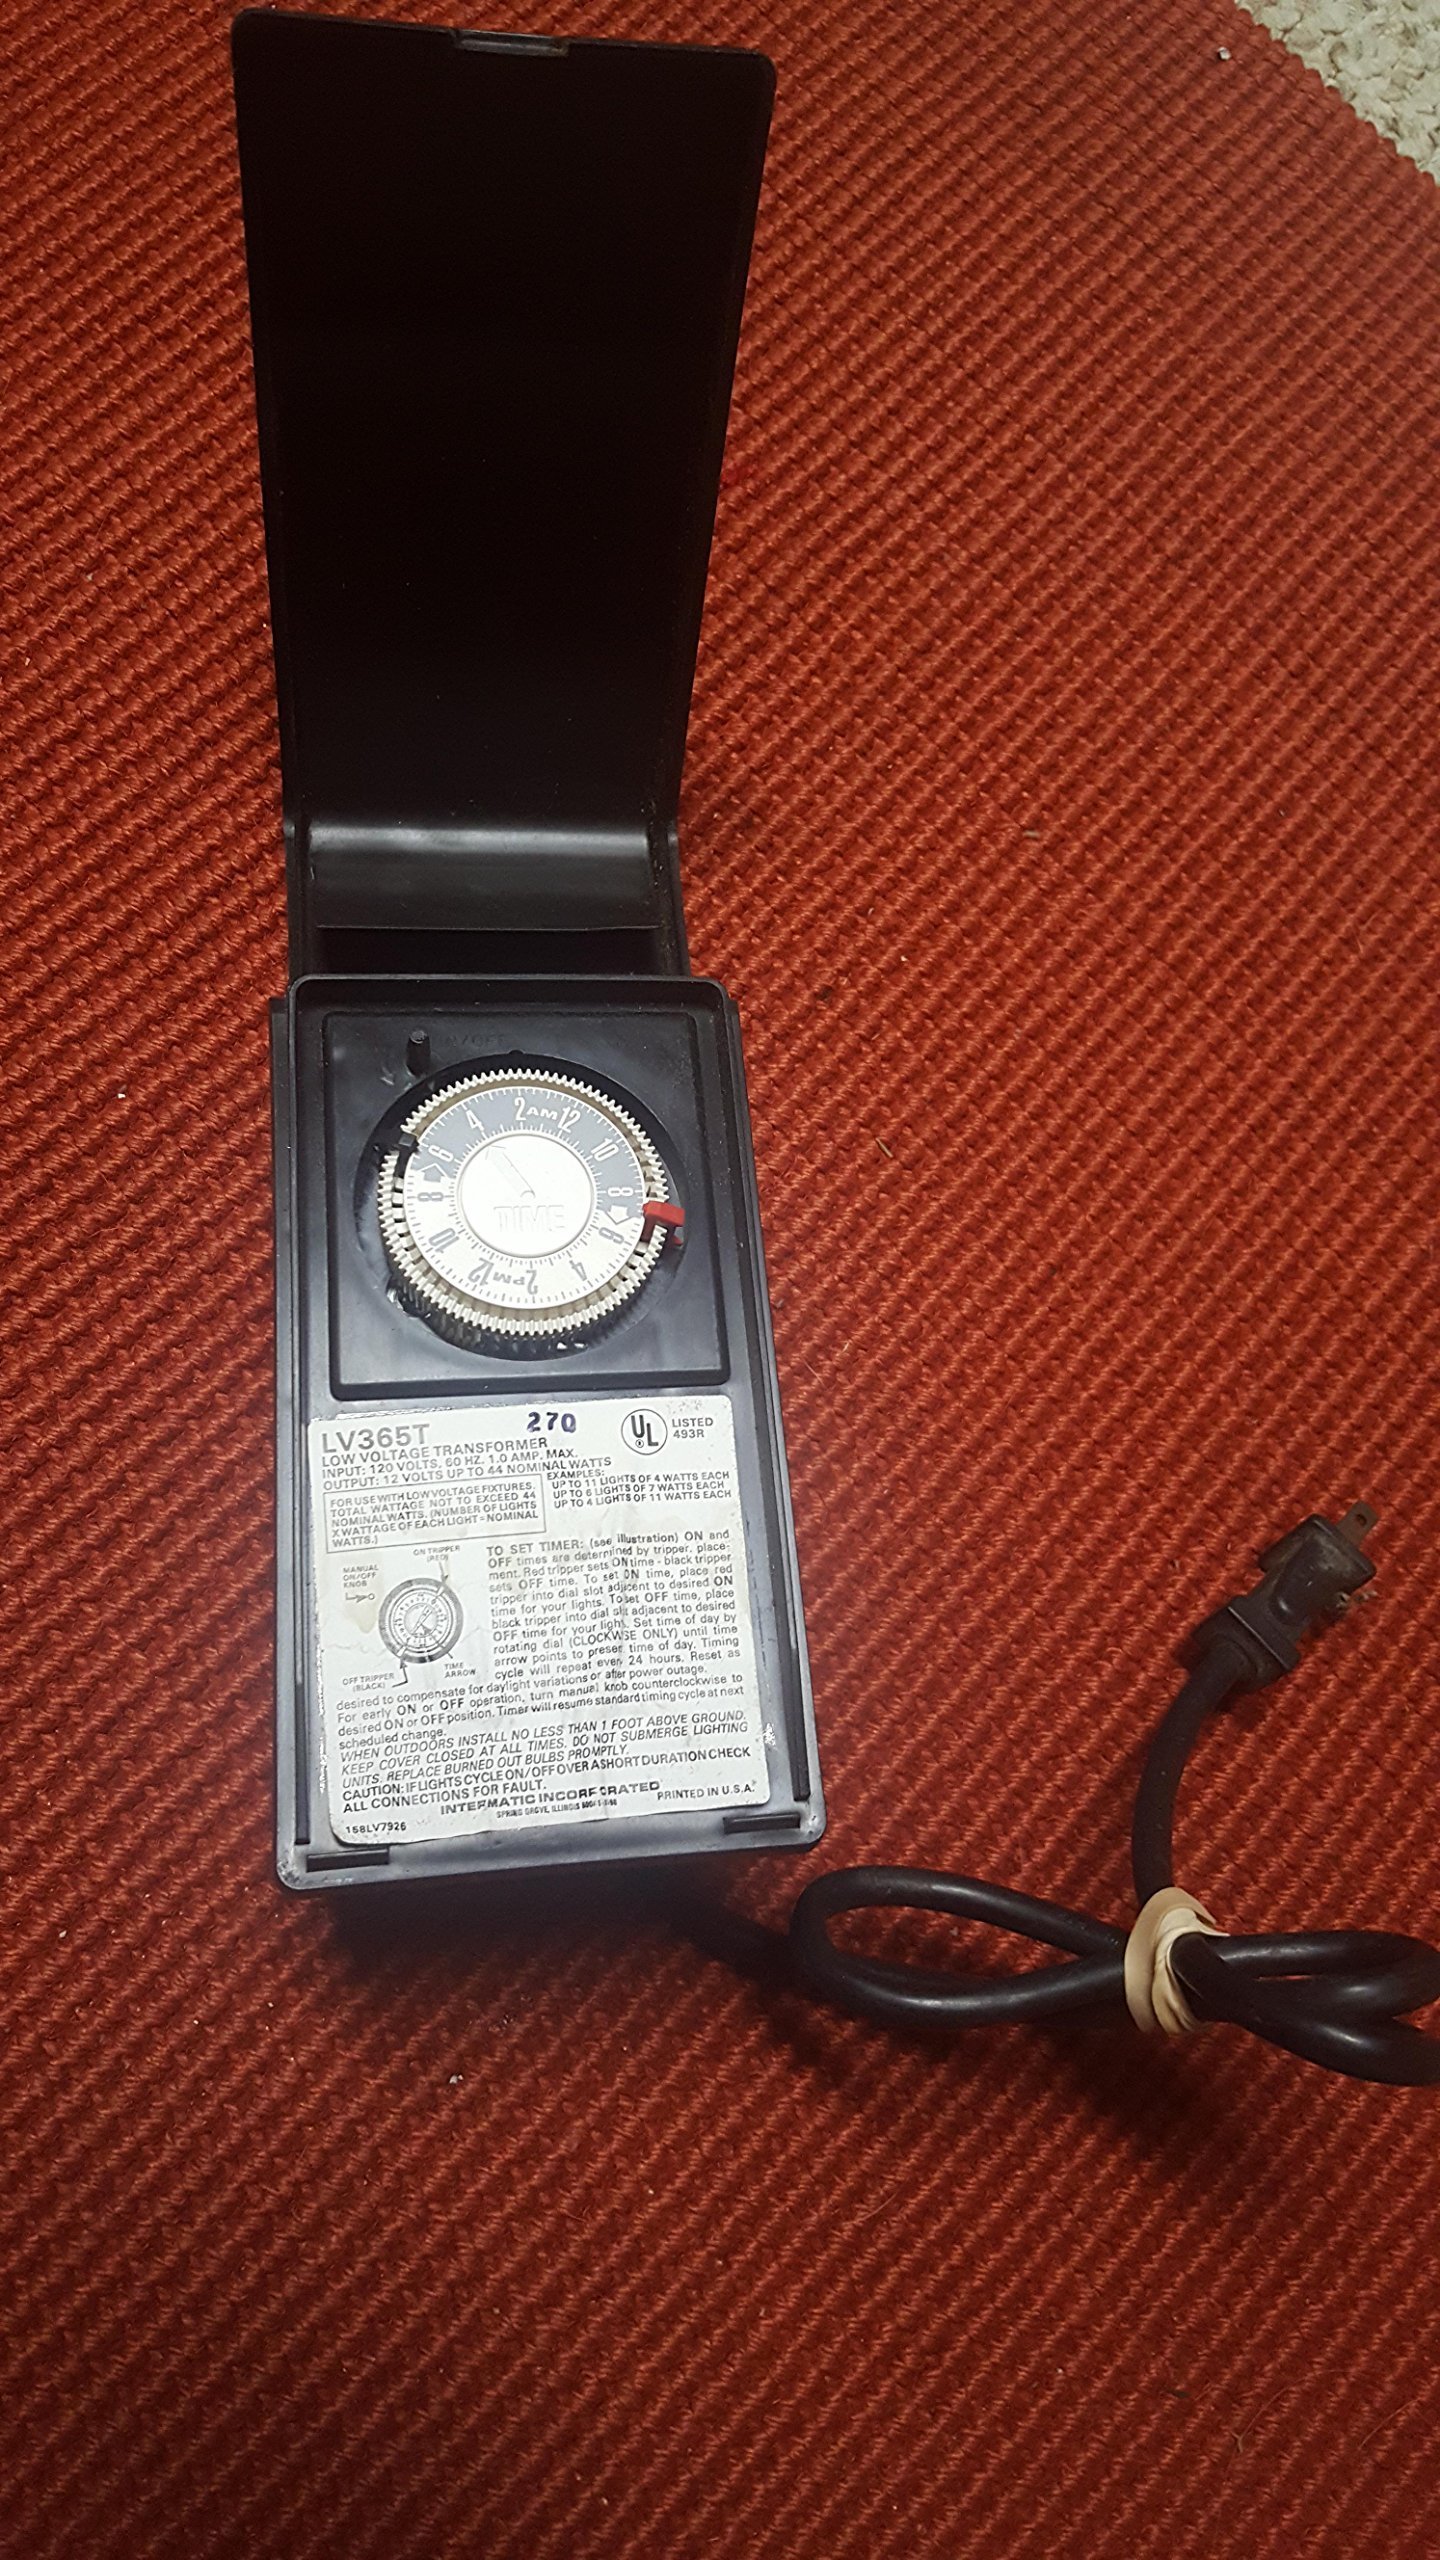
Figure 1: The Malibu Intermatic LV365T transformer with its protective cover open, revealing the internal timer dial and operational instructions printed on the unit's face. An attached power cord is visible on the right.
2. Safety Information
WARNING: Risk of Electric Shock or Fire.
- Always disconnect power before installing or servicing the transformer.
- This transformer is for outdoor use. When installed outdoors, it must be mounted no less than 1 foot (30 cm) above ground level.
- Do not submerge the lighting units or the transformer in water.
- Ensure all connections are secure and properly insulated to prevent short circuits.
- Do not exceed the maximum wattage capacity of 44 nominal watts. Calculate the total wattage of your lighting fixtures to ensure compatibility.
- Consult a qualified electrician if you are unsure about any installation steps.
3. Setup and Installation
3.1 Mounting the Transformer
Select a suitable outdoor location for mounting the transformer. Ensure it is at least 1 foot (30 cm) above ground level and protected from direct water submersion. Use appropriate mounting hardware (not included) to secure the unit firmly to a wall or post.
3.2 Wiring Connections
The LV365T transformer has an input of 120 Volts and an output of 12 Volts. Connect your low voltage landscape lighting fixtures to the 12-volt output terminals. Ensure the total wattage of all connected fixtures does not exceed 44 nominal watts. Refer to the following guidelines for maximum light capacity:
- Up to 10 lights of 4 watts each
- Up to 6 lights of 7 watts each
- Up to 4 lights of 11 watts each
To calculate total wattage: (Number of Lights) x (Wattage of Each Light) = Nominal Wattage. Always ensure your total nominal wattage is 44 watts or less.
4. Operating Instructions
4.1 Setting the Timer
The timer operates using a 24-hour dial with trippers to set ON and OFF times. Follow these steps to program your lighting schedule:
- Set ON Time: Locate the green tripper. Place the green tripper into the dial slot adjacent to your desired ON time.
- Set OFF Time: Locate the black tripper. Place the black tripper into the dial slot adjacent to your desired OFF time.
- Set Current Time: Rotate the dial clockwise only until the time arrow points to the current preset time of day. The timing cycle will repeat every 24 hours.
The timer is designed to compensate for daylight variations. After a power outage, the timer may need to be reset to the correct time of day.
4.2 Manual Operation
For desired ON or OFF operation outside of the programmed schedule, turn the manual knob counterclockwise to the desired ON or OFF position. The timer will resume its standard timing cycle at the next scheduled solution change.
5. Maintenance
- Bulb Replacement: Promptly replace any burned-out bulbs in your lighting fixtures to maintain optimal performance and prevent potential issues with the transformer.
- Connection Check: Periodically inspect all wiring connections for tightness and corrosion. Loose or corroded connections can lead to flickering lights or transformer malfunction.
- Cleaning: Keep the transformer unit clean and free from debris. Use a soft, dry cloth for cleaning. Do not use abrasive cleaners or immerse the unit in water.
6. Troubleshooting
| Problem | Possible Cause | Solution |
|---|---|---|
| Lights cycle ON/OFF over a short duration. | Faulty connections or overloaded circuit. | Check all connections for faults. Ensure total wattage of connected lights does not exceed 44 watts. Replace any burned-out bulbs promptly. |
| Lights do not turn ON. | No power, incorrect timer setting, or burned-out bulbs. | Verify the transformer is plugged into a live outlet. Check timer settings and current time. Inspect and replace any burned-out bulbs. Check circuit breaker. |
| Timer is not keeping accurate time. | Power outage or incorrect initial time setting. | Reset the current time on the dial. The timer may need resetting after a power interruption. |
7. Specifications
- Model Number: LV365T
- Input Voltage: 120 Volts
- Output Voltage: 12 Volts
- Maximum Output Wattage: 44 Nominal Watts
- Current Rating: 3 Amps
- Package Dimensions: 14.45 x 9.84 x 5 inches
- Weight: 2.4 Pounds
- UPC: 022228984658
- Date First Available: December 15, 2016
8. Warranty Information
This product is covered by a limited manufacturer's warranty. Please refer to the warranty card included with your purchase for specific terms and conditions. Keep your proof of purchase for warranty claims. The warranty typically covers defects in materials and workmanship under normal use.
9. Customer Support
For technical assistance, troubleshooting, or warranty inquiries, please contact Intermatic Malibu customer support. Visit the official Intermatic website for contact information and additional resources.
Website: www.intermatic.com


