1. Introduction
This manual provides detailed instructions for the installation, operation, and maintenance of your Soundstream ST2.1000D Stealth Series 1000W Class D 2-Channel Amplifier. This compact amplifier is designed to deliver high-quality audio performance with efficient power usage, suitable for various vehicle applications.
2. Safety Information
Please read all safety instructions carefully before installing or operating the amplifier. Failure to follow these guidelines may result in injury or damage to the product or vehicle.
- Always disconnect the vehicle's battery negative terminal before beginning any electrical work.
- Ensure proper grounding for the amplifier to prevent electrical hazards and noise.
- Use appropriate wire gauges for power, ground, and speaker connections as specified in the installation section.
- Avoid mounting the amplifier in locations exposed to direct sunlight, excessive heat, moisture, or dust.
- Do not attempt to open or modify the amplifier. Refer all servicing to qualified personnel.
- Securely mount the amplifier to prevent movement during vehicle operation.
3. Package Contents
Verify that all items are present in the package:
- Soundstream ST2.1000D Amplifier
- Remote Gain Control
- Wiring Harnesses
- Mounting Hardware
- User Manual (this document)
4. Product Overview
The Soundstream ST2.1000D amplifier features a compact design with advanced Class D technology for efficient power delivery. Key features include:
- RMS power output: 140W x 1 at 4 ohms, 250W x 1 at 2 ohms (bridged 4 ohms).
- Integrated remote gain control for convenient audio level adjustment.
- Hybrid aluminum alloy heatsink for optimal heat dissipation.
- Military-grade SMT PCB construction for dynamic performance and reliability.
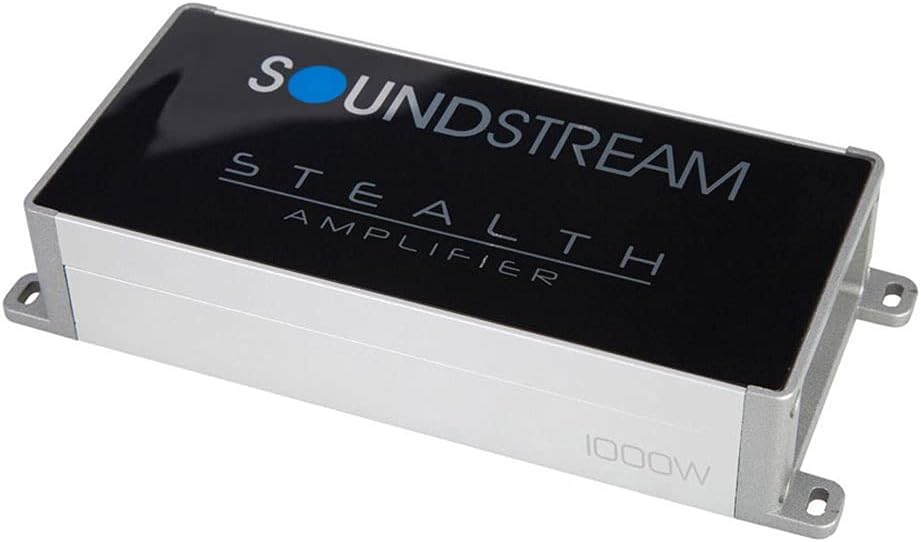
Figure 4.1: Top view of the Soundstream ST2.1000D Stealth Series Amplifier, showcasing its compact design and branding.
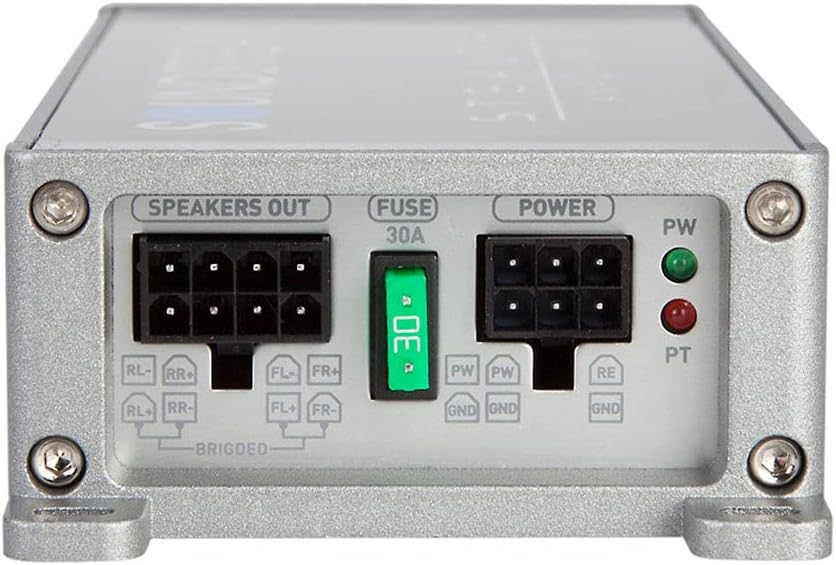
Figure 4.2: Rear panel of the amplifier showing the 'Speakers Out', 'Fuse 30A', and 'Power' terminals. This includes connections for RL-, RR+, FL+, FR- for speakers, and PW, GND, RE for power and remote turn-on.
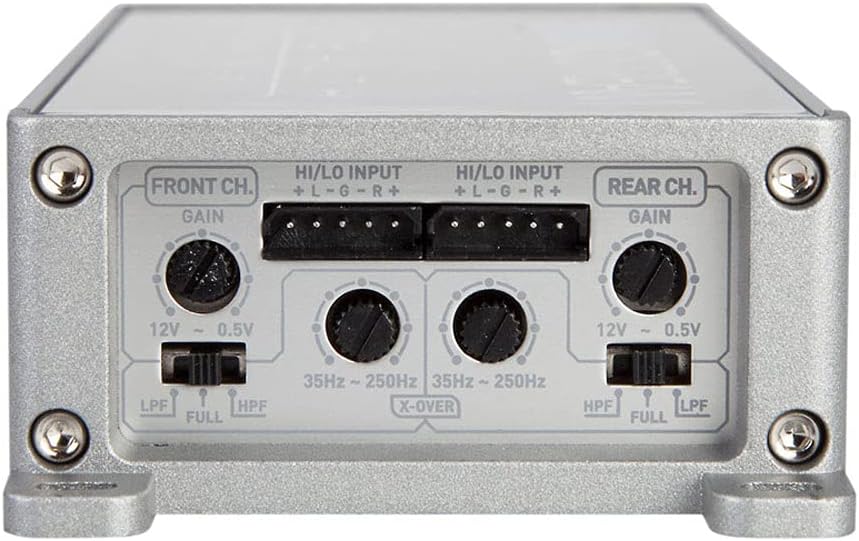
Figure 4.3: Front panel of the amplifier displaying the 'Front Ch.' and 'Rear Ch.' controls, including 'Gain' adjustment knobs, 'HI/LO INPUT' terminals, and 'X-OVER' switches for LPF (Low Pass Filter), HPF (High Pass Filter), and FULL range settings, adjustable from 35Hz to 250Hz.
5. Setup and Installation
Proper installation is crucial for optimal performance and safety. If you are unsure about any step, consult a professional installer.
5.1 Mounting Location
Choose a mounting location that is:
- Secure and stable, away from moving parts.
- Well-ventilated to allow for proper heat dissipation.
- Protected from moisture, direct sunlight, and excessive dust.
- Accessible for wiring and adjustments.
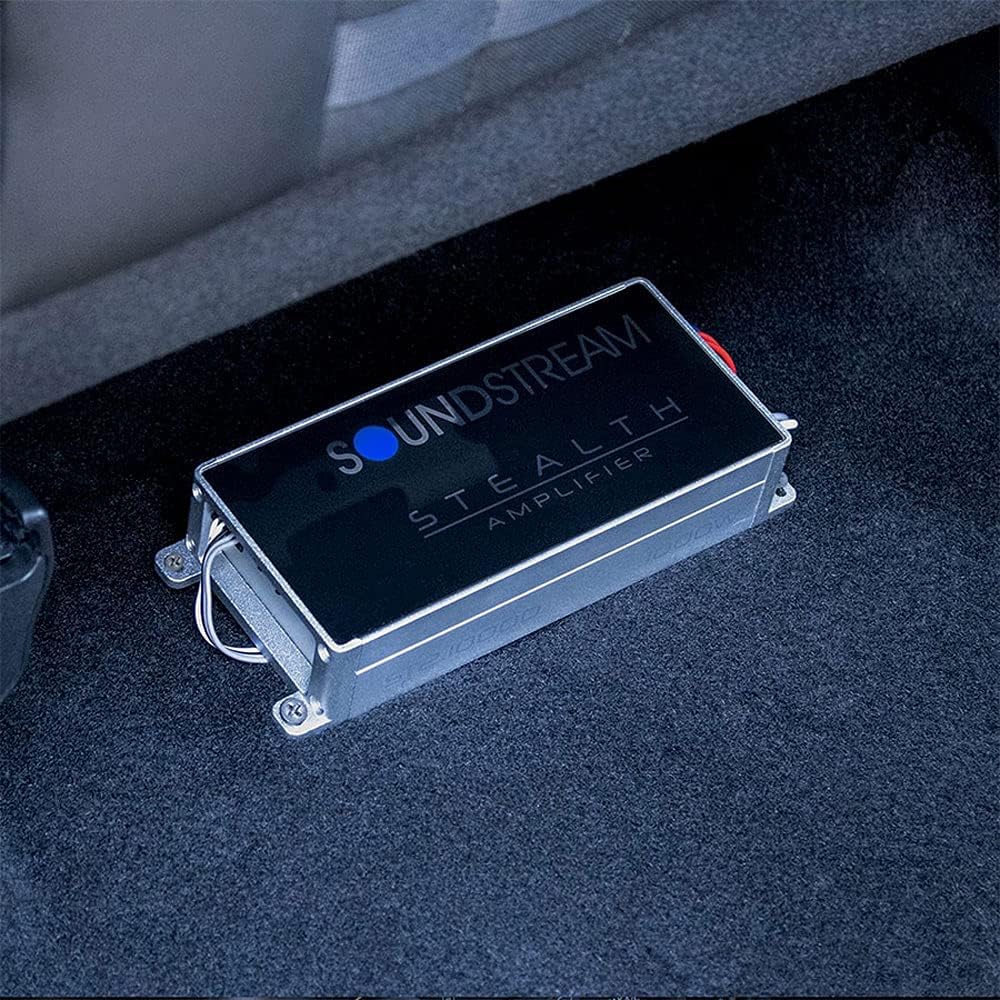
Figure 5.1: Example of the Soundstream ST2.1000D amplifier installed in a vehicle, demonstrating its compact size and discreet placement capability.
5.2 Wiring Connections
- Power Connection: Connect the main power wire from the vehicle's battery (with an inline fuse) to the +12V terminal on the amplifier.
- Ground Connection: Connect a short, heavy-gauge wire from the amplifier's GND terminal to a clean, unpainted metal surface on the vehicle chassis.
- Remote Turn-On: Connect the remote turn-on wire from your head unit to the REM terminal on the amplifier.
- Input Signal: Connect the RCA output from your head unit to the HI/LO INPUT terminals on the amplifier.
- Speaker Connections: Connect your speakers to the 'SPEAKERS OUT' terminals, observing correct polarity (positive to positive, negative to negative). For bridged operation, refer to the specific bridging instructions provided with your wiring harness.
Note: Always ensure all connections are secure and insulated to prevent short circuits.
6. Operating Instructions
Once installed, adjust the amplifier settings for optimal audio performance.
6.1 Gain Adjustment
The GAIN control matches the amplifier's input sensitivity to the output of your head unit. To set the gain:
- Turn the amplifier gain control to its minimum (fully counter-clockwise) position.
- Set your head unit volume to about 75-80% of its maximum.
- Slowly increase the amplifier gain until you hear distortion, then back it off slightly until the sound is clear.
- Use the remote gain control for fine-tuning during listening.
6.2 Crossover Settings
The X-OVER switches allow you to filter frequencies sent to your speakers:
- LPF (Low Pass Filter): Allows only frequencies below the set point to pass. Typically used for subwoofers.
- HPF (High Pass Filter): Allows only frequencies above the set point to pass. Typically used for full-range or component speakers.
- FULL: Allows all frequencies to pass.
Adjust the frequency knob (35Hz ~ 250Hz) according to your speaker type and desired sound profile.
7. Maintenance
The Soundstream ST2.1000D amplifier requires minimal maintenance.
- Keep the amplifier clean and free of dust. Use a soft, dry cloth for cleaning.
- Ensure adequate ventilation around the amplifier to prevent overheating.
- Periodically check all wiring connections for tightness and corrosion.
8. Troubleshooting
If you experience issues with your amplifier, refer to the following common problems and solutions:
| Problem | Possible Cause | Solution |
|---|---|---|
| No Power / No Sound | Blown fuse, loose power/ground connection, no remote turn-on signal. | Check amplifier fuse (30A). Verify all power, ground, and remote connections are secure. Ensure head unit is on and sending a remote signal. |
| Distorted Sound | Gain set too high, improper crossover settings, poor input signal. | Reduce gain setting. Adjust crossover filters. Check RCA cables for damage or poor connection. |
| Amplifier Overheating | Insufficient ventilation, impedance too low. | Ensure amplifier has adequate airflow. Verify speaker impedance matches amplifier specifications. |
| Noise (Hiss, Whine) | Poor grounding, RCA cables near power wires, faulty components. | Improve ground connection. Reroute RCA cables away from power wires. Test with different RCA cables. |
9. Specifications
| Feature | Detail |
|---|---|
| Model Number | ST2.1000D |
| Brand | Soundstream |
| RMS Power (4 Ohms) | 140W x 1 |
| RMS Power (2 Ohms) | 250W x 1 (Bridged 4 Ohms) |
| Number of Channels | 2 |
| Output Power | 1000 Watts (Peak/Max) |
| Voltage | 12 Volts |
| Maximum Supply Voltage | 12 Volts |
| Item Dimensions (L x W x H) | 6.5 x 3 x 1.5 inches |
| Item Weight | 1.9 pounds |
| Material | PCB, Aluminum Alloy |
| Mounting Type | Freestanding |
| Date First Available | January 17, 2017 |
10. Warranty and Support
Soundstream products are designed and manufactured to high-quality standards. For specific warranty information, please refer to the warranty card included with your product or visit the official Soundstream website. For technical support or service inquiries, please contact Soundstream customer service.