1. Introduction
The Renogy Rover Series Charge Controller is designed for various off-grid solar applications. It effectively protects the battery from over-charging by solar modules and over-discharging by connected loads. The Rover's optimized charging process extends battery life and enhances overall system performance. Featuring a 4-stage battery charging algorithm, it ensures rapid, efficient, and safe charging. This controller is an essential component for any solar power system, maximizing energy utilization and minimizing waste.
2. Safety Information
Always observe the following safety precautions during installation and operation:
- Ensure all connections are secure and properly insulated to prevent short circuits.
- Wear appropriate personal protective equipment (PPE), including gloves and eye protection, during installation.
- Do not attempt to disassemble or repair the controller. Refer to qualified personnel for servicing.
- Install the controller in a well-ventilated area, away from flammable materials and direct sunlight.
- Verify battery voltage and polarity before connecting to the controller. Incorrect connections can cause damage.
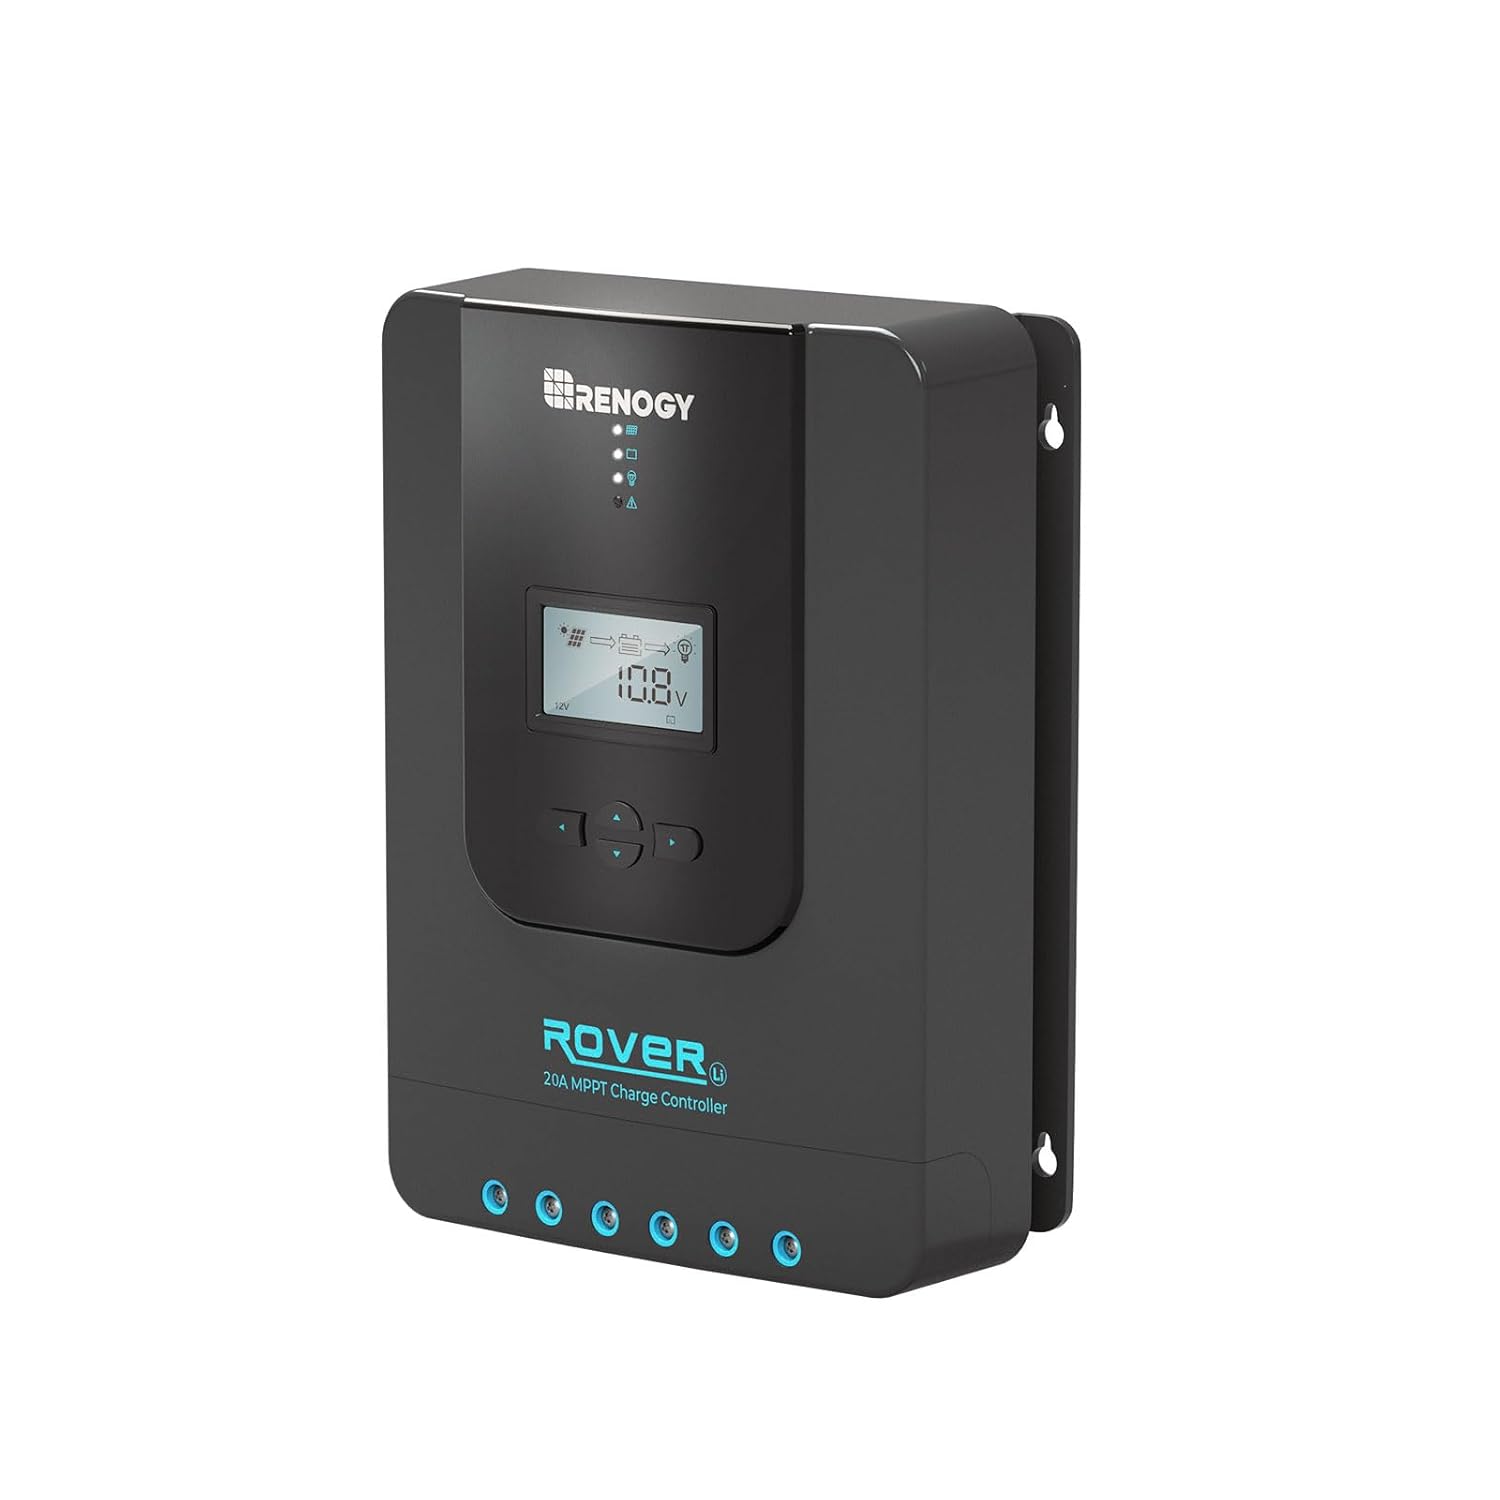
3. Product Overview
3.1 Key Features
- Innovative MPPT Design: Die-cast aluminum design for excellent heat dissipation and Renogy Maximum Power Point Tracking technology with up to 99% tracking efficiency and 98% peak conversion efficiency. Optimal charging even in cloudy conditions.
- 12V/24V Automatic Detection: Automatically detects 12V or 24V DC system voltages (for Non-Lithium battery types). LCD screen and LED indicators display solar charging and battery operation information, customizable parameters, and error codes.
- Full System Protection: Self-diagnostic capability protects against reverse polarity, battery overcharging, battery over-discharging, overload, short-circuiting, and reverse current.
- 4-Stage Safe Charging: Features 4-stage charging (Bulk, Absorption, Float, and Equalization) for Lead Acid Batteries and 2-stage charging (Bulk and Absorption) for Lithium batteries, including Lithium Reactivation.
- Diverse Load Control: Connect DC appliances directly to the optional Load Terminals to monitor consumption or set up timer controls.
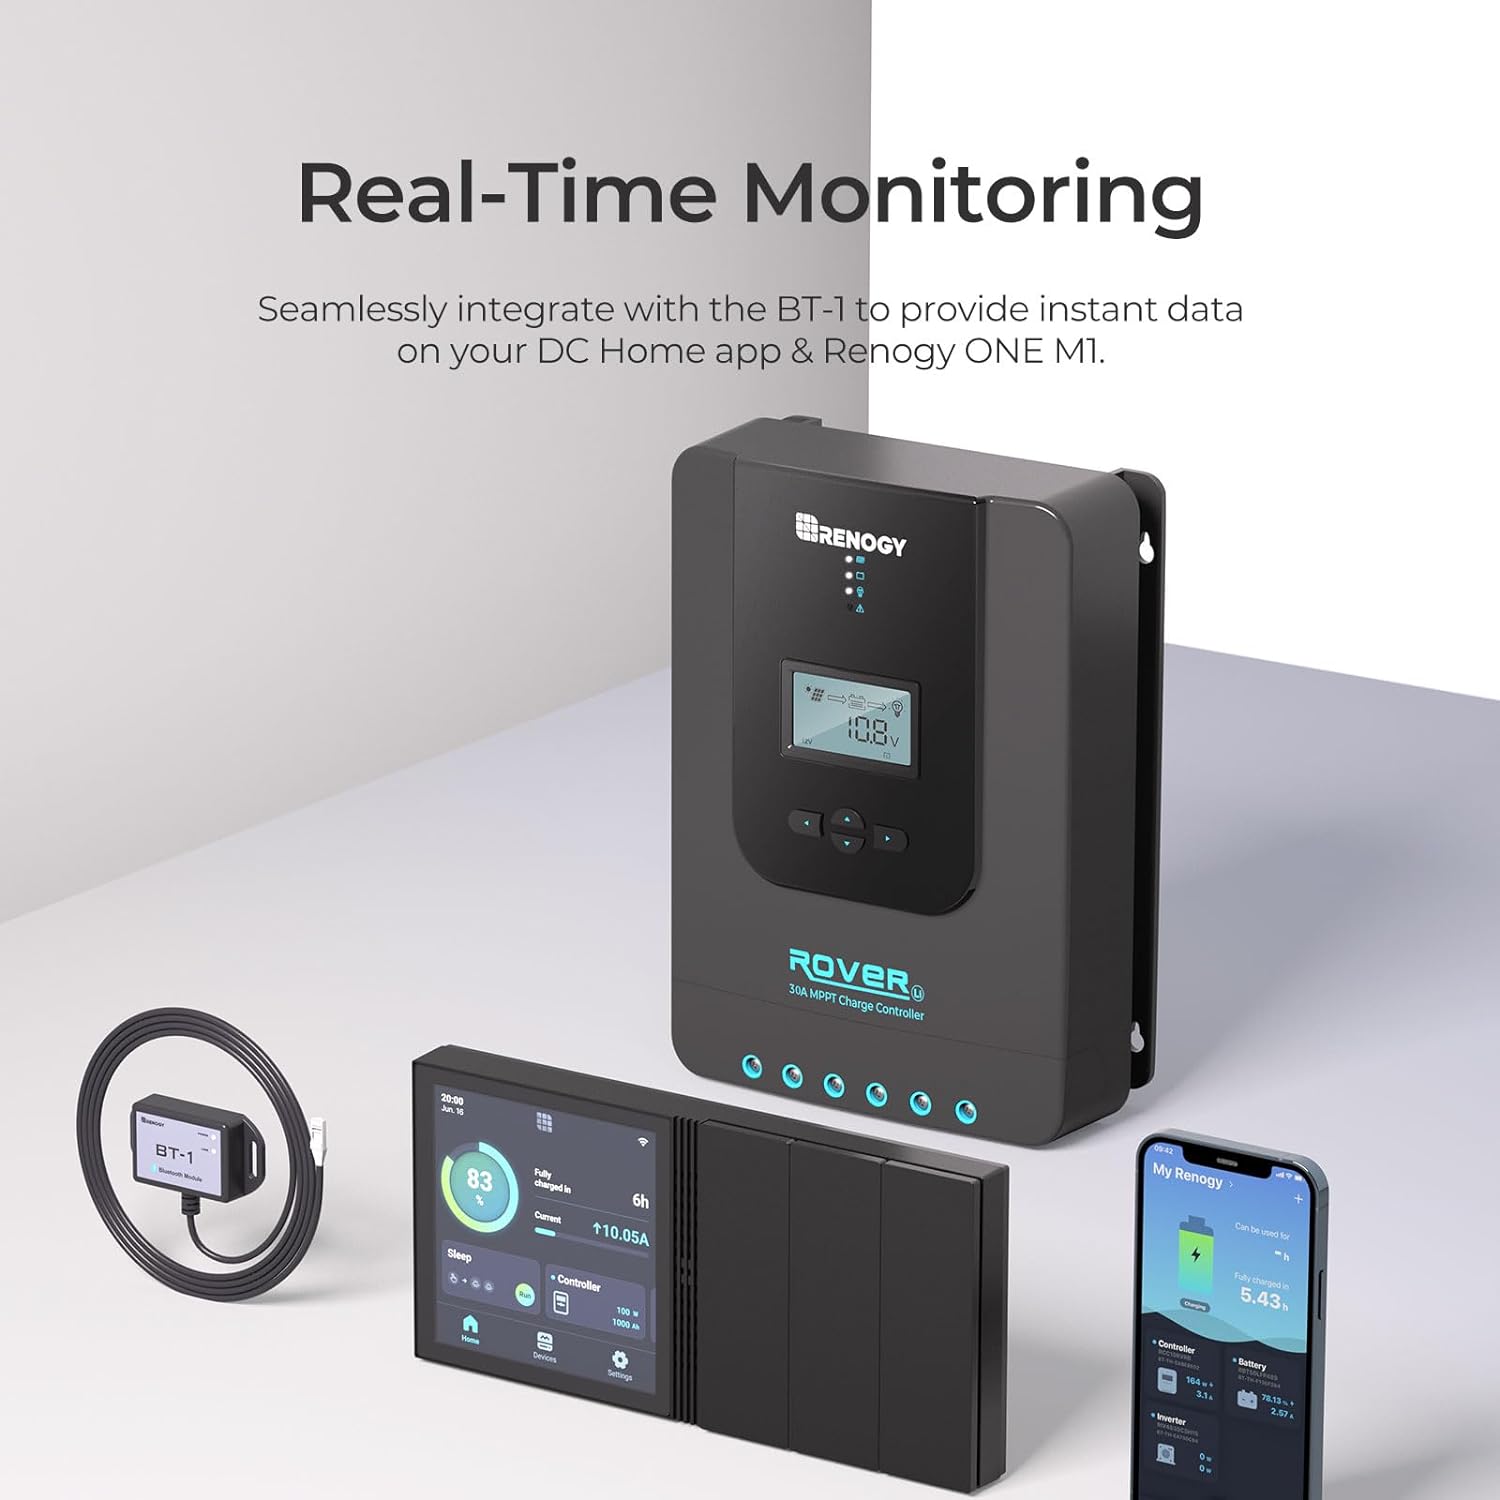
- Remote Monitoring: RS232 communication port allows communication with the DC Home app and Renogy ONE M1 via the Renogy BT-1 Bluetooth module (sold separately).
3.2 What's in the Box
- Rover Li 20 Amp MPPT Charge Controller
4. Setup and Installation
4.1 Connecting to Battery
The first step in setting up the Rover is to connect it to a 12V or 24V battery. Ensure correct polarity. The controller will power on once connected.
4.2 Setting Battery Type
The Rover controller can charge Sealed, Gel, Flooded, and Lithium batteries. To change the battery type, navigate to the main menu screen on the LCD display. Press and hold the right arrow button until the battery type screen appears. Use the down arrow button to cycle through the available battery options (SLD for Sealed, FLD for Flooded, GEL for Gel, LI for Lithium). Press the Enter button to save your selection.
4.3 Connecting Remote Temperature Sensor
The Rover comes with a remote temperature sensor. Connect this sensor to the port labeled "Temp." on the controller. For accurate temperature compensation, place the sensor inside the battery compartment or tape it to one side of the battery.
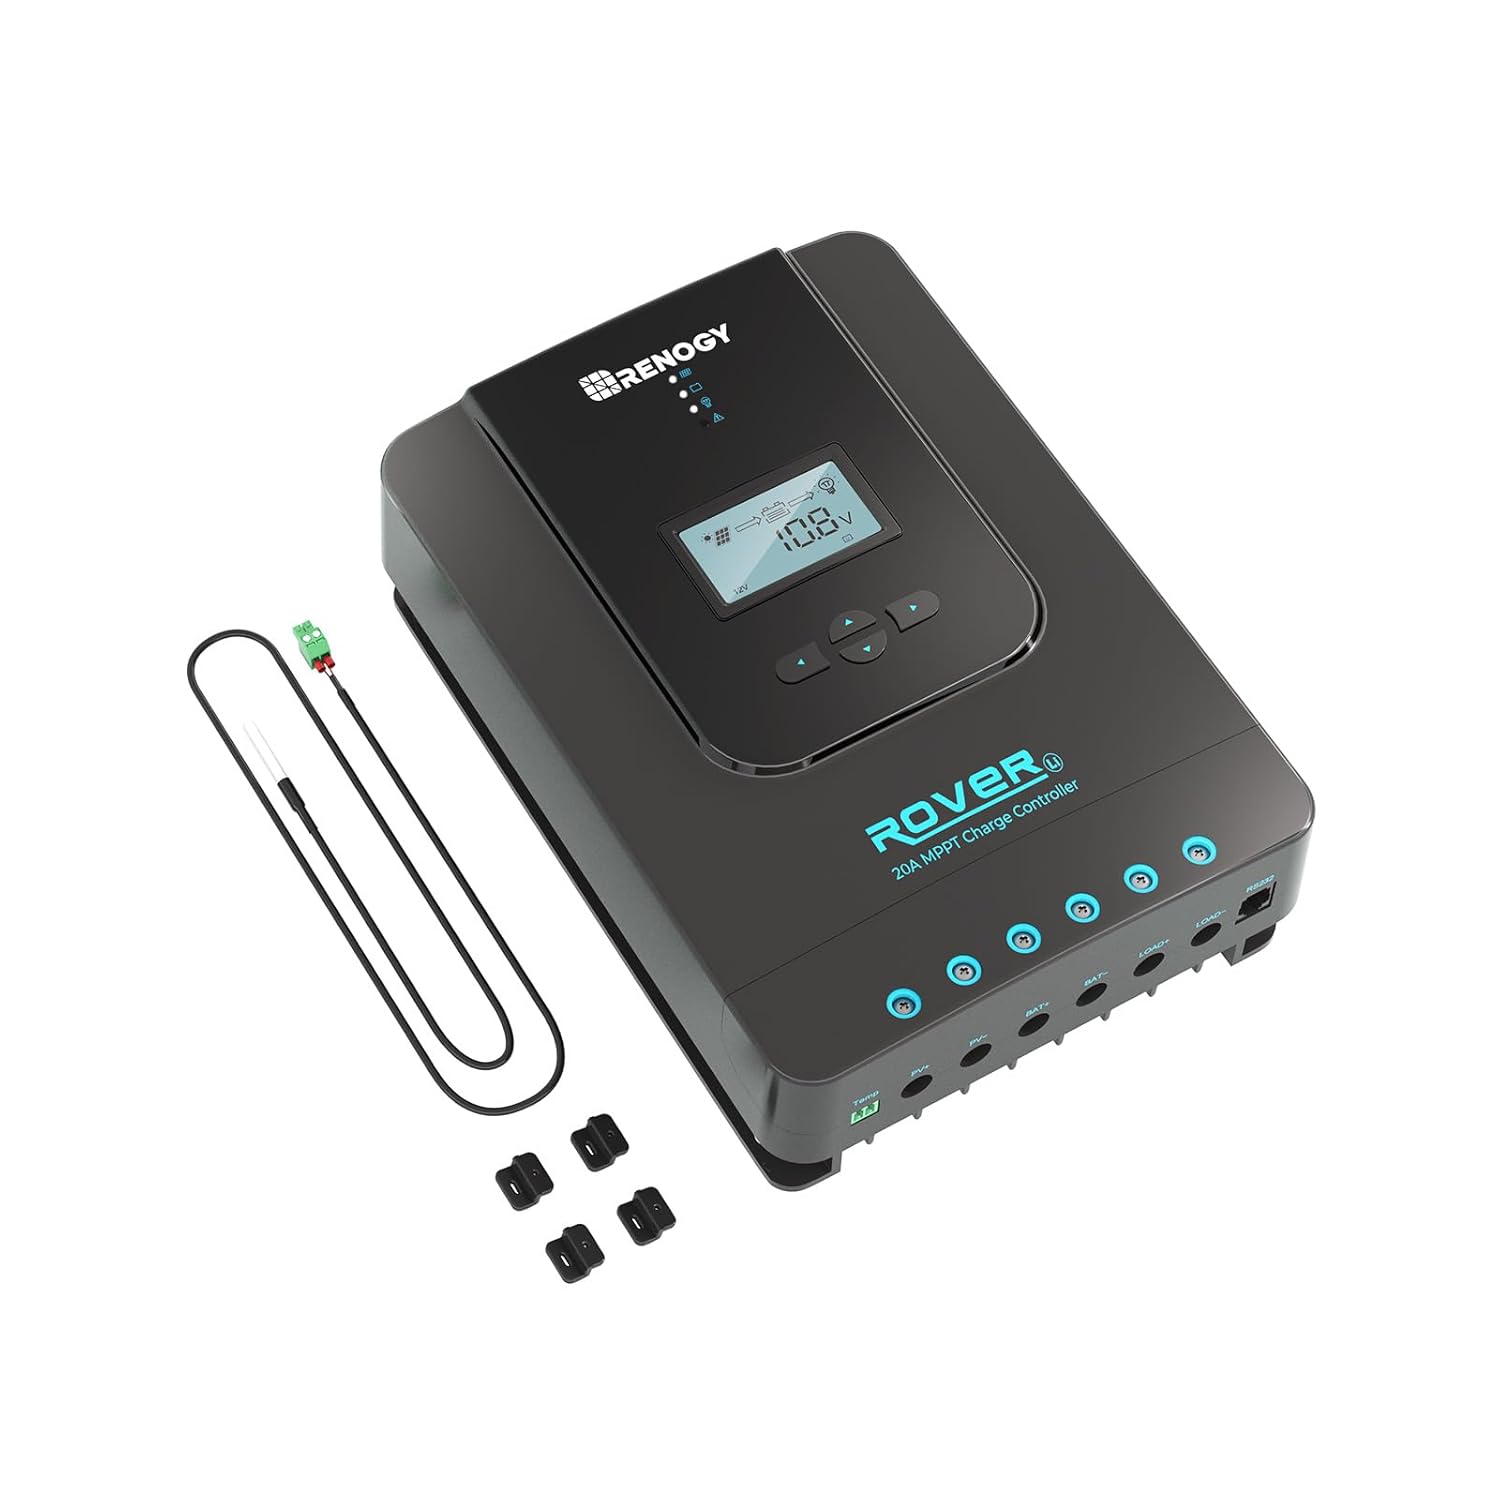
4.4 Connecting Solar Panel
After connecting the battery and temperature sensor, connect your solar panel(s) to the PV+ and PV- terminals on the controller. Ensure the solar panel voltage is within the controller's specifications. Once connected, the PV voltage will be displayed on the LCD screen.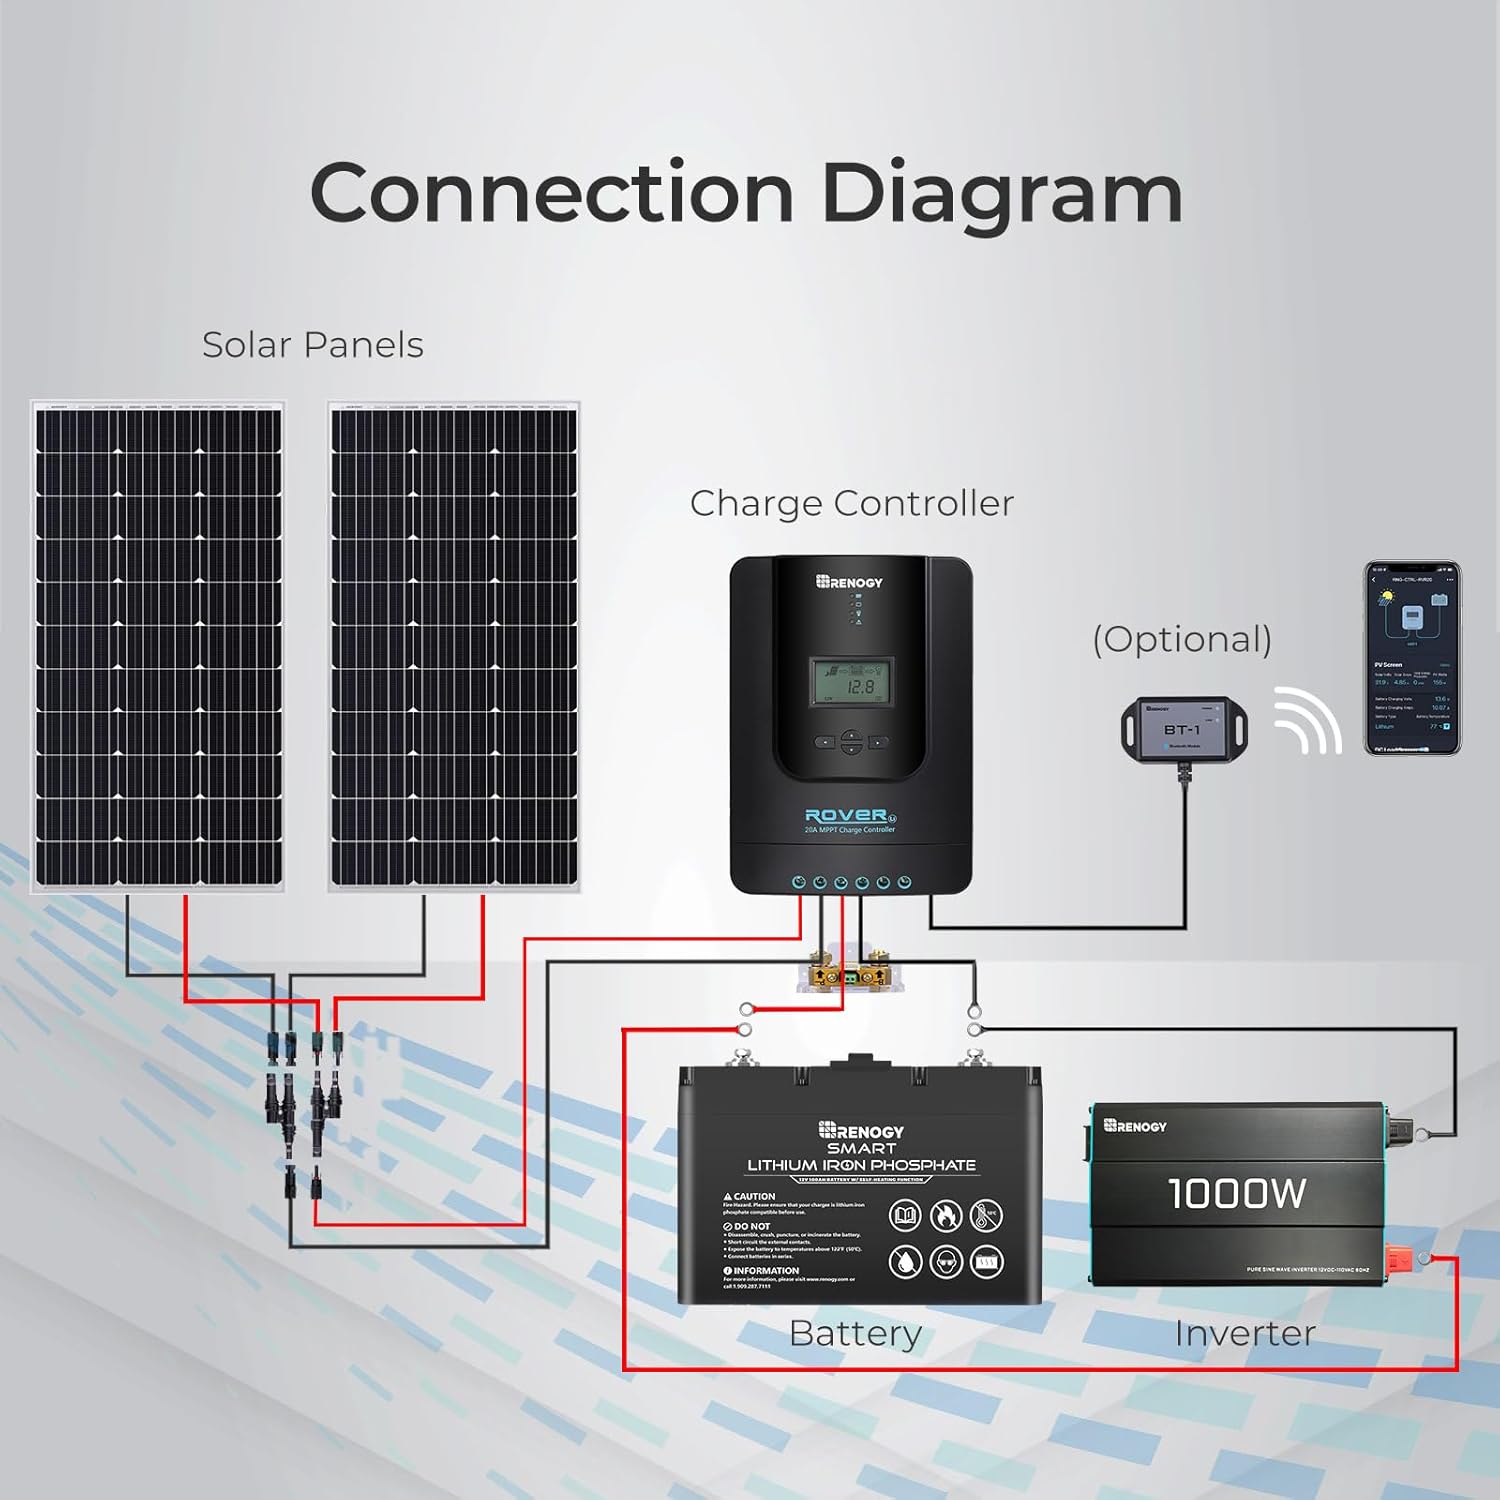
5. Operating Instructions
5.1 LCD Display Parameters
The Rover's LCD display provides real-time information about your solar system. You can cycle through 11 different parameters by pressing the Up or Down buttons. These parameters include:
- System Status
- Solar Panel Voltage
- Charging Current
- State of Charge (SOC)
- Battery Voltage
- Load Current
- Accumulated Amp Hours
- Discharged Amp Hours
- Ambient Temperature
- Load Mode
- Error Codes
5.2 Load Control
The Rover allows direct connection of DC appliances to its Load Terminals. This feature enables monitoring of power consumption and setting up timer controls directly from the controller, optimizing energy usage.
5.3 Remote Monitoring
For enhanced monitoring and control, the Renogy BT-1 Bluetooth module (sold separately) can be connected to the RS232 communication port. This allows you to monitor the status and productivity of your solar panels and adjust parameters on the go via the Renogy DC Home app on your smartphone.
6. Maintenance
Regular maintenance ensures optimal performance and longevity of your Renogy Rover charge controller:
- Cleaning: Periodically clean the controller's exterior with a dry cloth to remove dust and debris. Ensure ventilation openings are clear.
- Connection Check: Annually inspect all wiring connections for tightness and corrosion. Loose connections can lead to power loss or overheating.
- Battery Inspection: Regularly check your battery terminals for corrosion and ensure they are clean and tight.
- Environmental Check: Ensure the installation environment remains within the specified temperature and humidity ranges.
7. Troubleshooting
If you encounter issues with your Renogy Rover charge controller, refer to the following common troubleshooting steps:
| Problem | Possible Cause | Solution |
|---|---|---|
| Controller not powering on | Loose battery connection, discharged battery, incorrect polarity. | Check battery connections and ensure they are secure. Verify battery voltage. Correct polarity if necessary. |
| No solar charging | No sunlight, solar panel disconnected, incorrect PV wiring, panel shaded. | Ensure adequate sunlight. Check PV+ and PV- connections. Verify panel is not shaded. |
| Error code displayed | System fault (e.g., over-voltage, short circuit). | Refer to the specific error code in the full user manual for detailed resolution steps. Disconnect and reconnect power to reset. |
8. Specifications
| Attribute | Value |
|---|---|
| Brand | Renogy |
| Model Number | Charge Controller (Rover 20A) |
| Product Dimensions | 5.94 x 8.27 x 2.34 inches; 1.5 Pounds |
| Voltage | 12V/24V Auto Detect (24 Volts listed as primary) |
| Material | Plastic |
| Color | black |
| Country of Origin | China |
9. Warranty and Support
Renogy products are built with quality and reliability in mind. For detailed warranty information and technical support, please visit the official Renogy website or contact their customer service. Keep your purchase receipt for warranty claims.
For additional resources, you may refer to the official User Manual (PDF) and User Guide (PDF).


