1. Introduction
Thank you for purchasing the Godox TT350S Flash. This compact and versatile speedlite is designed for Sony Mirrorless DSLR cameras, offering advanced features such as TTL autoflash, High-Speed Sync (HSS), and 2.4G wireless transmission. This manual provides detailed instructions for safe and effective use of your flash unit.
2. Safety Information
- Do not disassemble or modify the flash unit. Repairs should only be performed by authorized service personnel.
- Keep the unit dry. Do not handle with wet hands or immerse in water.
- Avoid direct eye exposure to the flash. The intense light can cause temporary visual impairment.
- Use only specified batteries (2 AA batteries). Incorrect battery types may cause leakage or explosion.
- Store the flash in a cool, dry place away from direct sunlight and high temperatures.
3. Package Contents
Verify that all items are included in your package:
- 1 x Godox TT350S Camera Flash
- 1 x Mini Stand
- 1 x Protection Bag
- 1 x User Manual
- 1 x EACHSHOT Color Filter
4. Product Overview

Image 1: Front view of the Godox TT350S Flash unit. This image displays the main flash head and the compact body of the speedlite.
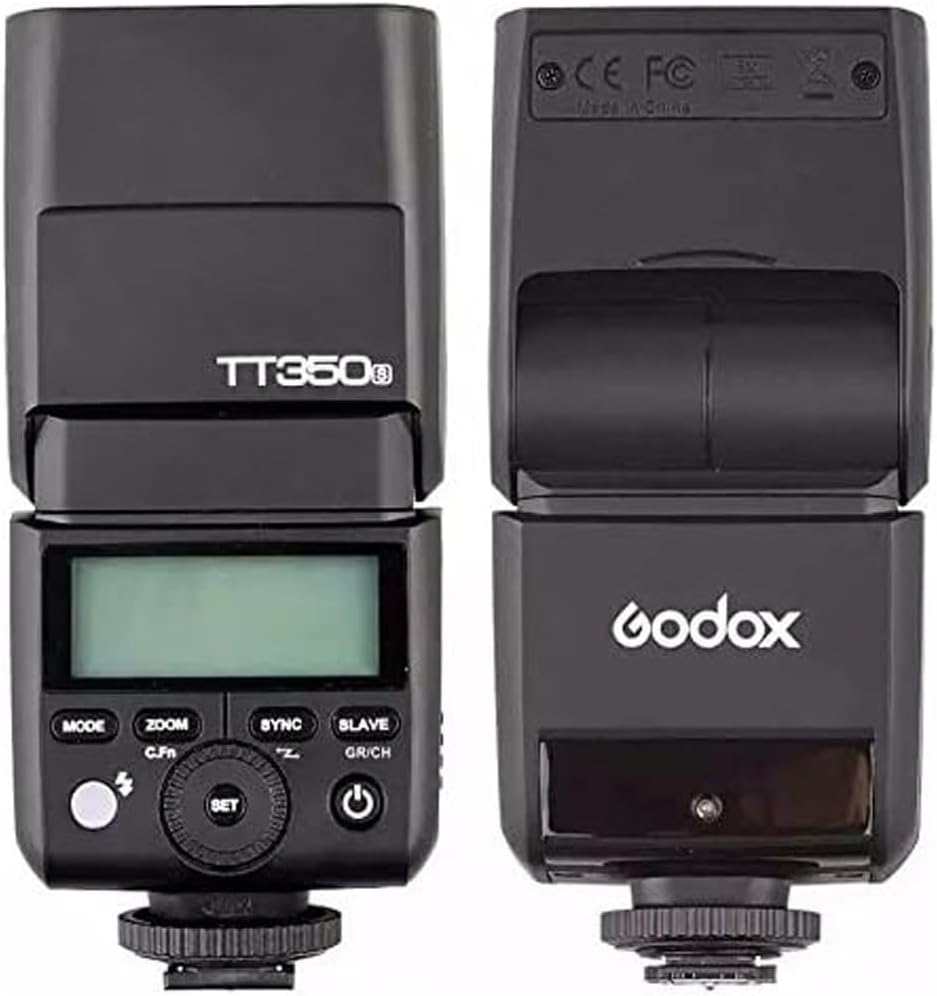
Image 2: Front and back view of the Godox TT350S Flash, highlighting the control panel and LCD screen on the back, and the flash head on the front.

Image 3: The Godox TT350S Flash tilted upwards and mounted on its mini stand, demonstrating its adjustable head for bounce flash.

Image 4: Close-up view of the Godox TT350S Flash's LCD display, showing various settings and modes in an orange backlight.

Image 5: The battery compartment of the Godox TT350S Flash, open to show the slots for two AA batteries.

Image 6: The Godox TT350S Flash with an attached yellow color filter, demonstrating how accessories can be used to modify light output.
Key Features:
- Compact Design: Small and lightweight, ideal for mirrorless cameras.
- TTL Autoflash: Automatic flash exposure control for convenience.
- High-Speed Sync (HSS): Up to 1/8000s for freezing action and using wide apertures in bright conditions.
- 2.4G Wireless Transmission: Offers master and slave capabilities with a range of up to 100 meters.
- Adjustable Head: Tilts 90 degrees and rotates 180 degrees for bounce flash.
- Built-in Diffuser & Bounce Card: For softer light and directional control.
5. Setup
5.1 Battery Installation
- Open the battery compartment cover located on the side of the flash unit.
- Insert two AA batteries, ensuring correct polarity (+/-).
- Close the battery compartment cover securely.
5.2 Mounting the Flash
- Slide the flash unit onto your camera's hot shoe.
- Tighten the locking ring on the flash unit to secure it to the hot shoe.
- Ensure the flash is firmly attached before operation.
5.3 Initial Power On
Press and hold the power button (usually marked with a power symbol) to turn on the flash. The LCD screen will illuminate, indicating the flash is ready for use.
Video 1: A user demonstrates the physical features of the Godox TT350S, including battery installation, head rotation, and the built-in bounce card and diffuser. This video provides a visual guide to the flash's physical setup and basic handling.
6. Operating Modes
The Godox TT350S offers several operating modes to suit various photographic needs. Use the 'MODE' button to cycle through them.
6.1 TTL Autoflash Mode
In TTL (Through-The-Lens) mode, the flash automatically adjusts its output to achieve optimal exposure based on the camera's metering. This is ideal for quick shooting and changing light conditions.
- Press the 'MODE' button until 'TTL' appears on the LCD.
- Flash Exposure Compensation (FEC) can be adjusted to fine-tune exposure.
6.2 Manual Flash Mode (M)
Manual mode allows you to set the flash output power manually from 1/1 (full power) to 1/128 in 1/3 stop increments. This provides precise control over lighting.
- Press the 'MODE' button until 'M' appears on the LCD.
- Use the dial to adjust the flash output power.
6.3 Multi Flash Mode (Stroboscopic)
Multi mode fires a series of rapid flashes during a single exposure, creating stroboscopic effects. You can set the flash frequency (Hz), number of flashes, and flash output.
- Press the 'MODE' button until 'Multi' appears on the LCD.
- Adjust settings using the dial and 'SET' button.
6.4 High-Speed Sync (HSS)
HSS allows the flash to synchronize with shutter speeds faster than the camera's native sync speed (up to 1/8000s). This is useful for overpowering ambient light or using wide apertures in bright conditions.
- Activate HSS via the 'SYNC' button or camera settings, depending on your camera model.
6.5 Zoom Function
The flash head's zoom can be set automatically or manually to match the lens's focal length, optimizing light coverage. The zoom range is 24-105mm.
- Press the 'ZOOM' button to switch between auto and manual zoom.
- In manual mode, use the dial to adjust the focal length.
Video 2: A detailed review of the Godox TT350S, covering its unboxing, various operating modes (TTL, Manual, Multi), High-Speed Sync, and its ability to function as a master or slave unit. This video offers a comprehensive look at the flash's features and functionality.
7. Wireless Functionality
The TT350S features a 2.4G wireless transmission system, allowing it to operate as a master or slave unit for off-camera flash setups.
7.1 Master Mode
When set as a master, the TT350S can control other compatible Godox slave units (e.g., AD600, V860IIS, TT685S) wirelessly.
- Press the 'SLAVE GR/CH' button to select master mode.
- Set the channel and group for communication with slave units.
7.2 Slave Mode
The TT350S can be triggered wirelessly by compatible Godox master units (e.g., X1T-S, V860IIS, TT685S). This allows for flexible lighting arrangements.
- Press the 'SLAVE GR/CH' button to select slave mode.
- Ensure the channel and group match the master unit.
8. Maintenance
- Cleaning: Use a soft, dry cloth to clean the flash unit. For stubborn dirt, use a slightly damp cloth with mild detergent, then wipe dry.
- Battery Care: Remove batteries when the flash is not in use for extended periods to prevent leakage.
- Storage: Store the flash in its protective bag in a cool, dry environment.
- Hot Shoe Protection: Always use the hot shoe protector when the flash is not mounted on a camera to prevent damage to the contacts.
9. Troubleshooting
| Problem | Possible Cause | Solution |
|---|---|---|
| Flash does not fire | Low battery, incorrect mode, flash not securely mounted. | Replace batteries, check mode settings, re-mount flash firmly. |
| Flash exposure is too dark/bright | Incorrect FEC, manual power setting too low/high, subject distance. | Adjust FEC, change manual power, ensure subject is within flash range. |
| Wireless trigger not working | Incorrect channel/group, master/slave mode mismatch, distance. | Verify channel/group settings, ensure correct master/slave roles, reduce distance. |
| Flash overheats | Excessive continuous firing. | Allow the flash to cool down. Reduce continuous firing. |
10. Specifications
| Feature | Specification |
|---|---|
| Guide No. | 36 (m ISO 100, @105mm) |
| Flash Coverage | 24 to 105mm (Auto/Manual Zoom) |
| Flash Duration | 1/350 to 1/20000 Seconds |
| Exposure Control System | TTL Autoflash, Manual Flash, Multi Flash |
| Sync Mode | HSS (up to 1/8000s), First-Curtain Sync, Second-Curtain Sync |
| Wireless Flash Function | Master, Slave, Off (2.4G Wireless Transmission) |
| Controllable Slave Groups | 3 (A, B, and C) |
| Transmission Range (approx.) | ≤30m |
| Channels | 16 (1-16) |
| Power Source | 2 AA batteries |
| Recycle Time | Approx. 0.1-2.2s (with 2500mA Ni-MH batteries) |
| Full Power Flashes | Approx. 210 (with 2500mA Ni-MH batteries) |
| Dimensions (W x H x D) | 5.51 x 1.5 x 2.44 inches |
| Weight (without batteries) | 7.1 ounces |
11. Warranty and Support
This Godox product is covered by a limited warranty against defects in materials and workmanship. For specific warranty terms, duration, and support procedures, please refer to the warranty card included in your product packaging or visit the official Godox website. Keep your purchase receipt as proof of purchase for warranty claims. For technical assistance or service, please contact your retailer or Godox customer support.