1. Introduction
This manual provides comprehensive instructions for the safe and correct installation and operation of your ONE FOR ALL WM2241 TV Wall Mount. This mount is designed to securely hold televisions ranging from 13 to 40 inches, offering 90° swivel and 15° tilt capabilities for optimal viewing angles. Please read all instructions carefully before beginning installation.
2. Safety Information
- Weight Capacity: Do not exceed the maximum weight capacity of 30 kg (66 lbs).
- Screen Size: Ensure your TV's screen size is within the supported range of 13-40 inches.
- Wall Type: This mount is intended for installation on solid concrete walls, brick walls, or wood stud walls. Do not install on drywall or plasterboard alone without proper reinforcement.
- Professional Installation: If you are unsure about the installation process or the suitability of your wall, consult a qualified professional.
- Children: Keep children away from the installation area. Small parts can be a choking hazard.
- Tools: Use appropriate tools and wear safety gear during installation.
3. Package Contents
Verify that all components are present before starting the installation. If any parts are missing or damaged, contact customer support.
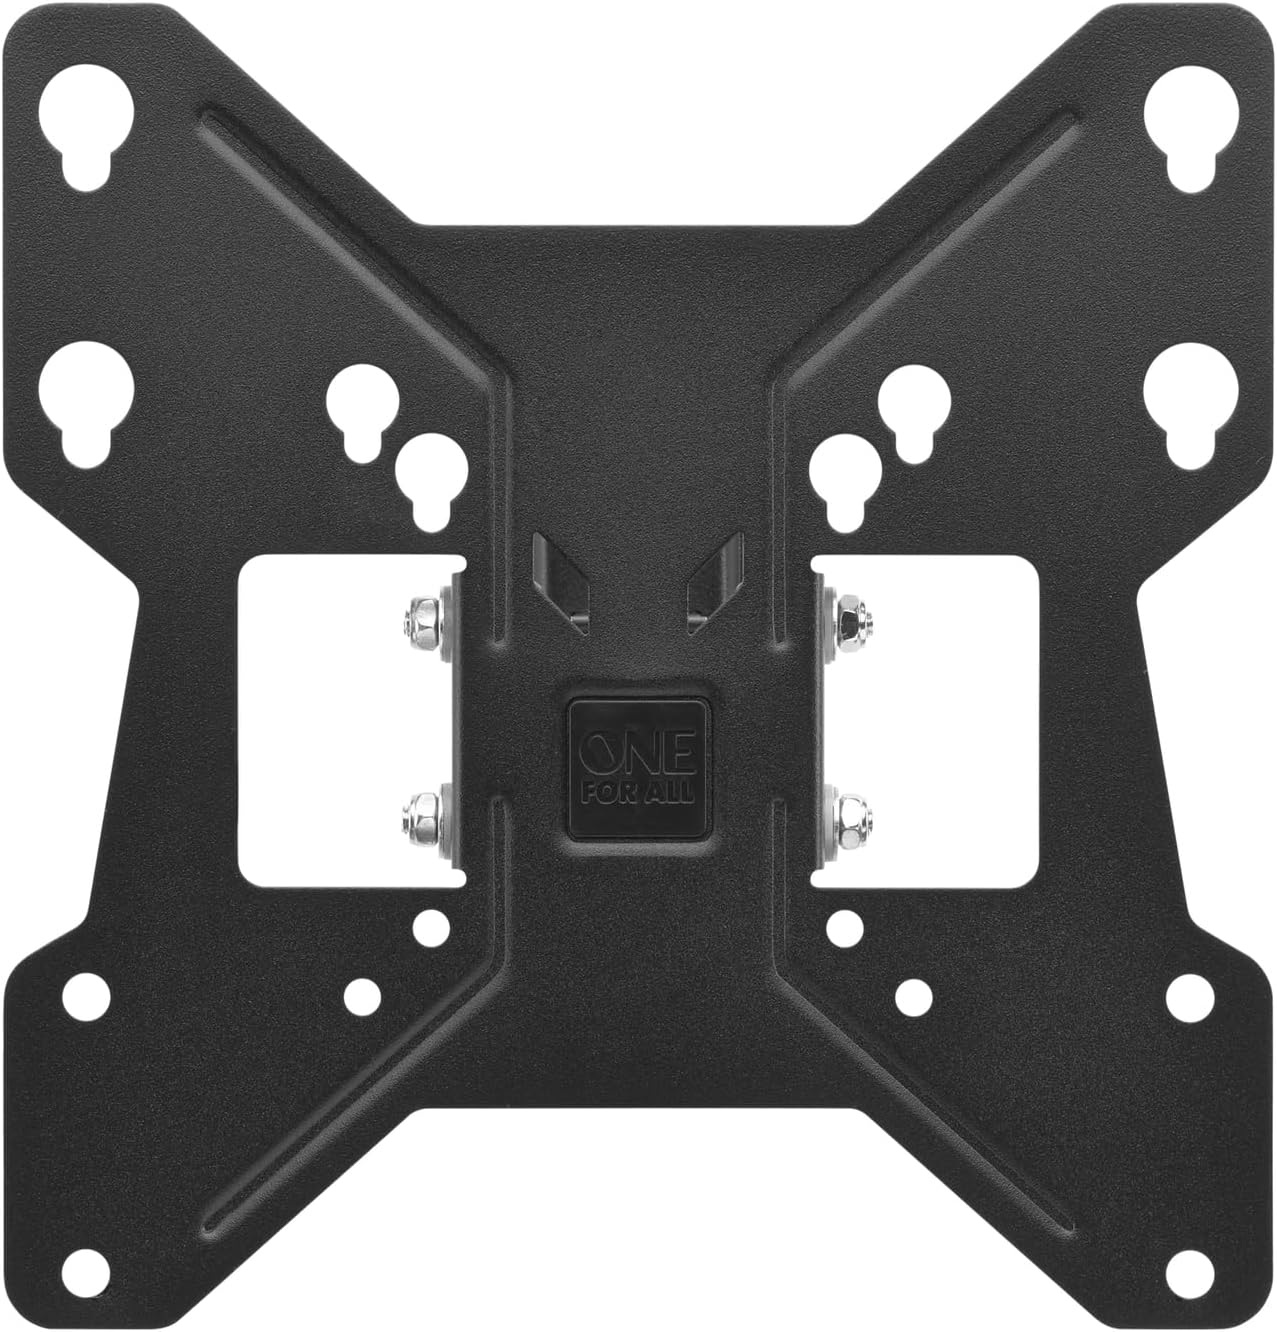
Image: The product packaging, illustrating the wall mount and its key features like 90° turn and 15° tilt, suitable for 13-43 inch TVs (note: product description specifies 13-40 inch).
- Wall Plate Assembly
- TV Bracket(s)
- Mounting Hardware Kit (screws, anchors, spacers for various TV models and wall types)
- Instruction Manual
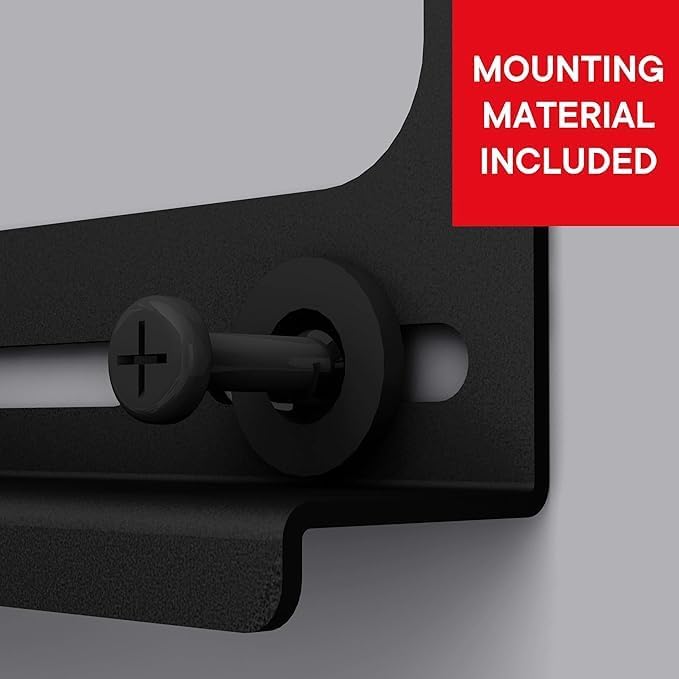
Image: A close-up view of a screw and washer, highlighting that all necessary mounting hardware is provided.
4. Setup and Installation
4.1 Tools Required (Not Included)
- Drill
- Stud Finder (for wood stud walls)
- Level
- Pencil
- Measuring Tape
- Phillips Head Screwdriver
- Socket Wrench (if applicable)
4.2 Wall Preparation
- Determine the desired height for your TV. Mark the center point on the wall where the mount will be installed.
- For wood stud walls, use a stud finder to locate the center of a wood stud. The mount must be secured to at least one stud.
- For concrete or brick walls, ensure the wall is solid and free of cracks.
4.3 Mounting the Wall Plate
- Hold the wall plate against the wall at your marked center point. Use a level to ensure it is perfectly horizontal.
- Mark the drilling locations through the holes on the wall plate.
- Drill pilot holes at the marked locations. The drill bit size will depend on your wall type and the provided anchors/screws. Refer to the hardware kit for specific recommendations.
- Insert wall anchors (if required for your wall type) into the pilot holes.
- Attach the wall plate to the wall using the provided screws. Tighten all screws firmly, but do not overtighten.
4.4 Attaching TV Brackets to the TV
- Carefully place your TV face down on a soft, clean surface to prevent screen damage.
- Identify the VESA mounting holes on the back of your TV.
- Select the appropriate screws and spacers from the hardware kit that fit your TV's VESA holes.
- Attach the TV brackets to the back of your TV. Ensure they are securely fastened and evenly spaced.
4.5 Mounting the TV to the Wall Plate
- With assistance, carefully lift the TV with the attached brackets.
- Hook the TV brackets onto the wall plate. Ensure the TV is properly seated and locked into place.
- Check that the TV is level. Make any necessary adjustments.
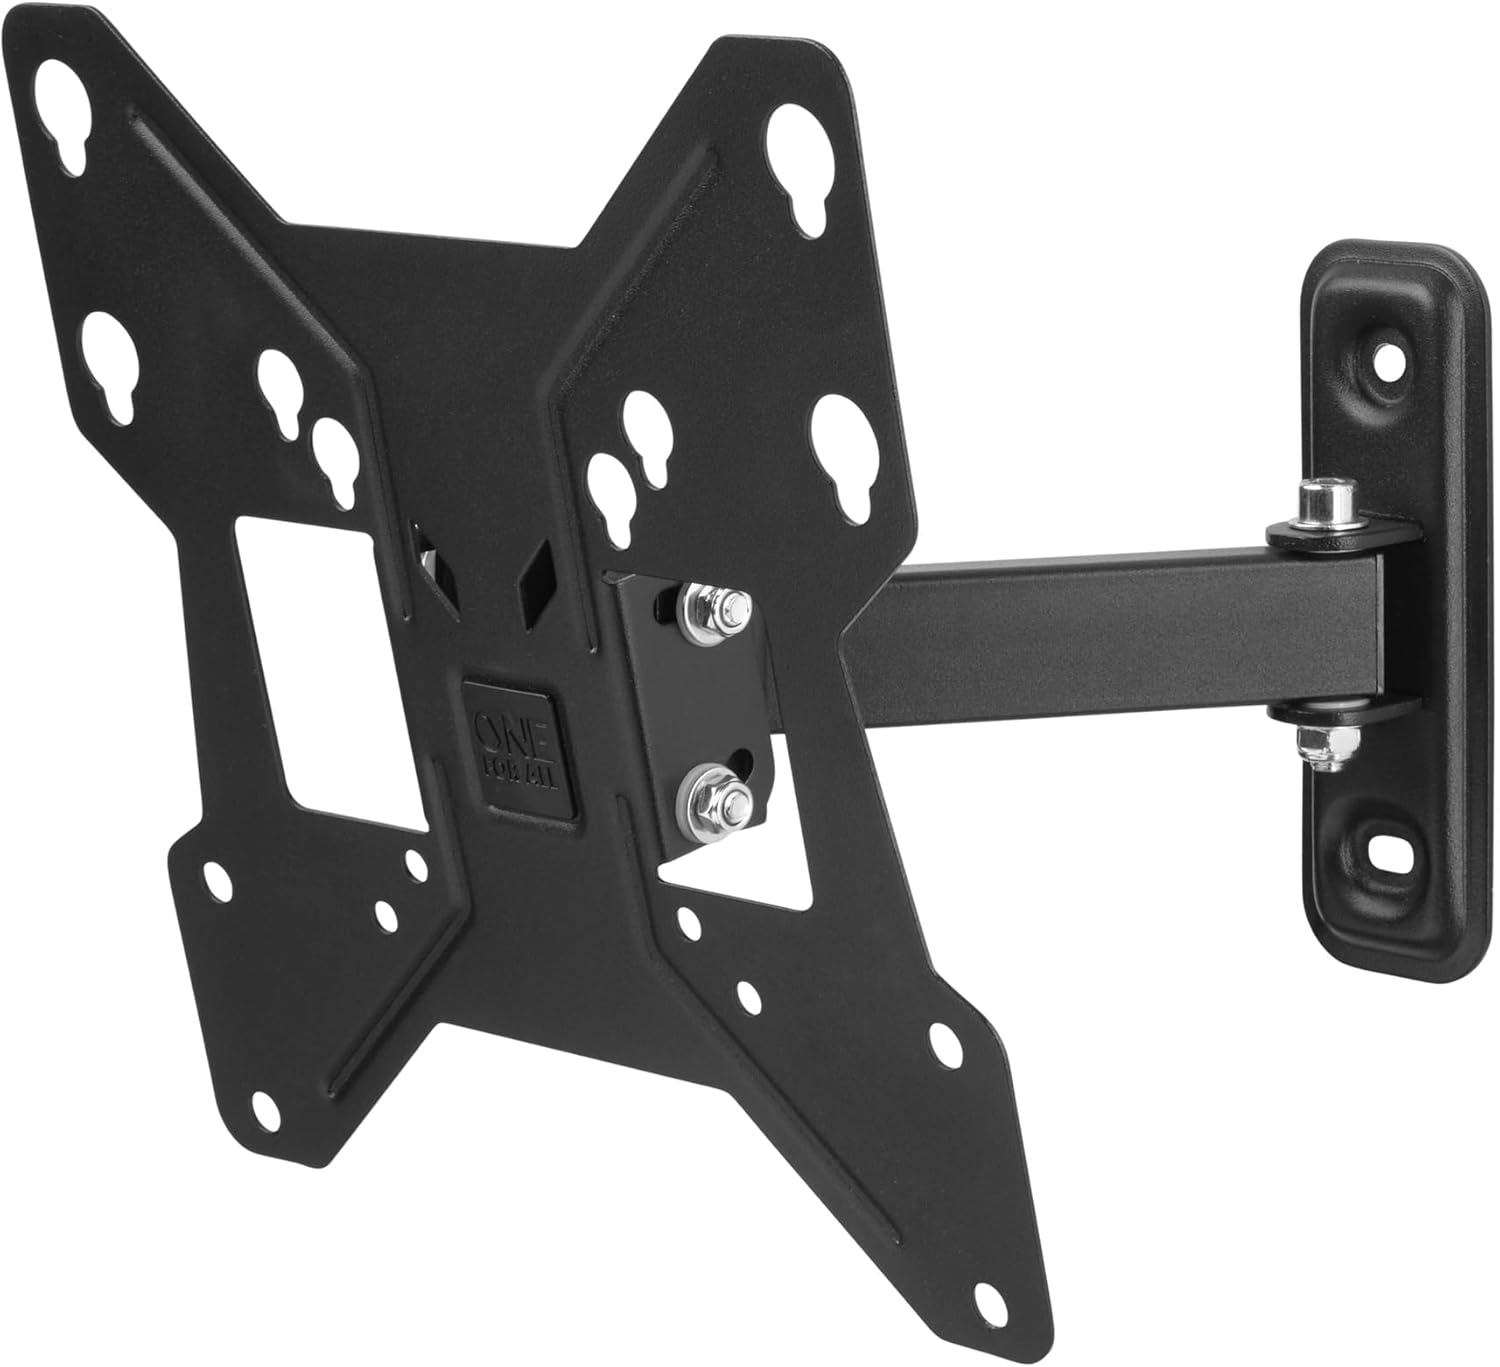
Image: The main component of the wall mount, illustrating the VESA mounting pattern and the central arm connection.
5. Operation
The WM2241 wall mount allows for flexible viewing angles:
- Swivel: Gently push or pull the TV to the desired left or right angle. The mount supports up to 90° of swivel.
- Tilt: Loosen the tilt adjustment knobs (if present) on the side of the TV brackets, adjust the TV to the desired vertical angle (up to 15°), and then re-tighten the knobs to secure the position.
6. Maintenance
- Cleaning: Clean the mount with a soft, dry cloth. Avoid abrasive cleaners or solvents.
- Periodic Checks: Periodically check all screws and connections to ensure they remain tight and secure. Do not overtighten.
- Damage: If any part of the mount appears damaged, discontinue use and contact customer support.
7. Troubleshooting
- TV is not level: Ensure the wall plate was installed level. If the TV brackets allow for minor adjustments, use them. Otherwise, the wall plate may need to be re-installed.
- Difficulty swiveling/tilting: Check for any obstructions. Ensure all moving parts are free and not overtightened. Lubrication is generally not required.
- Mount feels unstable: Immediately remove the TV from the mount. Re-check all wall and TV connections. Ensure the mount is properly secured to appropriate wall studs or anchors. Verify the TV weight is within limits.
8. Specifications
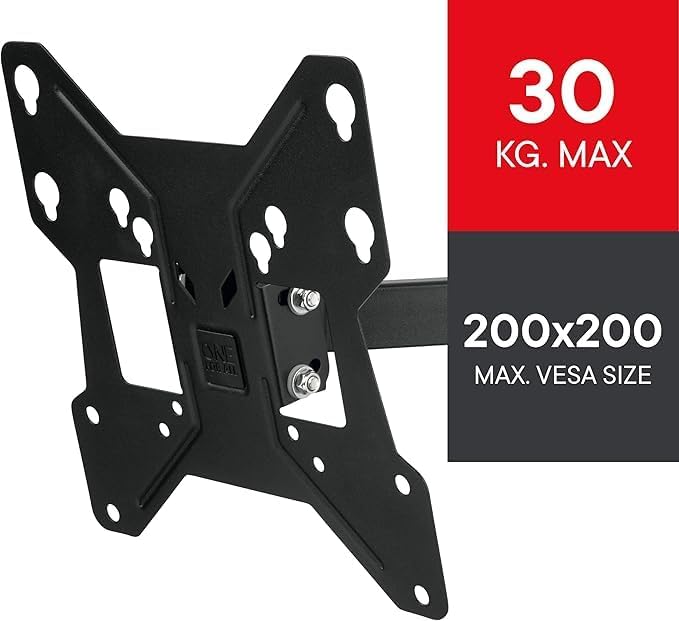
Image: Visual representation of the mount's maximum load capacity and VESA compatibility.
| Feature | Detail |
|---|---|
| Brand | One For All |
| Item Model Number | WM2241 |
| Mounting Type | Wall Mount |
| Movement Type | Articulating (Swivel, Tilt) |
| Material | Metal |
| Color | Black |
| Compatible Devices | Television |
| Minimum Compatible Screen Size | 13 Inches |
| Maximum Compatible Screen Size | 40 Inches |
| Maximum Tilt Angle | 15 Degrees |
| Maximum Swivel Angle | 90 Degrees |
| Item Weight | 1.15 Kilograms |
| Box Contents | 1 product (Wall Mount) |
9. Warranty and Support
For warranty information or technical support, please refer to the documentation provided with your purchase or visit the official One For All website. Keep your proof of purchase for warranty claims.