Makita AF601
Makita AF601 16 Gauge, 2-1/2" Straight Finish Nailer Instruction Manual
Introduction
This manual provides detailed instructions for the safe and effective operation, maintenance, and troubleshooting of the Makita AF601 16 Gauge, 2-1/2" Straight Finish Nailer. Please read this manual thoroughly before using the tool to ensure proper function and to prevent injury.
Safety Information
Always observe basic safety precautions to reduce the risk of fire, electric shock, and personal injury. Keep this manual for future reference.
- Wear Eye Protection: Always wear safety glasses that comply with ANSI Z87.1 when operating the nailer.
- Hearing Protection: Use hearing protection during extended operation.
- Proper Air Supply: Ensure the air compressor and hose are rated for the required pressure and are in good condition. Do not exceed the maximum operating pressure.
- Disconnect Air: Always disconnect the air supply before making adjustments, clearing jams, or performing maintenance.
- Secure Workpiece: Ensure the workpiece is stable and secure before nailing.
- Avoid Accidental Firing: Keep fingers away from the trigger when not actively nailing. Never point the tool at yourself or others.
- Clear Work Area: Keep the work area clean and well-lit. Remove clutter that could cause trips or falls.
- Inspect Tool: Before each use, inspect the tool for damaged parts, loose fasteners, or air leaks. Do not use a damaged tool.
Product Overview
The Makita AF601 is a 16 gauge straight finish nailer designed for professional use. It features a compact and lightweight design, weighing only 3.8 lbs, making it suitable for extended operation. The tool incorporates several features for enhanced performance and user convenience.
- Efficient Motor: Provides powerful performance for various finishing applications.
- Nail Lock-Out Mechanism: Prevents dry-firing, protecting both the tool and the work surface. Large windows allow easy monitoring of nail levels.
- Tool-less Depth Adjustment: Allows for precise flush and countersink nailing without additional tools.
- Built-in Air Duster: Provides convenient airflow to clear the workspace of debris.
- 2-Mode Selector Switch: Offers quick control over nailing operation, allowing selection between sequential and contact actuation modes.
- Reversible Belt Hook: Allows the tool to be kept close at hand when not in use.
- Multi-directional Exhaust Port: Directs exhaust air away from the user for comfort.

Image: Makita AF601 16 Gauge Straight Finish Nailer with its included carrying case.
Specifications
| Specification | Detail |
|---|---|
| Model Number | AF601 |
| Nail Gauge | 16 Gauge |
| Nail Length Capacity | 1" to 2-1/2" (25mm to 64mm) |
| Magazine Capacity | Full Strip (approximately 100 nails) |
| Power Source | Pneumatic |
| Operating Pressure | 70-120 PSI (4.9-8.3 bar) |
| Item Weight | 3.8 pounds (1.72 kg) |
| Product Dimensions | 5.2 x 15 x 16.4 inches (13.2 x 38.1 x 41.7 cm) |
| Material | Metal, Plastic |
| Included Components | (2) No-Mar Tip, Air Fitting, Pneumatic Nailer Oil (181434-7), Safety Glasses, Tool Case |
Setup
1. Unpacking and Inspection
Carefully remove the nailer and all accessories from the packaging. Inspect for any damage that may have occurred during shipping. Ensure all included components are present:
- Makita AF601 Finish Nailer
- Carrying Case
- Safety Glasses
- Pneumatic Nailer Oil (181434-7)
- Air Fitting
- No-Mar Tips (2)
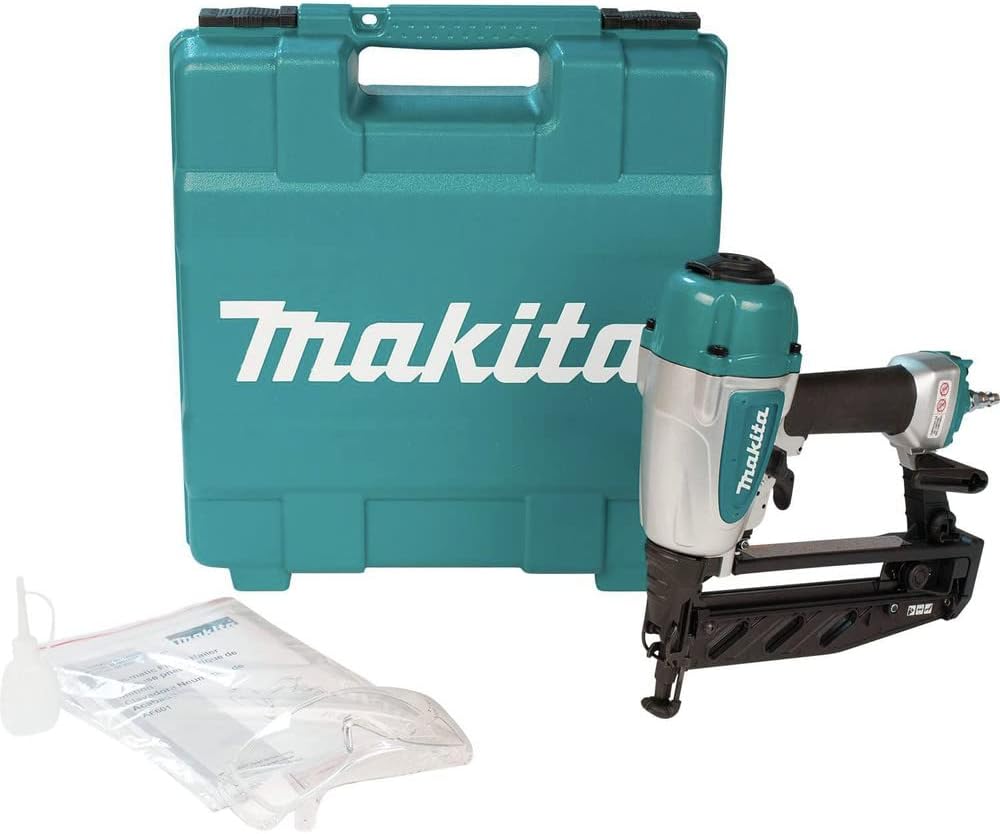
Image: The Makita AF601 nailer shown with its carrying case, pneumatic oil, and safety glasses.
2. Connecting Air Supply
- Ensure your air compressor is off and depressurized.
- Apply a few drops of the provided pneumatic nailer oil into the air inlet of the tool. This lubricates internal components.
- Attach the air fitting to the tool's air inlet.
- Connect the air hose from your compressor to the air fitting on the nailer.
- Set your air compressor to the recommended operating pressure (70-120 PSI). Do not exceed 120 PSI.
3. Loading Nails
The AF601 features a rear-loading magazine.
- Disconnect the air supply for safety.
- Pull the magazine latch to open the magazine.
- Insert a strip of 16 gauge straight finish nails (1" to 2-1/2" length) into the magazine. Ensure the nails are oriented correctly with the points facing forward.
- Push the magazine latch back until it locks, securing the nails.

Image: Close-up view of the nail magazine release mechanism on the Makita AF601 nailer.

Image: Detailed view of the nail magazine, showing where nail strips are inserted.
Operating Instructions
1. Adjusting Depth
The AF601 features a tool-less depth adjustment mechanism for precise control over nail depth.
- Ensure the air supply is disconnected before adjusting.
- Locate the depth adjustment dial near the nose of the tool.
- Rotate the dial to increase or decrease the nailing depth. Test on a scrap piece of material to achieve the desired depth.

Image: Close-up of the depth adjustment dial, allowing for tool-less depth control.
2. Selecting Firing Mode
The 2-mode selector switch allows you to choose between sequential and contact actuation.
- Sequential Actuation: For precise nail placement. The contact arm must be pressed against the workpiece, and then the trigger pulled to fire a nail. Each nail requires a separate actuation.
- Contact Actuation: For rapid nailing. Hold the trigger, then press the contact arm against the workpiece to fire a nail. Nails will fire as long as the trigger is held and the contact arm is depressed.
3. Nailing Operation
- Ensure safety glasses are worn.
- Connect the air supply.
- Place the nose of the tool firmly against the workpiece.
- Depending on the selected firing mode, either press the contact arm and then pull the trigger (sequential) or pull the trigger and then press the contact arm (contact) to drive a nail.
- The nail lock-out mechanism will prevent firing when the nail magazine is empty, indicated by large windows on the magazine.

Image: A person operating the Makita AF601 nailer to fasten trim to a wooden surface.
4. Using the Air Duster
The built-in air duster can be used to clear dust and debris from your work surface.
- Locate the air duster button/lever on the tool.
- Press or activate the duster to release a burst of air.
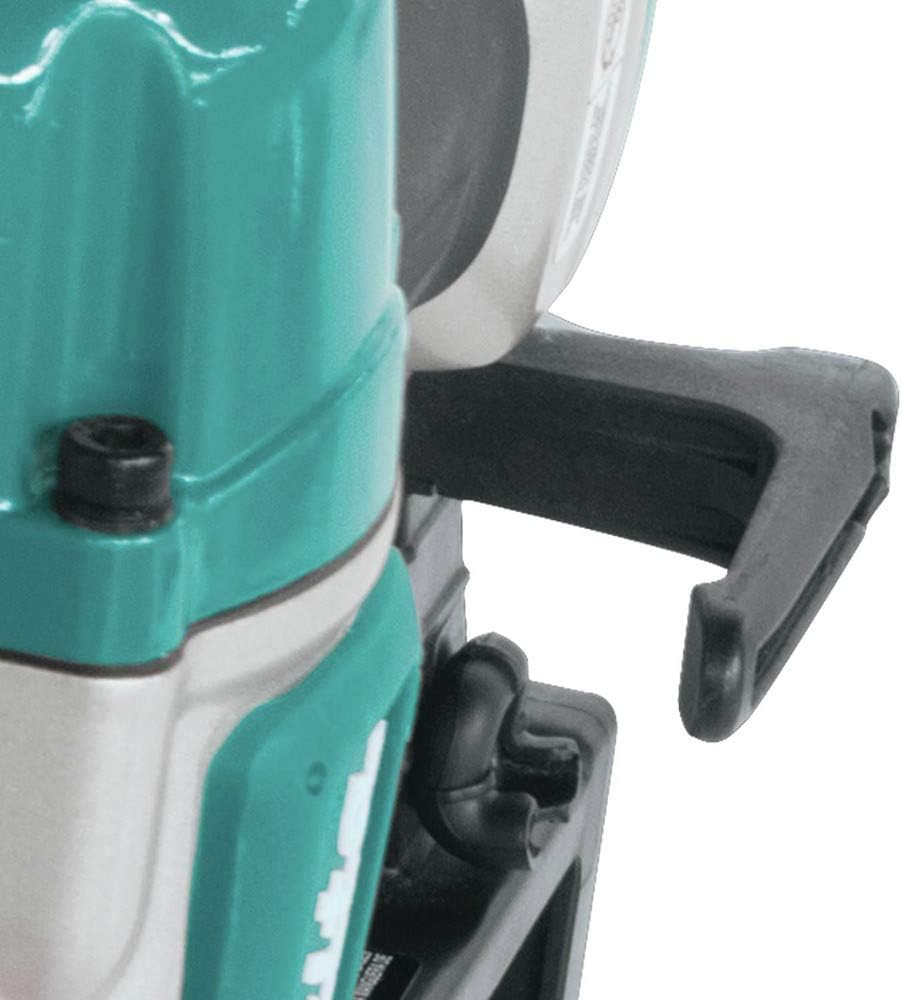
Image: Close-up of the reversible belt hook, a convenient feature for carrying the tool.
Maintenance
Regular maintenance ensures the longevity and optimal performance of your Makita AF601 nailer.
- Lubrication: Apply 2-3 drops of pneumatic nailer oil (Makita part 181434-7 or equivalent) into the air inlet before each use or after every few hours of continuous operation.
- Cleaning: Keep the tool clean and free of debris. Use compressed air to blow out dust from the magazine and firing mechanism.
- Inspect for Wear: Regularly check the driver blade, O-rings, and seals for wear or damage. Replace worn parts as necessary.
- Air Filter: If your air compressor has an inline air filter, ensure it is regularly cleaned or replaced to prevent contaminants from entering the nailer.
- Storage: When not in use, store the nailer in its carrying case in a dry, secure location. Disconnect the air supply and drain any remaining air pressure from the tool.
Troubleshooting
This section addresses common issues you might encounter with your Makita AF601 nailer.
| Problem | Possible Cause | Solution |
|---|---|---|
| Nailer does not fire |
|
|
| Nails jam frequently |
|
|
| Nails not driven flush or countersunk |
|
|
| Air leaks |
|
|
If you encounter issues not listed here or if the suggested solutions do not resolve the problem, please contact Makita customer support or an authorized service center.
Warranty and Support
The Makita AF601 16 Gauge, 2-1/2" Straight Finish Nailer comes with a 3-year limited warranty. This warranty covers defects in materials and workmanship under normal use.
For warranty claims, technical support, or to locate an authorized service center, please refer to the official Makita website or contact Makita customer service directly. Keep your purchase receipt as proof of purchase for warranty purposes.
Ask a question about this manual
Ask about setup, troubleshooting, compatibility, parts, safety, or missing instructions. Manuals+ will review the question and use this page’s manual context to help answer it.