1. Introduction
The Watercool HEATKILLER Tube Series reservoir is a high-quality component designed for custom PC water cooling systems. This manual provides essential information for the proper installation, operation, and maintenance of your HEATKILLER Tube 200 reservoir.
The HEATKILLER Tube Series is engineered for durability and ease of use, featuring a modular design and premium materials to ensure optimal performance and longevity in your liquid cooling loop.
2. Product Features
- Modular Design: Allows for flexible integration and customization within various PC builds.
- Borosilicate Glass Tube: Constructed from high-quality borosilicate glass, offering superior chemical and thermal resistance, scratch resistance, and low heat expansion.
- Tool-Free Filling: Features a large filling mouth and a bayonet catch lid for easy, tool-free opening and refilling of cooling medium.
- Anti-Cyclone Inlay: An exclusively developed inlay at the bottom of the reservoir prevents vortex formation, improving flow and air bleeding efficiency.
- Optimized Pump Chamber: The pump adapter for D5 and DDC pumps includes a streaming-optimized chamber to reduce vortices, enhancing flow rate and air bleeding.
- Multifunctional Mounting: Offers various options for vertical mounting, including adapters for 120x120mm or 140x140mm cooler slots (adapters sold separately).
- LED Illumination Ready: Designed to accommodate splash-safe LED strips (sold separately) within the struts for aesthetic customization.
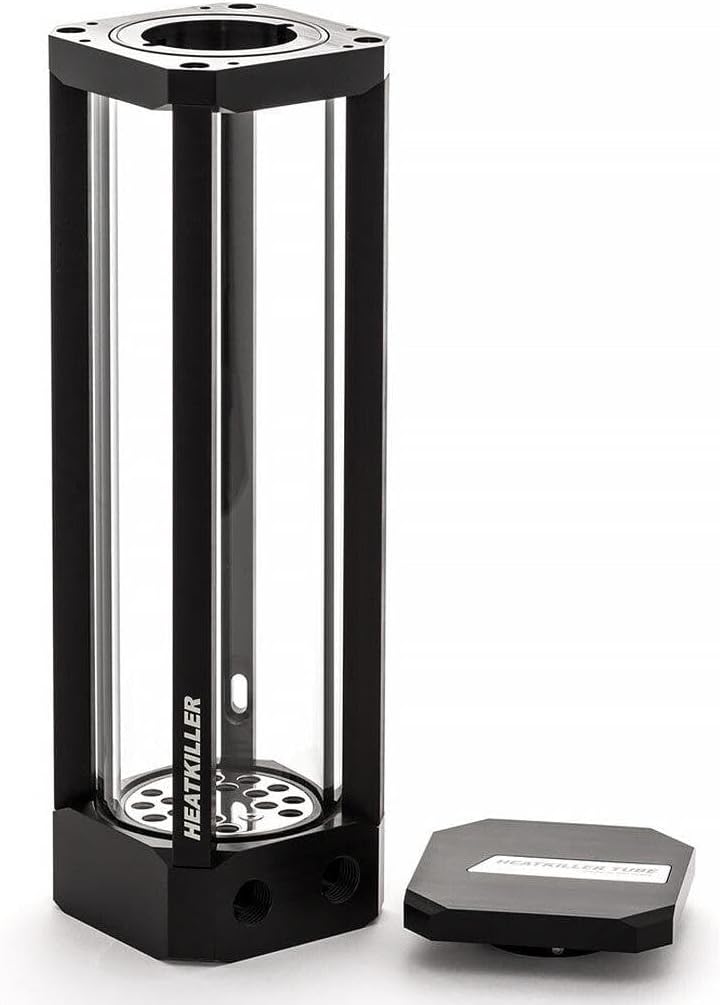
Figure 2.1: Front view of the Watercool HEATKILLER Tube Reservoir, 200mm. This image displays the clear borosilicate glass tube and the black anodized aluminum frame.
3. Components Included
The standard package for the HEATKILLER Tube 200 includes:
- 1x HEATKILLER Tube 200 Reservoir
- 1x Instruction Manual
Please inspect all components upon receipt. If any parts are missing or damaged, contact your retailer or Watercool support immediately.

Figure 3.1: The HEATKILLER Tube Reservoir with its bayonet catch lid removed, revealing the large filling port and the internal anti-cyclone inlay.
4. Technical Specifications
| Specification | Value |
|---|---|
| Model | 30202 |
| Material Cover | POM |
| Material Struts | Black anodized aluminum |
| Tube Material | Borosilicate glass |
| Material Bottom | POM |
| Material Inlay | Stainless steel |
| Measurements (L x W x H) | 70 x 70 x 248.5 mm (2.76"L x 2.76"W x 9.78"H) |
| Tube Length | 200mm |
| Tube Diameter | 65mm |
| Capacity | Approx. 500ml |
| Weight | Approx. 950g |
| Seal Material | NBR, VMQ |
| Connection Thread | 2x G ¼ inch (DIN ISO 228-1) |
| Compatible Devices | Desktop PC water cooling systems |

Figure 4.1: Technical drawing illustrating the dimensions of the HEATKILLER Tube Series reservoirs, including the 200mm model.
5. Installation Guide
5.1 Mounting the Reservoir
The HEATKILLER Tube 200 offers flexible mounting options. It can be mounted vertically using compatible brackets (sold separately) or integrated into a pump-top configuration.
- Choose a Location: Select a secure location within your PC case that allows for proper tubing runs and access for filling and maintenance.
- Secure Mounting: If using a bracket, attach the bracket to your case according to the bracket's instructions. Then, secure the reservoir to the bracket. Ensure the reservoir is stable and will not vibrate during operation.
- Pump Installation (if applicable): If integrating a D5 or DDC pump, carefully install the pump into the designated pump adapter at the bottom of the reservoir. Ensure all O-rings are correctly seated to prevent leaks.
5.2 Connecting to the Cooling Loop
- Install Fittings: Screw G ¼ inch fittings (not included) into the connection threads at the bottom of the reservoir. Hand-tighten only, then use a wrench for a final quarter turn. Do not overtighten.
- Connect Tubing: Attach your cooling loop tubing to the installed fittings. Ensure all connections are secure and free of kinks.
5.3 Filling the Reservoir

Figure 5.1: The HEATKILLER Tube Reservoir with its lid open, ready for filling with coolant. The wide opening facilitates easy pouring.
- Open the Lid: Twist the bayonet catch lid counter-clockwise to remove it.
- Pour Coolant: Slowly pour your chosen liquid cooling medium into the reservoir. Fill it to approximately 80-90% capacity to allow for air displacement.
- Bleed Air: With the pump running (and the rest of your system powered off for safety), allow the coolant to circulate and air bubbles to rise into the reservoir. Gently tilt your PC case to help dislodge trapped air.
- Refill as Needed: As air bleeds out, the coolant level in the reservoir will drop. Refill the reservoir as necessary until the loop is full and most air has been removed.
- Close the Lid: Once filling and initial air bleeding are complete, replace the lid and twist clockwise until it locks securely.
6. Operation
Once installed and filled, the HEATKILLER Tube 200 operates as a critical component of your liquid cooling system. Its primary function is to provide a reservoir for the coolant and facilitate air bleeding from the loop.
- Monitor Coolant Level: Regularly check the coolant level through the borosilicate glass tube. Ensure it remains above the minimum fill line to prevent the pump from running dry.
- Observe Flow: The anti-cyclone inlay helps maintain smooth flow and minimizes turbulence within the reservoir.
7. Maintenance
Regular maintenance ensures the longevity and optimal performance of your HEATKILLER Tube 200 reservoir and the entire cooling loop.
- Coolant Replacement: It is recommended to replace the coolant in your system every 6-12 months, depending on the coolant type and usage.
- Cleaning:
- Draining: Before cleaning, completely drain the cooling loop.
- Disassembly: The modular design allows for easy disassembly. Carefully remove the lid and separate the glass tube from the POM components.
- Cleaning Components: Clean the borosilicate glass tube with distilled water and a soft cloth or brush. The POM and aluminum parts can be cleaned with distilled water. Avoid harsh chemicals or abrasive materials that could damage the surfaces or seals.
- O-Ring Inspection: Inspect all NBR and VMQ O-rings for wear, cracks, or deformation. Replace if necessary. Watercool offers replacement O-rings.
- Reassembly: Reassemble the reservoir, ensuring all O-rings are correctly seated and the lid is securely fastened.
- Refilling: After cleaning or coolant replacement, follow the filling procedure outlined in Section 5.3.
8. Troubleshooting
- Leaks:
- Check Fittings: Ensure all G ¼ inch fittings are securely tightened (hand-tight plus a quarter turn).
- Inspect O-Rings: Verify that all O-rings are properly seated and not damaged. Replace any compromised O-rings.
- Lid Seal: Ensure the bayonet catch lid is fully closed and sealed.
- Excessive Air Bubbles:
- Bleed Air: Continue running the pump and gently tilting the system to help dislodge trapped air.
- Check Coolant Level: Ensure the reservoir is adequately filled. Low coolant levels can introduce air into the pump.
- Anti-Cyclone Inlay: Verify the anti-cyclone inlay is correctly positioned at the bottom of the reservoir.
- Poor Flow/Pump Noise:
- Check Coolant Level: Ensure the pump is not running dry.
- Inspect Pump: If the pump is integrated, ensure it is correctly installed and not obstructed.
- Clean Loop: Sediment or blockages in the loop can restrict flow. Consider a full system flush and cleaning.
9. Warranty and Support
The Watercool HEATKILLER Tube 200 reservoir comes with a one-year manufacturer's warranty from the date of purchase. This warranty covers defects in materials and workmanship under normal use.
The warranty does not cover damage resulting from:
- Improper installation or use.
- Unauthorized modifications or repairs.
- Accidental damage, abuse, or neglect.
- Use of incompatible coolants or components.
For warranty claims or technical support, please contact your retailer or visit the official Watercool website for contact information.