1. Introduction
The Runleader RL-HM020R is a digital inductive tachometer and hour meter designed to record the total running hours and real-time RPM of gasoline engines. It operates by sensing induction from the spark plug cable, making it suitable for a wide range of applications including motorcycles, ATVs, PWC, paramotors, microlights, marine engines (inboard and outboard), pumps, generators, mowers, model boats, scooters, cleaners, and chainsaws.
This device offers easy installation and features a waterproof design (IP67 rated) for durability in various environments.
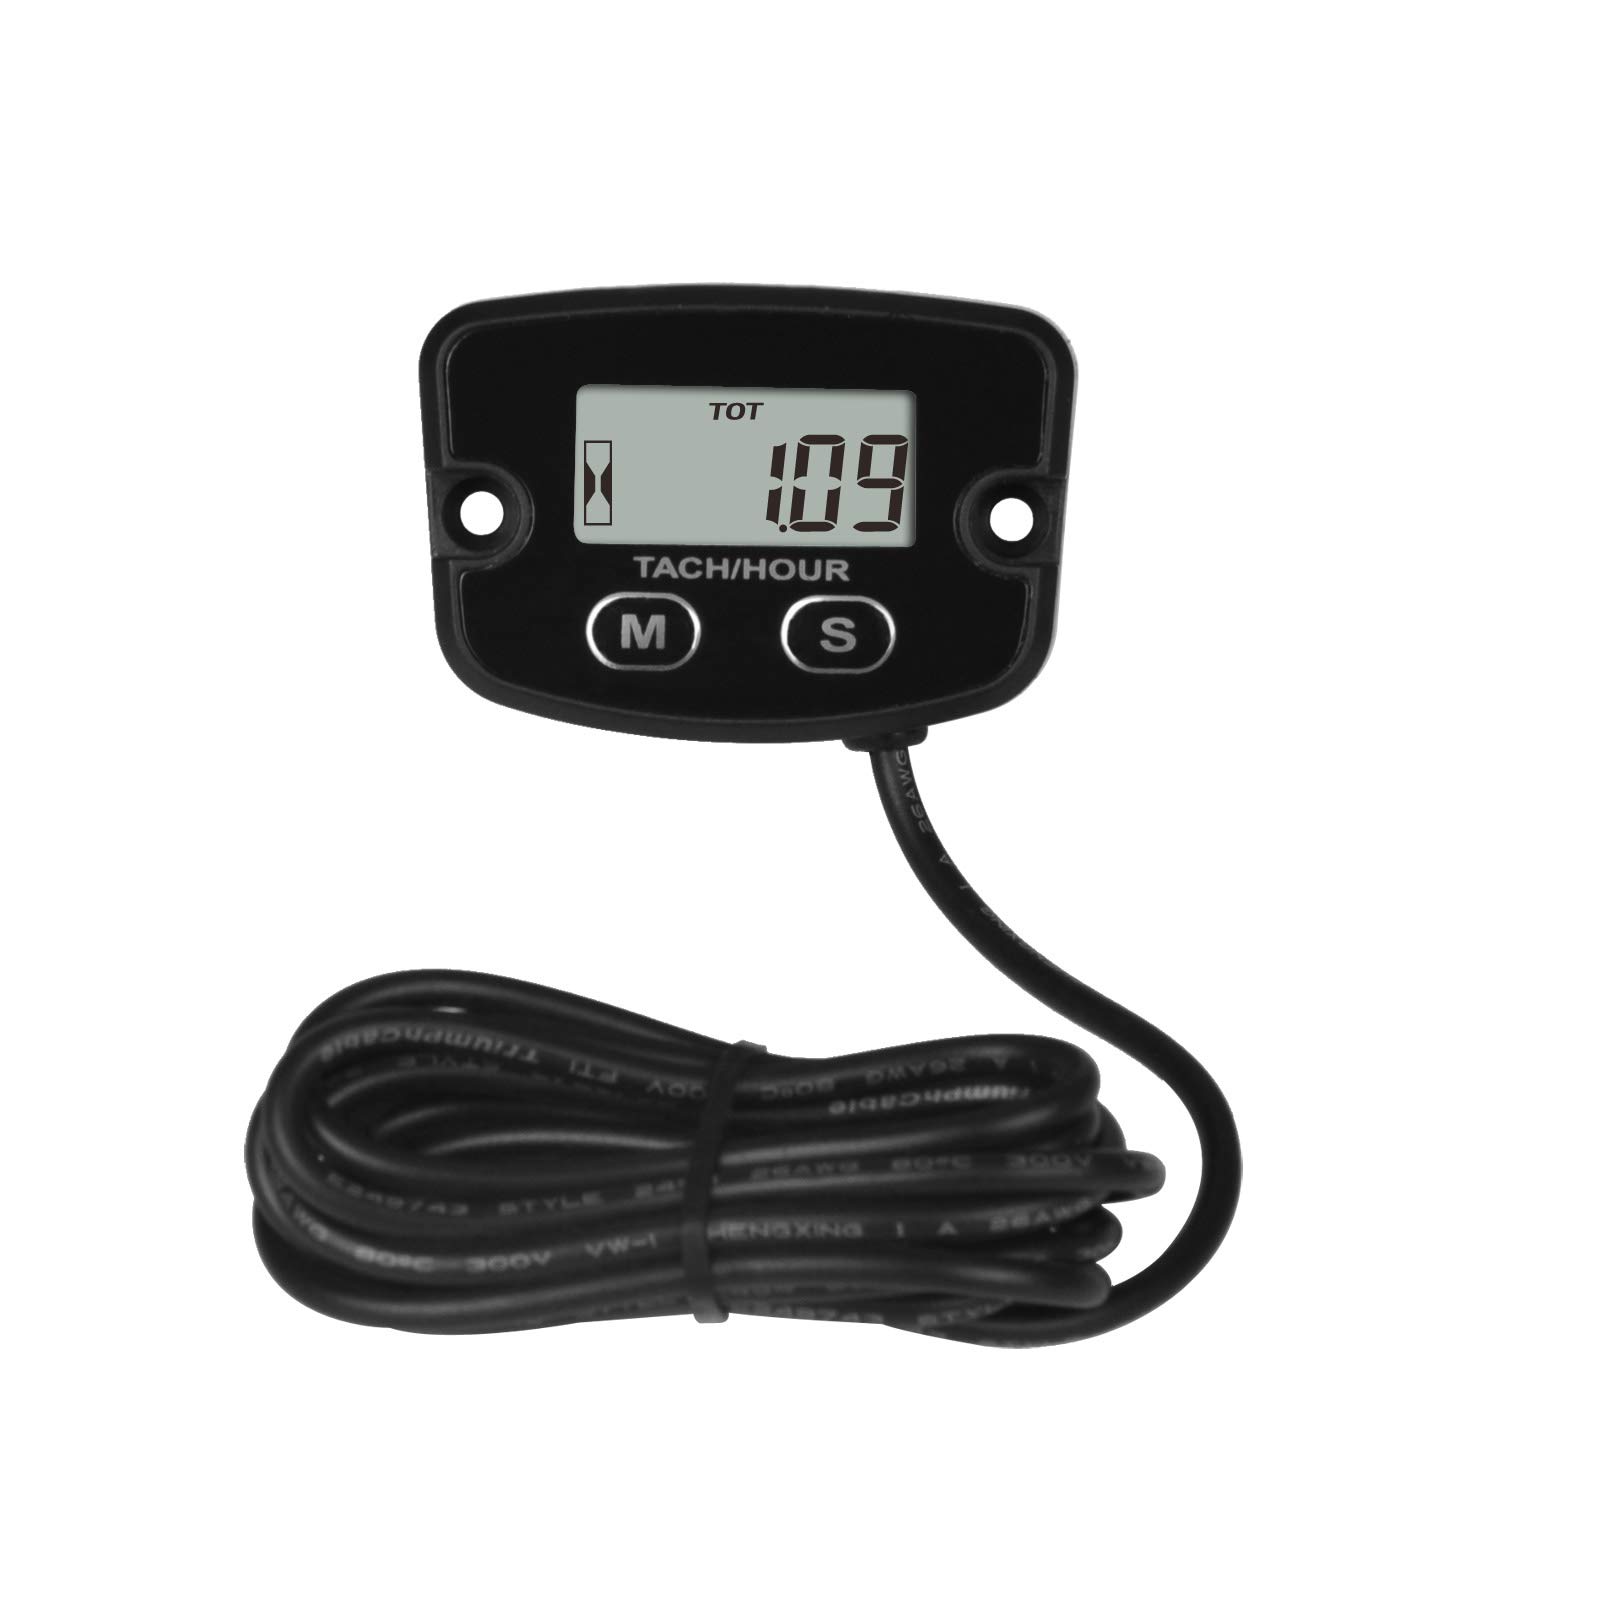
Figure 1.1: Runleader RL-HM020R Digital Inductive Tachometer and Hour Meter. This image shows the front view of the device with its display and two control buttons labeled 'M' and 'S'.
2. Key Features
- Timing System: Accumulates total running hours (HOURS) and allows for a freely settable maintenance timer (SERVICE) from 0 to 9999.9 hours.
- RPM Measurement: Measures and displays current engine RPM with a refresh rate of 0.5 seconds when the engine is running.
- Hour Recording: Records and displays up to 99999 hours with a resolution of 0.1 hour.
- Waterproof Design: IP67 rated for reliable operation in wet conditions.
- Easy Installation: Designed for straightforward setup.

Figure 2.1: Waterproof Design. This image highlights the IP68 waterproof rating of the tachometer, showing the device covered in water droplets, indicating its resilience to moisture.
3. Setup and Installation
3.1 Wiring and Mounting
The RL-HM020R tachometer is installed by wrapping its inductive wire around the spark plug cable of the engine. This allows the device to sense the engine's ignition pulses and calculate RPM and running hours.
- Locate the spark plug cable on your engine.
- Wrap the inductive wire of the tachometer around the spark plug cable approximately 5-7 times. Ensure a snug fit for accurate readings.
- Secure the tachometer unit to a suitable, stable surface on your vehicle or equipment using the provided screws or 3M double-sided tape. Ensure the display is easily visible.
- Route the wire safely, away from moving parts or excessive heat.
3.2 Programmable Firing Patterns
For accurate RPM readings, it is essential to set the correct engine firing pattern on the tachometer. This device supports various firing patterns applicable to different gasoline engine types.

Figure 3.1: Programmable Firing Patterns. This image illustrates how the inductive wire connects to the spark plug and provides a table of common engine firing patterns and their corresponding engine types. Setting the correct pattern ensures accurate speed values.
Refer to the table below and your engine's specifications to select the appropriate firing pattern. Consult your engine's manual if unsure.
| Engine Firing Pattern | Engine Type |
|---|---|
| 1P1R | 4 stroke 2 cylinder, 2 stroke 1 cylinder |
| 2P1R | 4 stroke 4 cylinder, 2 stroke 2 cylinder |
| 3P1R | 4 stroke 6 cylinder, 2 stroke 3 cylinder |
| 4P1R | 4 stroke 8 cylinder, 2 stroke 4 cylinder |
| 6P1R | 4 stroke 12 cylinder, 2 stroke 6 cylinder |
| 8P1R | 4 stroke 16 cylinder |
| 3P2R | 4 stroke 3 cylinder |
| 5P2R | 4 stroke 5 cylinder |
| 1P2R | 4 stroke 1 cylinder |
To change the firing pattern, refer to the detailed instructions in the included user manual (physical copy) or contact Runleader support.
4. Operating Instructions
The RL-HM020R features two buttons, 'M' (Mode) and 'S' (Set), for navigating through display modes and adjusting settings.
4.1 Display Modes
Press the 'M' button to cycle through the following display modes:
- TOT HOURS (Total Hours): Displays the accumulated total running hours of the engine. This value is shown when the engine is off.
- RPM (Revolutions Per Minute): Displays the real-time engine RPM when the engine is running.
- JOB / JOB1 TIMER: Used to measure the duration of a particular work job. These timers are resettable.
- SVC / SVC1 TIMER (Service Timer): Countdown tracking time for maintenance reminders.
- MAX RPM (Maximum RPM): Displays the highest RPM value recorded during operation.

Figure 4.1: Total Hours and RPM Display. This image shows the tachometer displaying "TOT" (Total Hours) when the engine is off, and "RPM" (Revolutions Per Minute) when the engine is running.

Figure 4.2: Job and Job1 Timers. This image displays the "JOB" and "JOB1" timers, which are resettable timers for tracking specific work durations.

Figure 4.3: Maximum RPM Display. This image shows the tachometer displaying "MAXRPM", indicating the highest RPM value recorded by the device.
4.2 Setting Timers and Parameters
Detailed instructions for setting the maintenance timer (SERVICE), resetting JOB timers, and configuring other parameters are typically found in the full product manual. Generally, the 'S' button is used to enter setting modes and adjust values, while the 'M' button confirms selections or cycles through options.
5. Maintenance
5.1 Service Reminders
The RL-HM020R includes SVC and SVC1 timers for maintenance reminders. These timers can be set to a desired interval (0-9999.9 hours). When the set maintenance time is reached, the display will flash "SVC" and "SVC-NOW" to remind you that service is due.

Figure 5.1: SVC and SVC1 Timers. This image shows the SVC and SVC1 countdown tracking times. It also illustrates the "SVC-NOW" flashing reminder when maintenance is due.
To reset the service timer after maintenance, refer to the specific instructions in the complete user manual.
5.2 General Care
- Keep the device clean from excessive dirt and debris. Use a soft, damp cloth for cleaning.
- Ensure the inductive wire remains securely wrapped around the spark plug cable.
- Periodically check the mounting for stability.
6. Troubleshooting
- No Display / Blank Screen:
- Check if the internal battery is depleted. The unit has a built-in CR2430 battery.
- Ensure the device is not exposed to extreme temperatures outside its operating range.
- Inaccurate RPM Readings:
- Verify that the inductive wire is securely and correctly wrapped around the spark plug cable (5-7 turns recommended).
- Confirm that the correct engine firing pattern is selected in the device settings (refer to Section 3.2).
- Ensure the spark plug cable is not faulty or excessively shielded, which might interfere with induction.
- Hour Meter Not Accumulating:
- Ensure the engine is running and generating RPM signals.
- Check the inductive wire connection as described for RPM issues.
If issues persist, consult the complete user manual or contact Runleader customer support.
7. Specifications
| Parameter | Value |
|---|---|
| Brand | Runleader |
| Model | RL-HM020R |
| Material | Plastic |
| Item Dimensions (L x W x H) | 5.5 x 1.4 x 3.8 Centimeters |
| Item Weight | 88 Grams |
| Hour Meter Resolution | 0.1 hour |
| Max Hours Display | 99999 hours |
| RPM Refresh Rate | 0.5 seconds |
| Waterproof Rating | IP67 |
| Manufacturer | Ningbo Jiangbei Run Leader Electronics Co., Ltd |
| UPC | 713095428788 |
| ASIN | B01M0LBV38 |

Figure 7.1: Product Dimensions and Scope of Application. This image provides a technical drawing with the dimensions of the tachometer in millimeters and illustrates various applications such as Lawn Mower, Compressor, Generator, Motorcycle, ATV, and Chainsaw.
8. Package Contents
The following items are typically included in the product package:
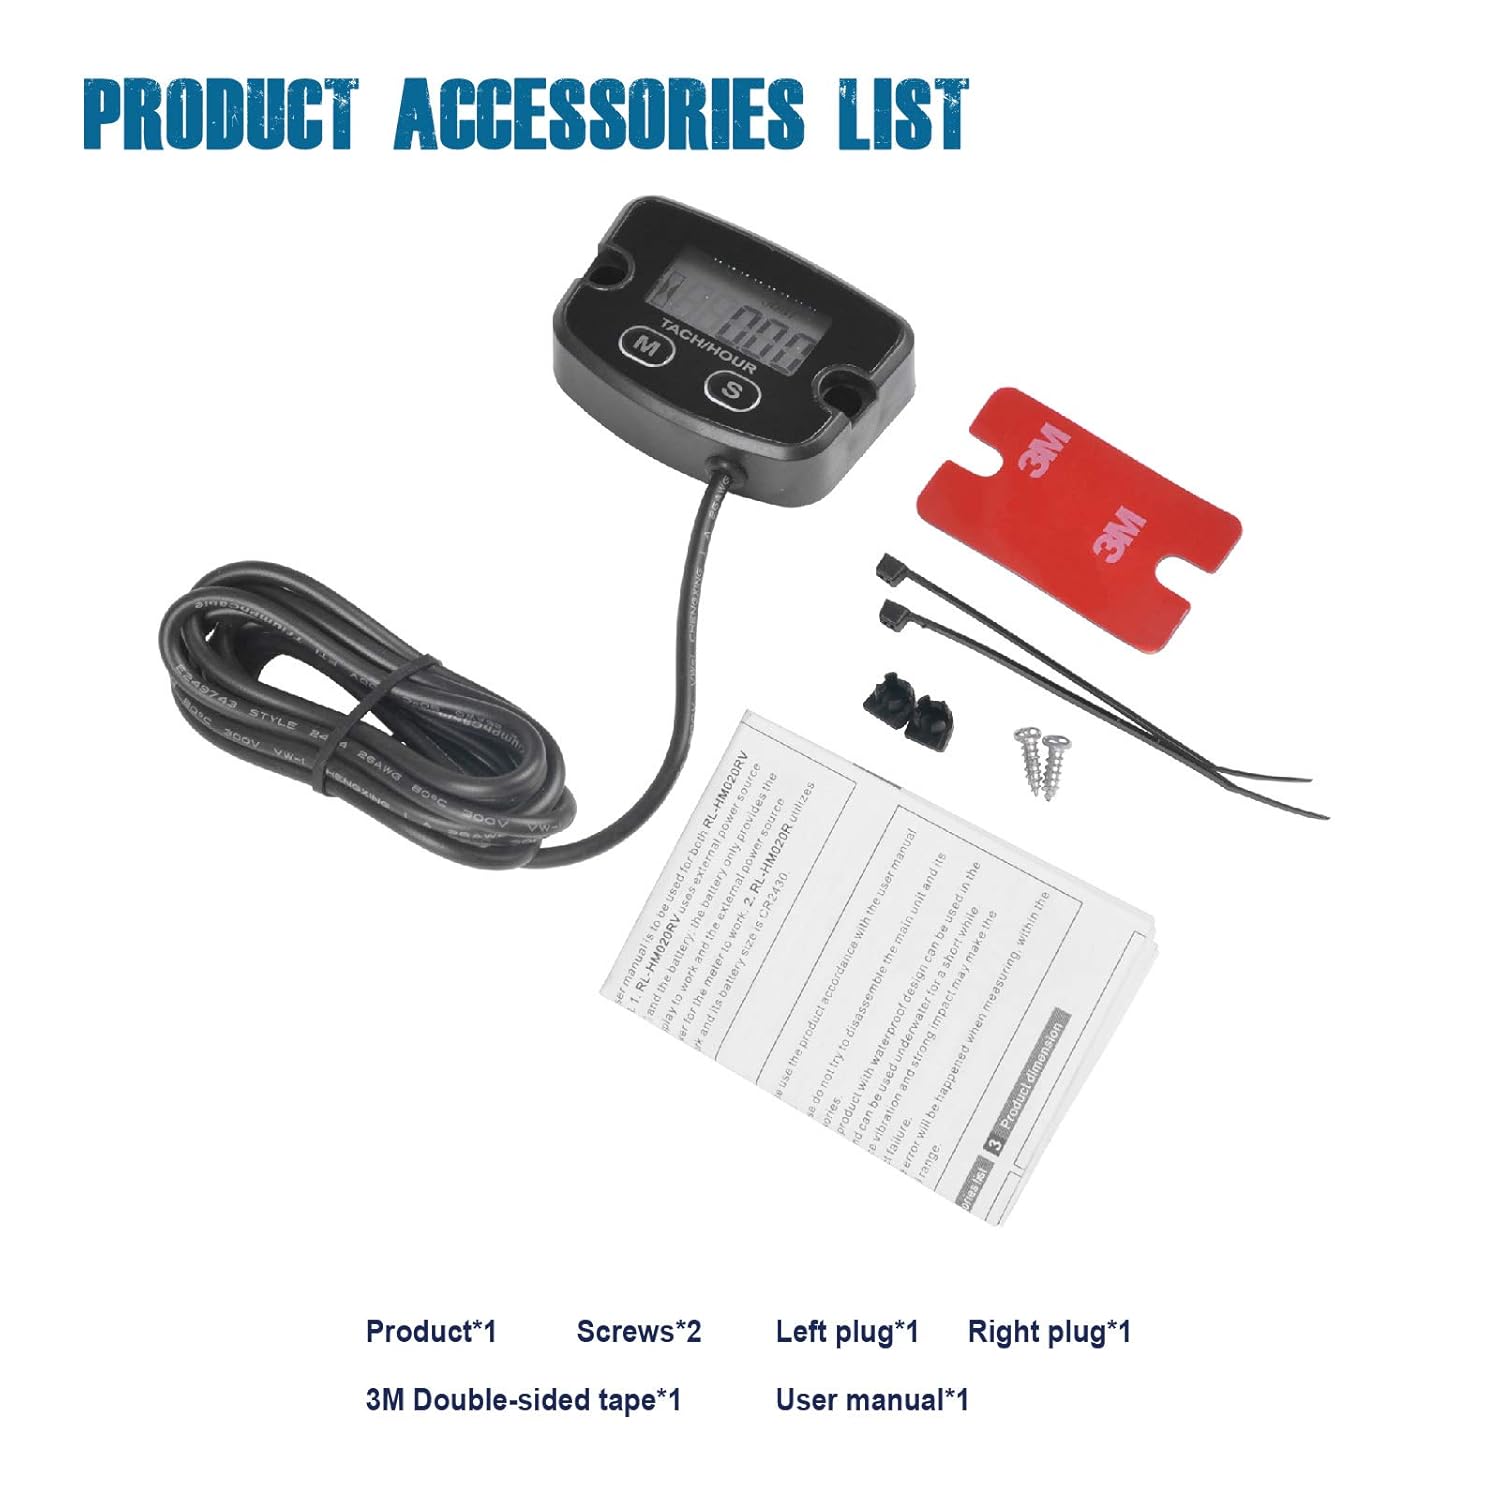
Figure 8.1: Product Accessories List. This image displays the tachometer unit along with its accessories: screws, left plug, right plug, 3M double-sided tape, and a user manual.
- Runleader RL-HM020R Tachometer Unit x 1
- Mounting Screws x 2
- Left Plug x 1
- Right Plug x 1
- 3M Double-sided Tape x 1
- User Manual (Printed) x 1
9. Support and Warranty
For further assistance, detailed operational guides, or warranty information, please refer to the printed user manual included with your product or visit the official Runleader website. Contact information for customer support can typically be found on the manufacturer's website or in the product packaging.