1. Introduction
This manual provides detailed instructions for the installation, operation, and maintenance of your A-Team Performance 12 Circuit Universal Wire Harness XL Wires. This harness is designed for automotive electrical system upgrades or new installations in street rods, classic cars, hot rods, and various car or truck projects. Please read this manual thoroughly before beginning any installation to ensure proper function and safety.

Image 1.1: Overview of the 12 Circuit Universal Wire Harness components, including the fuse panel and various colored wires.
2. Safety Information
Always prioritize safety when working with automotive electrical systems. Failure to follow safety precautions can result in serious injury, electrical shock, fire, or damage to your vehicle.
- Disconnect the vehicle's battery before installing or servicing any electrical components.
- Wear appropriate personal protective equipment, including safety glasses and gloves.
- Ensure all connections are secure and properly insulated to prevent short circuits.
- Do not exceed the specified current ratings for any circuit or fuse.
- Consult a professional automotive electrician if you are unsure about any part of the installation process.
3. Package Contents
Verify that all components listed below are present in your package:
- 12 Circuit Universal Wire Harness with pre-wired fuse block
- Wire Loom
- Fusible Link
- 2 GM Headlight Plugs
- Butt Connectors

Image 3.1: All included components of the wire harness kit, laid out for inspection.
4. Product Features
The A-Team Performance 12 Circuit Universal Wire Harness offers the following features:
- 12 Fuses and 12 Circuits: Provides comprehensive wiring for essential automotive functions.
- Thick Copper Wire Coating: Ensures durability and protection for the electrical conductors.
- Wire Gauge: Wires range from 10 to 18 gauge to accommodate various current requirements.
- Color-Coded and Labeled Wires: Simplifies identification and installation, reducing wiring errors.
- Universal Compatibility: Suitable for a wide range of vehicles including street rods, classic cars, hot rods, and custom car or truck projects.

Image 4.1: Detailed view of the wire harness, highlighting the color-coding and clear labeling on each wire for easy identification.
5. Setup and Installation
Proper installation is crucial for the reliable operation of your vehicle's electrical system. Plan your wiring layout carefully before making any connections.
5.1. Planning and Preparation
- Review Wiring Diagram: Although not included in this manual, a detailed wiring diagram should be obtained and studied for your specific vehicle and harness.
- Layout Components: Determine the optimal mounting location for the fuse block, ensuring it is easily accessible for fuse replacement and protected from moisture and excessive heat.
- Measure and Route Wires: Plan the routing of each wire to its respective component, ensuring sufficient length and avoiding sharp edges, moving parts, or heat sources.
5.2. Fuse Block Mounting
Mount the fuse block securely using appropriate fasteners. Ensure the mounting surface is clean and stable.
5.3. Wiring Connections
- Main Power Connection: Connect the main power wire (typically a heavy gauge wire) from the battery (via the fusible link) to the designated input on the fuse block.
- Ground Connections: Ensure all components and the fuse block have a solid, clean ground connection to the vehicle chassis.
- Circuit Connections: For each circuit, identify the corresponding labeled wire from the harness. Route the wire to its intended component (e.g., headlight, ignition switch, gauges). Cut the wire to the appropriate length, strip the insulation, and make a secure connection using the provided butt connectors or other suitable connectors.
- Headlight Plugs: Use the provided GM headlight plugs for headlight connections as needed.
- Wire Loom: Once all connections are made and tested, use the wire loom to bundle and protect the wires, providing a neat and organized appearance.

Image 5.1: The pre-wired fuse block, illustrating the connection points for various circuits.
6. Operating the Electrical System
The wire harness itself is a passive component that distributes power. Operating your vehicle's electrical system involves understanding the function of each circuit and ensuring proper fuse protection.
6.1. Understanding the Fuse Panel
The fuse panel is the central distribution point for your vehicle's electrical circuits. Each circuit is protected by a fuse of a specific amperage rating. The fuse panel cover typically indicates the function of each fuse.
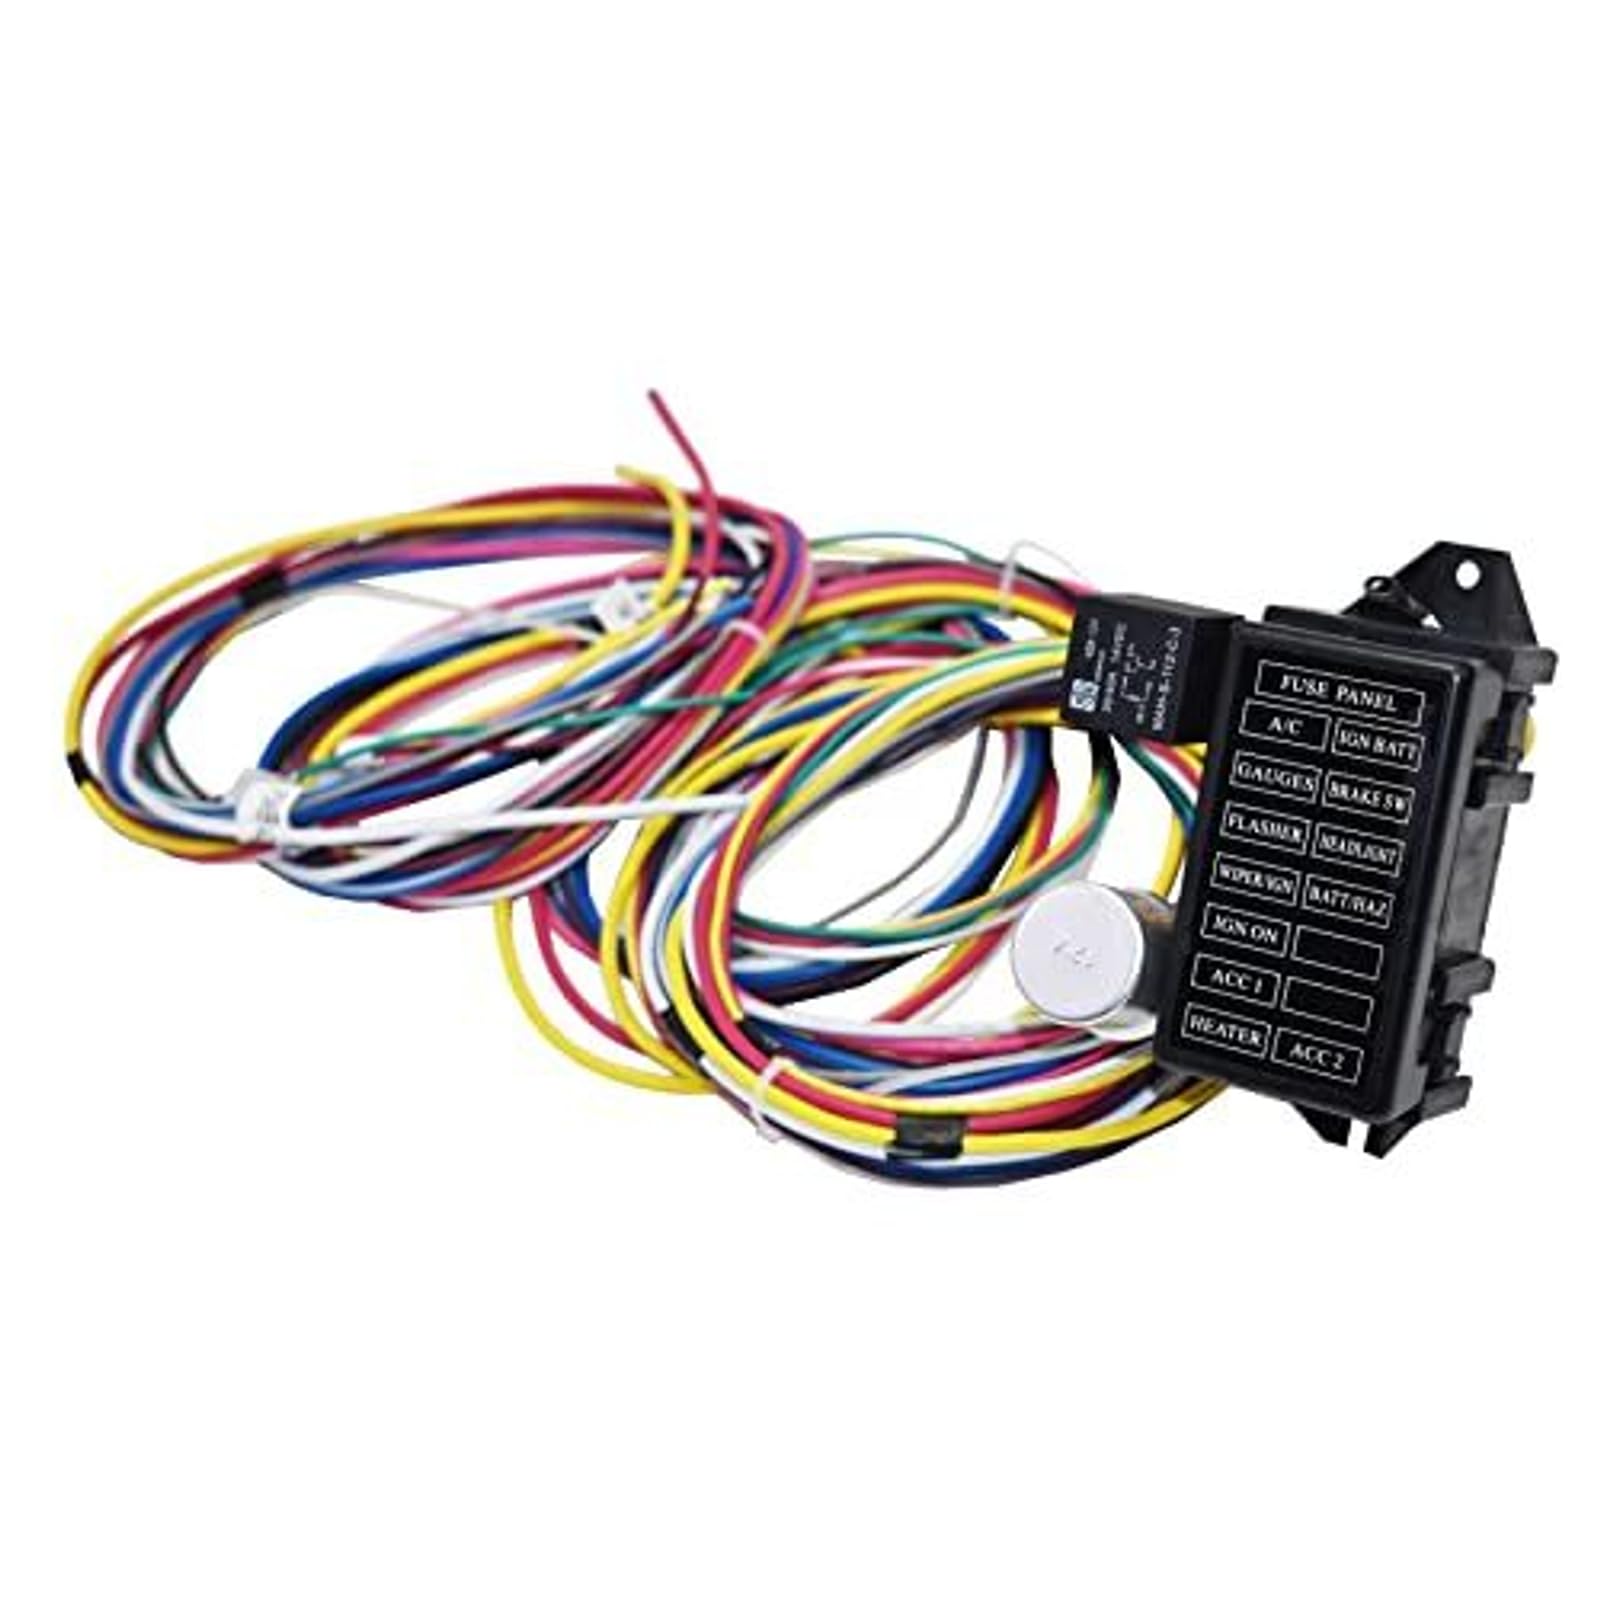
Image 6.1: The fuse panel with clearly labeled circuits for easy identification and maintenance.
6.2. Circuit Functions
The 12 circuits provided by this harness are typically used for:
- A/C (Air Conditioning)
- IGN/BATT (Ignition/Battery)
- GAUGES
- BRAKE SW (Brake Switch)
- FLASHER
- HEADLIGHT
- WIPER/IGN (Wiper/Ignition)
- BATT/HAZ (Battery/Hazard)
- IGN ON (Ignition On)
- ACC 1 (Accessory 1)
- HEATER
- ACC 2 (Accessory 2)
Ensure that each circuit is connected to its intended component and that the correct amperage fuse is installed for that circuit.
7. Maintenance
Regular maintenance helps ensure the longevity and reliability of your electrical system.
- Fuse Inspection: Periodically check the fuses for any signs of damage or corrosion. Replace blown fuses with new ones of the exact same amperage rating.
- Wire Inspection: Inspect all visible wiring for fraying, cuts, or signs of heat damage. Repair or replace damaged wires immediately.
- Connection Checks: Ensure all electrical connections remain tight and free of corrosion.
- Cleanliness: Keep the fuse block and surrounding wiring clean and free of dirt, dust, and moisture.
8. Troubleshooting
If an electrical component stops working, follow these basic troubleshooting steps:
- Check the Fuse: The most common cause of an electrical component failure is a blown fuse. Locate the fuse for the affected circuit on the fuse panel and inspect it. If the metal strip inside is broken, the fuse is blown.
- Replace Fuse: Replace a blown fuse with a new fuse of the exact same amperage rating. Never use a fuse with a higher rating, as this can lead to overheating and fire.
- Inspect Wiring: If the fuse blows again immediately or if the fuse is intact, inspect the wiring for the affected circuit. Look for loose connections, damaged insulation, or wires that may be pinched or shorting to ground.
- Test Component: If the wiring appears intact, test the component itself to ensure it is functioning correctly.
- Professional Assistance: If you are unable to diagnose or resolve the issue, consult a qualified automotive electrician.
9. Specifications
| Specification | Detail |
|---|---|
| Model Number | FBA_LZEP275 |
| Brand | A-Team Performance |
| Number of Circuits | 12 |
| Wire Gauge Range | 10 to 18 gauge |
| Voltage | 12 Volts |
| Material | Copper (Cuivre) |
| Item Weight | 1.47 kg |
| Connector Type | GM Headlight Connectors (included) |
| Recommended Use | Car, Truck, Street Rods, Classic Cars, Hot Rods |
10. Warranty Information
Specific warranty details for the A-Team Performance 12 Circuit Universal Wire Harness XL Wires are not provided in this manual. Please refer to the product packaging, the manufacturer's official website, or contact your point of purchase for comprehensive warranty information.
11. Support
For technical assistance, installation questions, or further support regarding your A-Team Performance wire harness, please contact the manufacturer directly or the seller from whom you purchased the product. Have your model number (FBA_LZEP275) and purchase details ready when seeking support.