1. Introduction
This manual provides essential information for the safe and effective installation, operation, and maintenance of your Generic QP2-4.7 3-Pin Start Relay Device. This component is designed as an aftermarket replacement part for various refrigeration appliances, including refrigerators and freezers, to assist in the compressor's starting sequence. Please read these instructions thoroughly before proceeding with any installation or repair.
2. Safety Information
- Electrical Hazard: Always disconnect power to the appliance before attempting any installation, repair, or maintenance. Failure to do so can result in serious injury or death.
- Qualified Personnel: Installation should ideally be performed by a qualified technician. If you are not experienced with electrical repairs, consult a professional.
- Proper Tools: Use appropriate insulated tools for electrical work.
- Component Compatibility: Ensure this relay is compatible with your appliance's compressor specifications before installation. Refer to your appliance's service manual.
3. Product Overview
The QP2-4.7 is a 3-pin start relay designed to provide the necessary starting current to the compressor motor in refrigeration units. It works in conjunction with the compressor's overload protector to ensure proper and safe operation. This relay is a common replacement for various mini-fridges, wine coolers, and small freezers.

Image 3.1: The QP2-4.7 3-Pin Start Relay Device, showing its compact design and approximate dimensions. The device measures approximately 1.1 inches in width, 0.83 inches in depth, and 1.18 inches in height.
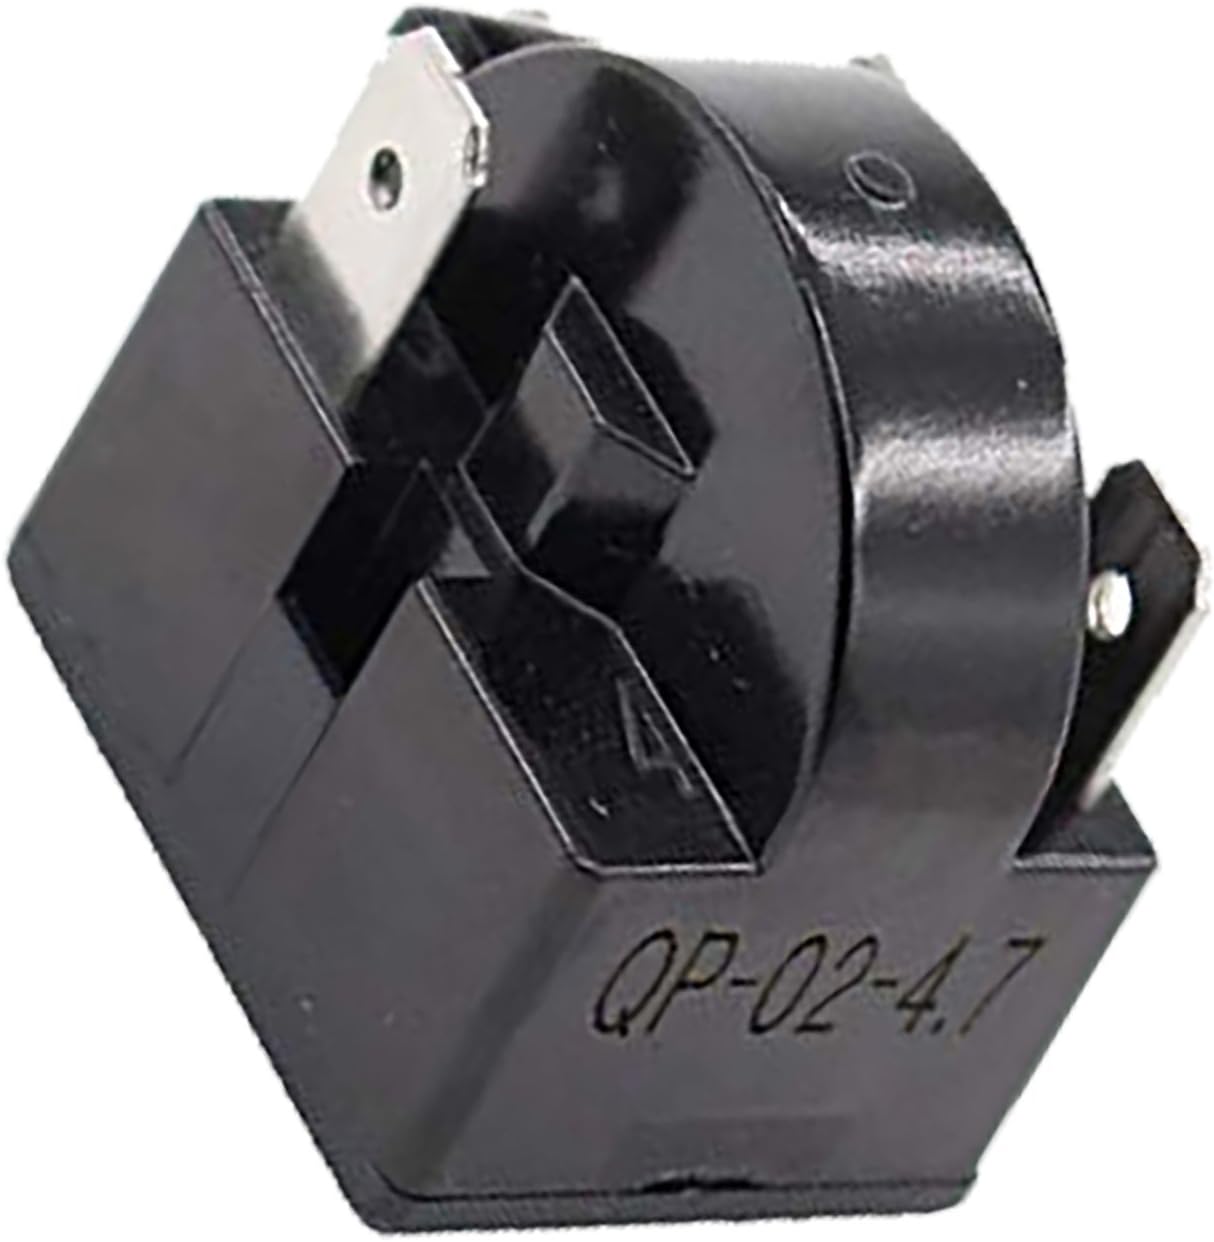
Image 3.2: A close-up view of the QP2-4.7 Start Relay, clearly displaying the model designation 'QP-02-4.7' on its casing. This confirms the specific model of the relay.
4. Setup and Installation
Follow these steps carefully to replace the start relay:
- Disconnect Power: Unplug the appliance from the electrical outlet. This is a critical safety step.
- Access Compressor: Locate the compressor at the back of your appliance. There will typically be a metal or plastic cover protecting the electrical components. Remove this cover.
- Document Wiring: Before disconnecting anything, take a clear photograph of the existing wiring connections to the old relay and overload protector. Note the color and position of each wire. This will be crucial for correct reassembly.
- Remove Old Relay: The old relay is usually attached to the side of the compressor. It may be held in place by friction or a clip. Gently pry it off using a flat-blade screwdriver. Be careful not to damage the compressor's pins or the adjacent overload protector.
- Disconnect Wires: Carefully disconnect the wires from the old relay. If an overload protector is present, it typically sits above the relay and has one black wire. Do not remove the overload protector unless it is also being replaced.
- Install New Relay: Align the new QP2-4.7 relay with the pins on the compressor. Ensure the pins slide securely into the corresponding receptacles on the relay. The relay should snap firmly into place.
- Reconnect Wires: Using your reference photograph, reconnect the wires to the new relay. Ensure all connections are secure and properly seated.
- Replace Cover: Reinstall the protective cover over the compressor's electrical components.
- Restore Power: Plug the appliance back into the electrical outlet.
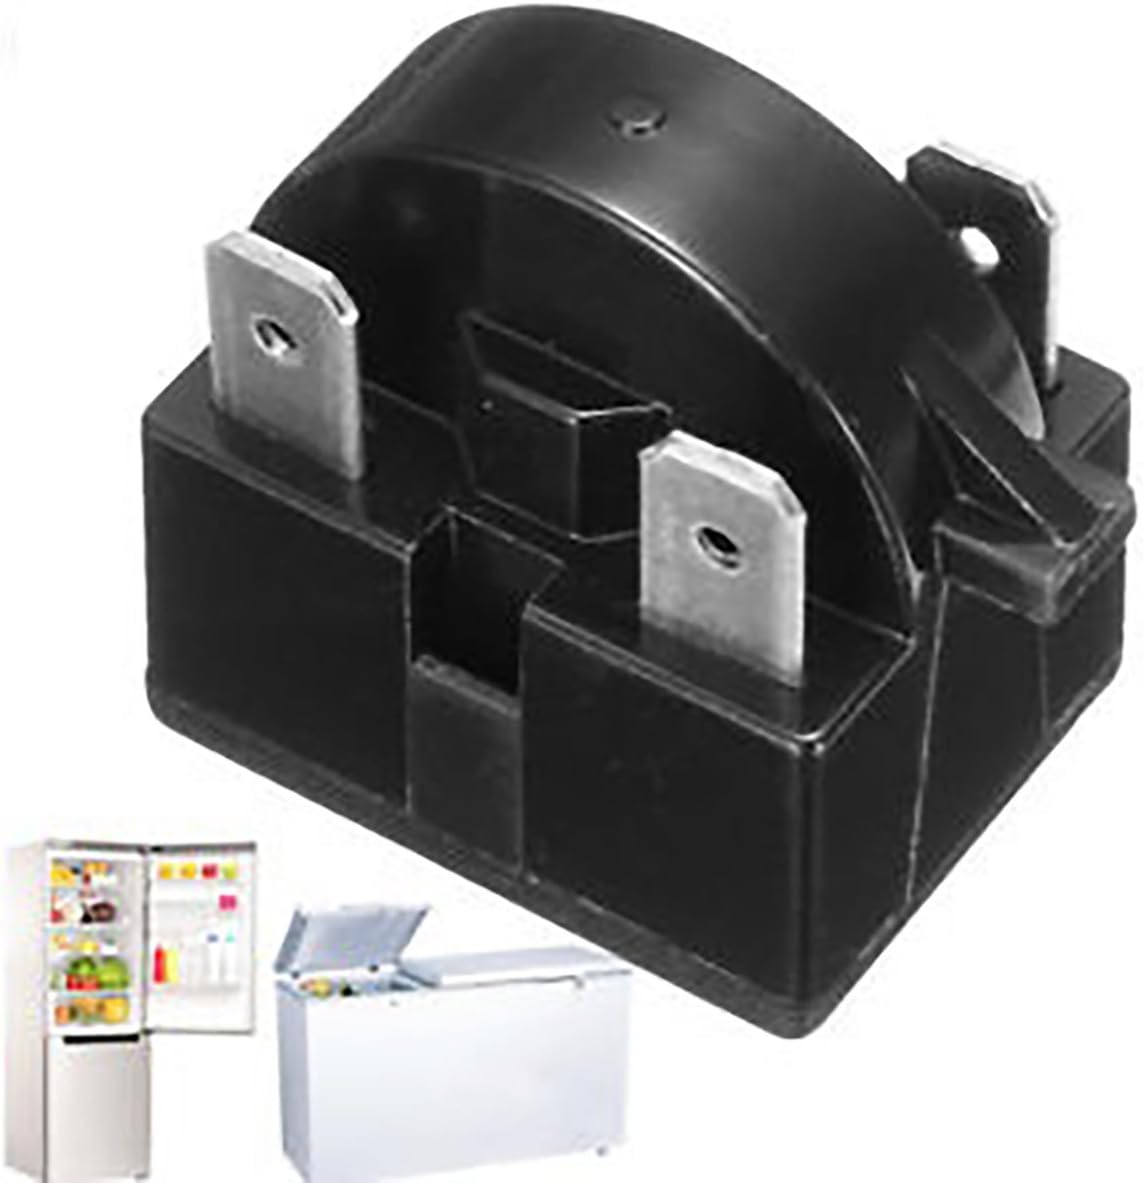
Image 4.1: The QP2-4.7 Start Relay shown alongside typical refrigeration appliances like a refrigerator and a chest freezer, indicating its application as a replacement part for such units.
5. Operation
Once installed, the QP2-4.7 start relay operates automatically. When the appliance's thermostat calls for cooling, the relay momentarily provides a surge of current to the compressor's start winding, allowing the motor to overcome inertia and begin running. Once the compressor reaches operating speed, the relay disengages the start winding, and the compressor continues to run on its main winding. This cycle repeats as needed to maintain the desired temperature.
6. Maintenance
The QP2-4.7 start relay is a sealed component and requires no routine maintenance. However, it is advisable to periodically inspect the wiring connections for any signs of corrosion or looseness. Ensure the area around the compressor and relay is kept clean and free of dust and debris to prevent overheating.
7. Troubleshooting
If your appliance fails to start or cool after replacing the start relay, consider the following:
- No Power: Verify the appliance is plugged in and the circuit breaker has not tripped.
- Incorrect Wiring: Double-check all wire connections against your reference photograph. Ensure they are secure and correctly positioned on the relay and compressor pins.
- Overload Protector: The overload protector, often located directly above the start relay, can also fail. If the compressor attempts to start but immediately clicks off, the overload protector may be faulty and require replacement.
- Compressor Issues: In some cases, the compressor itself may be faulty. If the relay and overload protector are confirmed to be working, a professional diagnosis of the compressor may be necessary.
- Relay Damage: Inspect the new relay for any visible damage that may have occurred during shipping or installation.
8. Specifications
| Feature | Specification |
|---|---|
| Model Number | QP2-4.7 (also referred to as QP-02-4.7) |
| Connector Type | Qp2-4.7 |
| Number of Terminals | 3 |
| Operation Mode | Automatic |
| Mounting Type | Panel Mount |
| Contact Material | Silver Copper |
| Contact Type | Mixed |
| Item Weight | 0.317 ounces |
| Package Dimensions | 2 x 2 x 1 inches |
9. Warranty and Support
As this is an aftermarket component from a generic brand, specific warranty information may vary depending on your retailer. Please refer to your purchase documentation for details regarding returns or exchanges. For technical support or further assistance, it is recommended to consult a qualified appliance repair technician or the original manufacturer of your appliance.


