1. Product Overview
This document provides instructions for the installation and maintenance of the ShelterLogic Replacement Cover, model 90530. This cover is designed to replace existing covers for ShelterLogic Garage-in-a-Box SUV models 62693, 62694, and 62696. It is a 13x20x12 foot, 9 oz gray standard cover, engineered to be 100% waterproof and UV treated for durability.
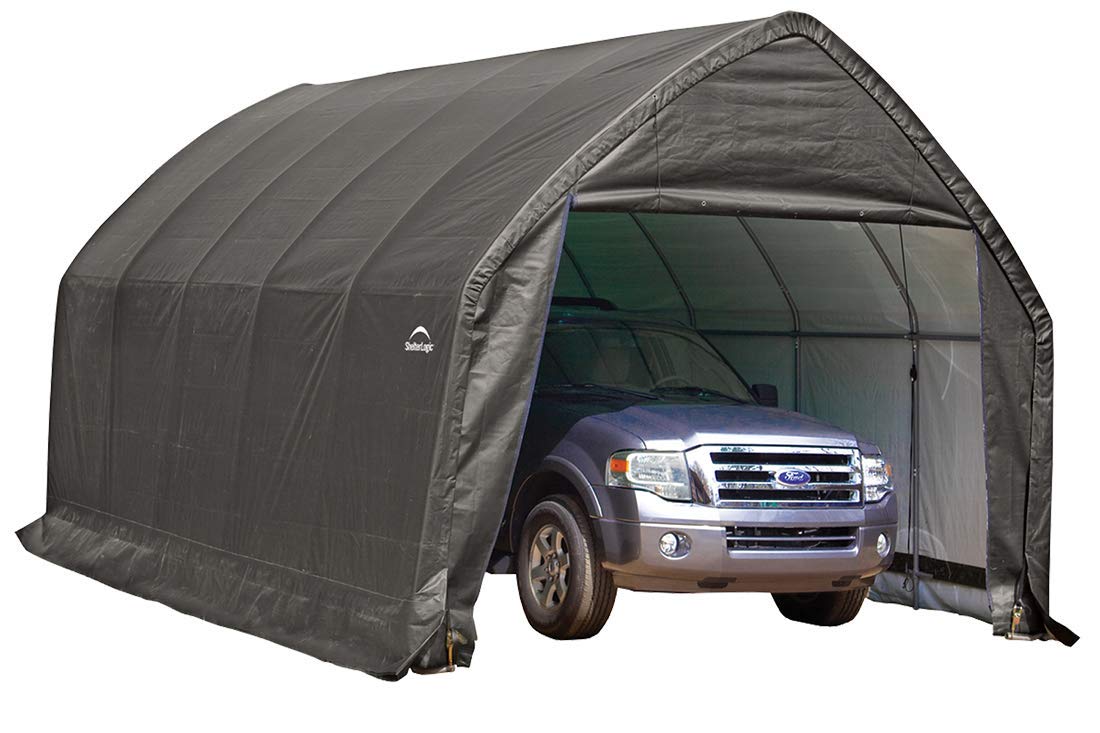
Image 1.1: ShelterLogic Replacement Cover (9 oz Gray). This image displays the gray replacement cover material, highlighting its texture and color.
2. Package Contents
Verify that all components are present before beginning installation. The replacement cover kit includes:
- 1 x Main Cover
- 1 x Rear Panel
- 1 x Double-Zippered Door Panel
- 8 x Ratchets for securing the cover
Note: The frame for the shelter is not included with this replacement cover kit and must be purchased separately or be an existing structure.
3. Safety Information
Adhere to the following safety guidelines to ensure proper use and longevity of the product:
- Sunlight Exposure: Prolonged exposure to direct sunlight may cause the cover material to fade over time.
- Heat Sources: Keep the cover away from all heat sources and open flames to prevent damage or fire.
- Anchoring: Ensure the cover and its frame are properly anchored, especially in windy conditions, to prevent structural damage or injury.
- Frame Integrity: Before installing the new cover, inspect the existing frame for any damage, rust, or loose connections. Repair or replace any compromised parts to ensure a stable structure.
4. Setup Instructions
These instructions assume you have an existing ShelterLogic frame (models 62693, 62694, or 62696) in good condition.
4.1. Preparation
- Ensure the existing frame is clean, stable, and free from any sharp edges that could damage the new cover.
- Lay out the new cover components (main cover, rear panel, door panel) on a clean, flat surface near the frame.
4.2. Removing the Old Cover
- Carefully detach any existing ratchets or securing straps from the old cover.
- Remove the old main cover, rear panel, and door panel from the frame. Dispose of the old cover responsibly.
4.3. Installing the New Cover
- Drape Main Cover: Carefully drape the new main cover over the frame, ensuring it is centered and evenly distributed.
- Attach Rear Panel: Secure the rear panel to the appropriate end of the frame according to the frame's design.
- Attach Door Panel: Secure the double-zippered door panel to the opposite end of the frame. Ensure zippers are functional and aligned.
- Secure with Ratchets: Use the provided 8 ratchets to securely fasten the cover to the frame. Start by loosely attaching all ratchets, then gradually tighten them evenly to achieve a snug fit. Avoid over-tightening any single ratchet initially, as this can cause uneven tension.
- Final Adjustment: Inspect the entire cover for any loose areas or wrinkles. Adjust ratchets as needed to ensure a taut and secure installation.
5. Operating Instructions
The ShelterLogic Replacement Cover is designed for static protection of vehicles or stored items. Proper operation primarily involves maintaining its integrity and functionality.
- Door Panel Use: Utilize the double-zippered door panel for access. Ensure zippers are fully closed when not in use to protect contents from weather and debris.
- Anchoring: Regularly check the anchoring of the frame and cover, especially after strong winds or storms, to ensure it remains securely in place.
- Snow Removal: In areas with heavy snowfall, periodically remove accumulated snow from the cover to prevent excessive weight and potential damage to the frame or cover material.
6. Maintenance
Regular maintenance will extend the life of your ShelterLogic Replacement Cover.
- Cleaning: Clean the cover periodically with mild soap and water. Avoid harsh chemicals or abrasive cleaners, as these can damage the UV coating and material. Rinse thoroughly and allow to air dry.
- Inspection: Routinely inspect the cover for any signs of wear, tears, or damage. Check the ratchets for proper tension and ensure they are not corroded or damaged.
- Frame Check: Periodically inspect the frame for rust, loose bolts, or structural fatigue. Address any issues promptly to prevent damage to the cover.
- Zipper Care: Keep zippers clean and lubricated with a silicone-based spray to ensure smooth operation.
7. Troubleshooting
Common issues and their potential solutions:
| Problem | Possible Cause | Solution |
|---|---|---|
| Cover appears loose or sags | Ratchets are not sufficiently tightened; uneven tension. | Re-tighten ratchets evenly around the frame until the cover is taut. |
| Water pooling on cover | Insufficient tension; frame not level; excessive snow/debris. | Ensure cover is taut and frame is level. Remove snow or debris promptly. |
| Small tears or punctures | Sharp objects; abrasion; extreme weather. | Patch small tears with a compatible repair kit. For large damage, consider replacement. |
| Zippers sticking or difficult to operate | Dirt/debris in zipper teeth; lack of lubrication. | Clean zipper teeth and apply a silicone-based lubricant. |
8. Specifications
- Model Number: 90530
- Dimensions: 13 feet (Width) x 20 feet (Length) x 12 feet (Height)
- Material: 9 oz Gray Standard fabric, Tough ripstop, 100% waterproof, UV treated inside and out
- Compatibility: Designed for ShelterLogic Garage-in-a-Box SUV frames models 62693, 62694, 62696
- Manufacturer: ShelterLogic
9. Warranty and Support
For specific warranty information regarding your ShelterLogic Replacement Cover, please refer to the documentation provided at the time of purchase or contact ShelterLogic customer support directly. While optional protection plans may be available from retailers, product warranty details are typically provided by the manufacturer.
For further assistance or to inquire about replacement parts, please visit the official ShelterLogic website or contact their customer service department.
ShelterLogic Official Website: www.shelterlogic.com


