Introduction
This manual provides essential information for the installation, function, and maintenance of the Cutex Needle Bar, part number 19413. This component is designed for use with Consew 206R and 206RB industrial sewing machines. Please read these instructions carefully before installation and use to ensure proper function and longevity of the part.
Product Overview
The Cutex Needle Bar #19413 is a critical component for industrial sewing machines, specifically compatible with Consew 206R and 206RB models. Its primary function is to hold the sewing needle securely and facilitate its vertical movement during the sewing process. This part ensures precise needle positioning and consistent stitch formation. The needle bar comes equipped with one needle set screw for securing the needle.
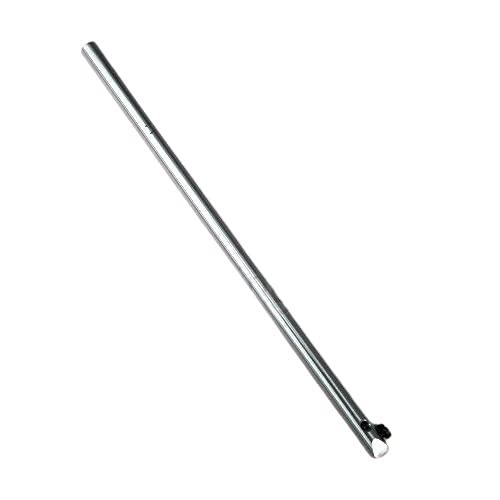
Figure 1: Cutex Needle Bar #19413. This image displays a silver-colored metal rod, which is the needle bar, designed for industrial sewing machines. It features a small attachment point at one end for securing a needle with a set screw.
Setup and Installation
Safety Precaution: Always disconnect the sewing machine from its power source before attempting any installation, maintenance, or repair.
- Preparation: Ensure the machine is turned off and unplugged. Clear the work area around the needle bar.
- Access: Depending on your specific Consew 206R/206RB model, you may need to remove covers or plates to access the existing needle bar assembly. Refer to your sewing machine's primary service manual for detailed access instructions.
- Remove Old Needle Bar: Loosen any set screws or fasteners holding the old needle bar in place. Carefully slide the old needle bar out. Note its orientation for correct installation of the new part.
- Install New Needle Bar: Insert the Cutex Needle Bar #19413 into the designated slot. Ensure it is oriented correctly, typically with the needle set screw opening facing forward or as per your machine's specifications.
- Secure Needle Bar: Tighten the set screws or fasteners to secure the new needle bar firmly in position. Do not overtighten.
- Install Needle: Insert a new, appropriate sewing needle into the needle clamp at the bottom of the needle bar. Ensure the needle's flat side (if applicable) is correctly oriented and push it up as far as it will go. Tighten the needle set screw (included with the needle bar) to secure the needle.
- Test Movement: Manually turn the machine's handwheel to observe the needle bar's movement. Ensure it moves smoothly without obstruction and that the needle is properly aligned.
- Reassemble: Replace any covers or plates that were removed.
Function and Operation
The needle bar's primary function is to provide the vertical reciprocating motion required for the sewing needle to penetrate the fabric and form stitches. Once installed, the needle bar operates in conjunction with the machine's main shaft and linkage system. Proper installation ensures the needle moves precisely, allowing for consistent loop formation for the bobbin thread to catch, which is essential for creating strong and even stitches.
Maintenance
Regular maintenance of the needle bar and surrounding components is crucial for optimal sewing machine performance.
- Cleaning: Periodically clean the needle bar and its housing to remove lint, dust, and old oil residue. Use a soft brush or compressed air.
- Lubrication: Apply a small amount of high-quality sewing machine oil to the upper and lower bearings/bushings where the needle bar slides. Refer to your sewing machine's manual for specific lubrication points and frequency.
- Inspection: Regularly inspect the needle bar for any signs of bending, wear, or damage. Ensure the needle set screw is tight and not stripped. A bent needle bar can cause skipped stitches, needle breakage, and damage to other machine parts.
Troubleshooting
If you experience issues after installing or during the use of the needle bar, consider the following:
- Needle Not Holding:
- Ensure the needle set screw is tightened securely.
- Check if the needle set screw is stripped or damaged; replace if necessary.
- Verify the needle is inserted correctly and fully into the clamp.
- Needle Breakage / Skipped Stitches:
- Inspect the needle bar for any signs of bending. A bent needle bar will cause misalignment.
- Confirm the needle bar is installed at the correct height and orientation.
- Check for proper timing between the needle bar and the hook mechanism. This may require professional adjustment.
- Excessive Noise or Vibration:
- Ensure all fasteners securing the needle bar are tight.
- Lubricate the needle bar's moving points as per maintenance instructions.
- Inspect for any foreign objects or debris obstructing the needle bar's path.
For complex issues or if troubleshooting steps do not resolve the problem, it is recommended to consult a qualified sewing machine technician or the machine's service manual.
Specifications
| Part Number | 19413 |
| Compatible Machines | Consew 206R, Consew 206RB Industrial Sewing Machines |
| Included Components | One (1) Needle Set Screw |
| Material | Metal (typically steel or alloy) |
Warranty Information
Warranty coverage for the Cutex Needle Bar #19413 is provided by the manufacturer or seller. Please retain your proof of purchase. For specific details regarding warranty terms, duration, and claims process, refer to the documentation provided at the time of purchase or contact the seller directly. General return policy for this item is 30 days from purchase.
Support
For further assistance, technical support, or inquiries regarding the Cutex Needle Bar #19413, please contact your original point of purchase or the Cutex customer service department. You may also visit the Cutex Store on Amazon for additional product information.