1. Safety Information
Please read these instructions carefully before installation and retain them for future reference. Failure to follow these instructions may result in electric shock, fire, or other hazards.
- Electrical Safety: This product operates on a 12V AC/DC low voltage system. A compatible 12V magnetic or electronic power supply (transformer) is required and sold separately. Do not connect directly to 120V AC.
- Installation: Installation should be performed by a qualified electrician or trained professional in accordance with local electrical codes. Ensure power is disconnected at the source before installation or servicing.
- Outdoor Use: The fixture is IP66 rated, indicating protection against high-pressure water jets and outdoor elements. Ensure all connections are watertight using the provided gel-filled wire nuts.
- Dimming: For dimming functionality, use a Magnetic Low Voltage (MLV) dimmer (sold separately).
- Product Integrity: Do not modify the fixture. Any modifications may void the warranty and create safety hazards.
2. Package Contents
Verify that all components are present before beginning installation.
- WAC Landscape Lighting Cone LED Deck and Patio Light (Model 3021-27WT)
- 3-foot lead wire (attached to fixture)
- 2 x Ideal Direct Burial Wire Nuts (gel-filled)
- Hardware Pack for Surface Mount
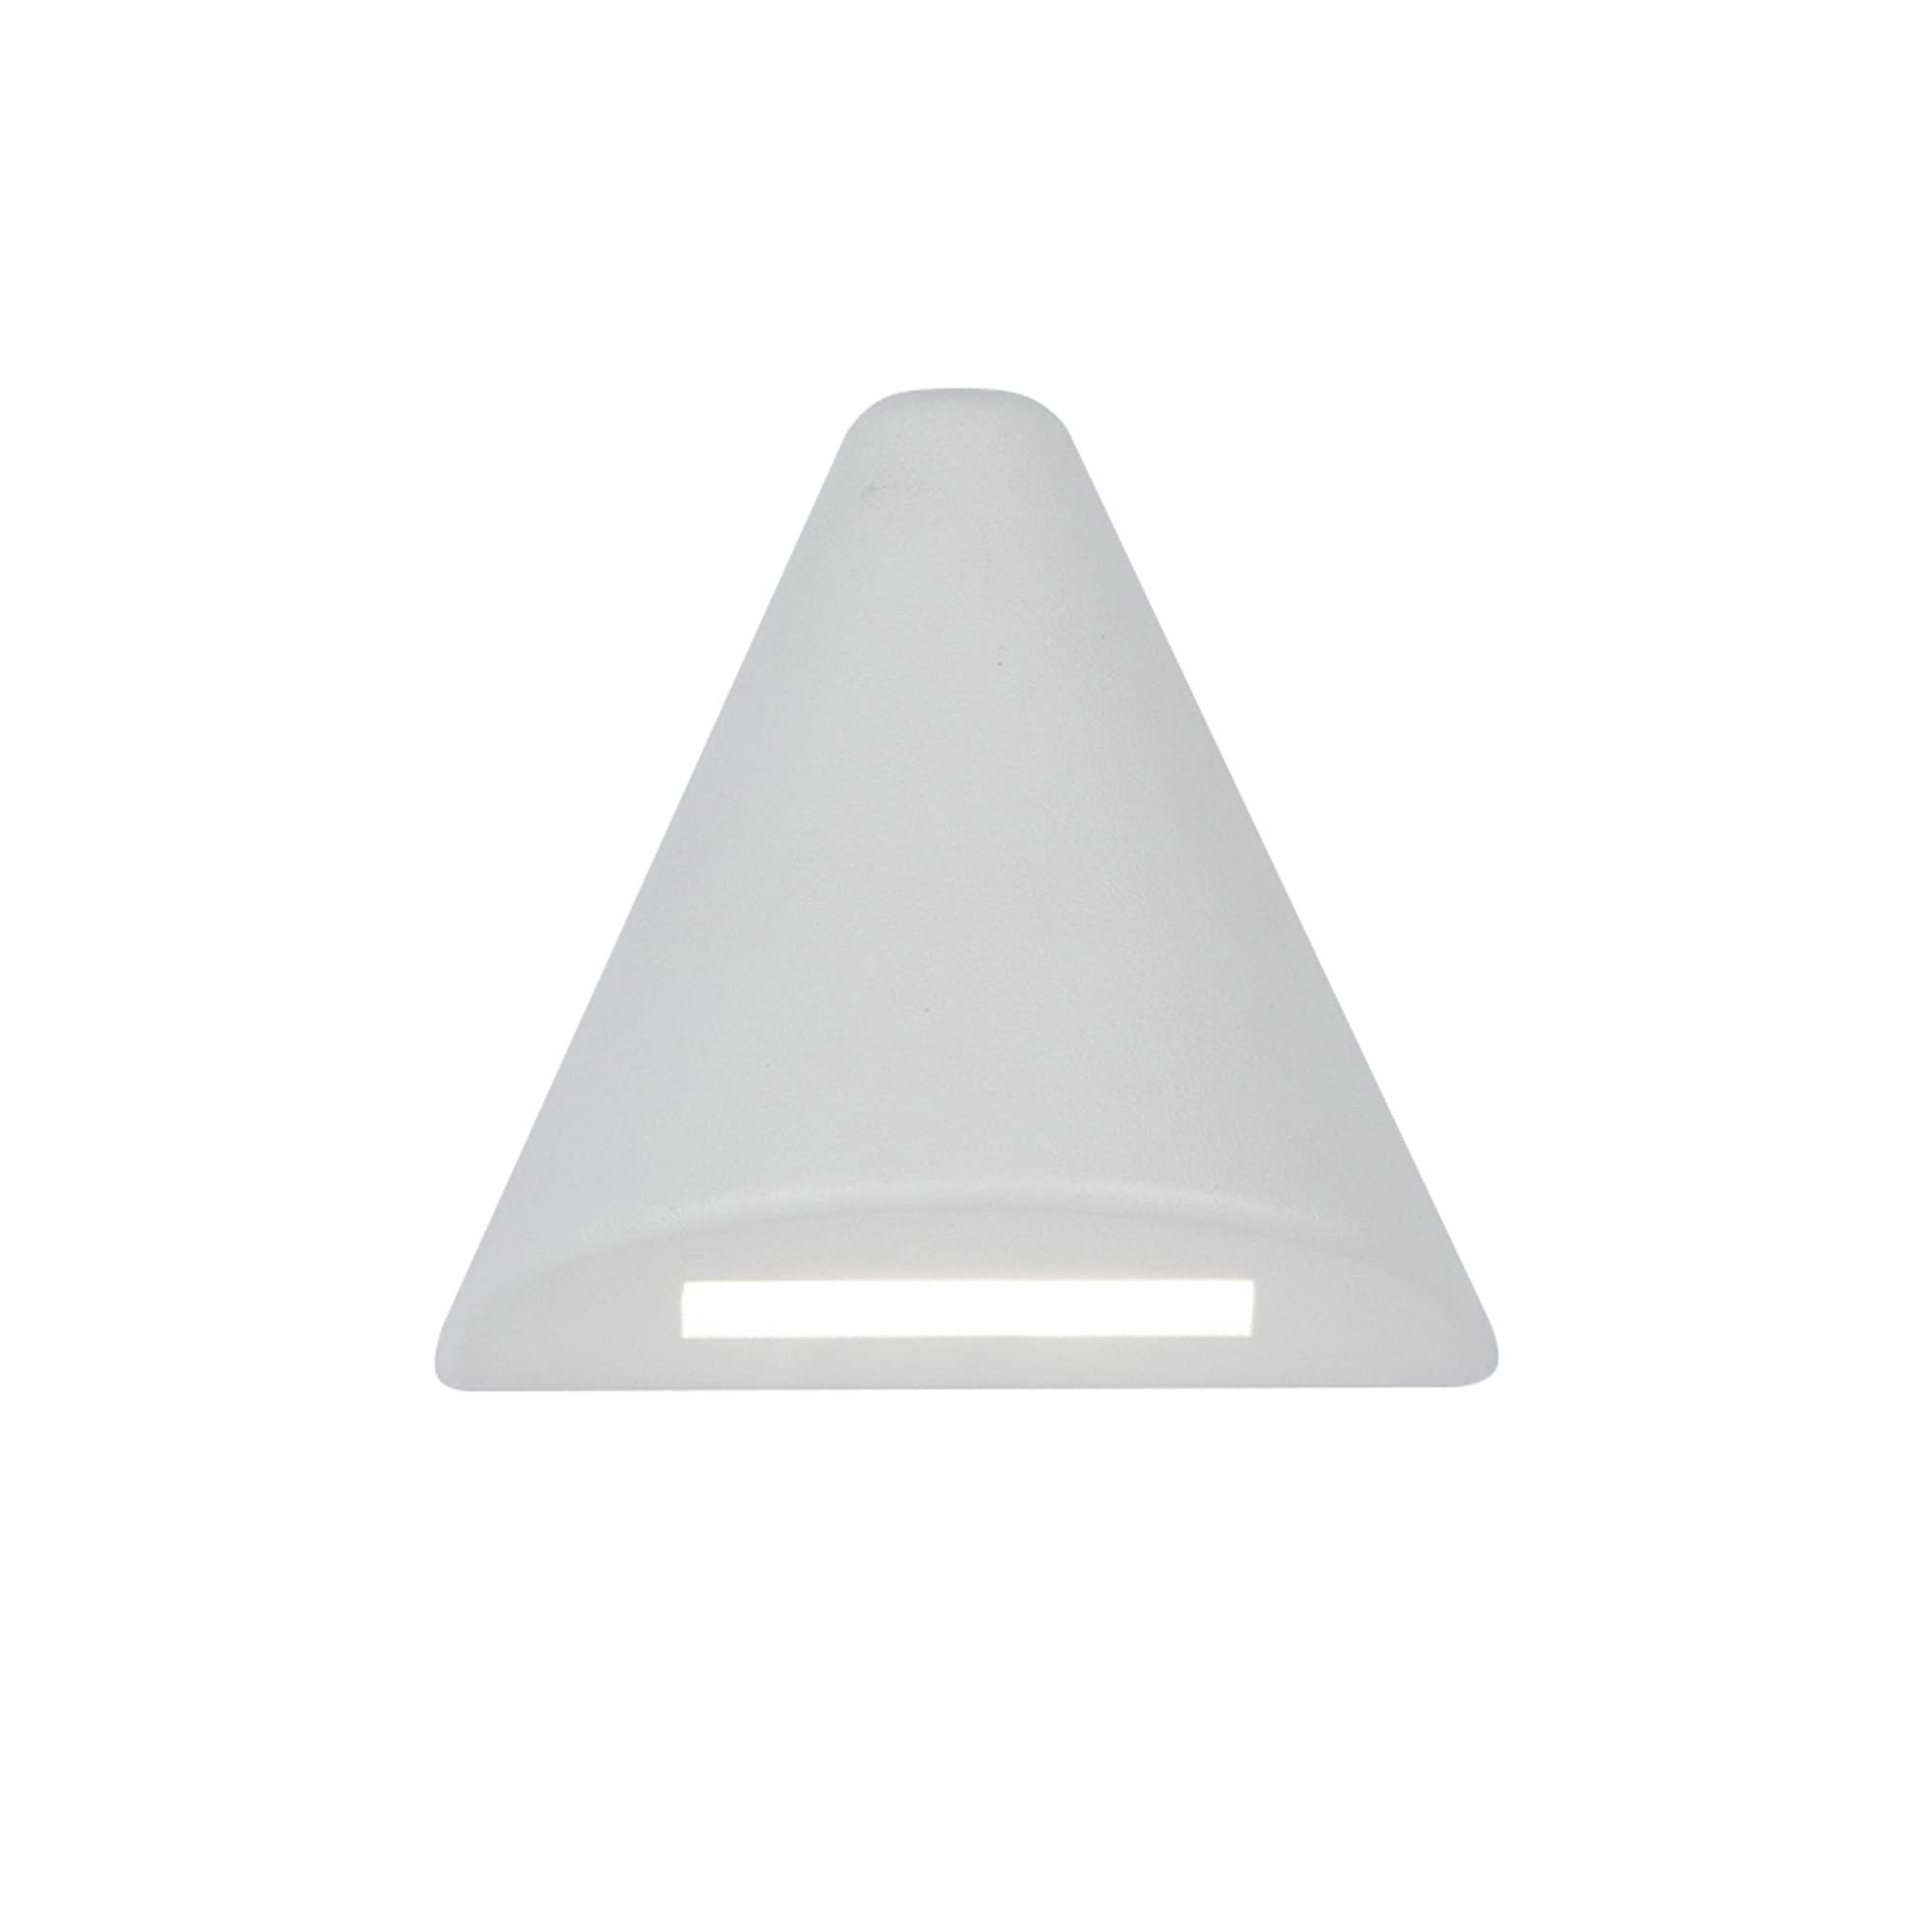
Image: The WAC Landscape Lighting Cone LED Deck and Patio Light in white, showing the attached lead wire and two gel-filled direct burial wire nuts.
3. Setup & Installation
This fixture is designed for surface mounting on a flat surface, such as a 4x4 post or deck railing. A 12V AC/DC landscape lighting transformer (sold separately) is required.
3.1 Tools Required (Not Included)
- Drill
- Drill bits appropriate for mounting surface and wire passage
- Screwdriver
- Wire strippers
- Voltage tester
3.2 Installation Steps
- Disconnect Power: Ensure the power supply to the landscape lighting system is turned off at the main breaker or transformer.
- Prepare Mounting Surface: Select a suitable location for the light. The fixture is designed to fit cleanly on a 4x4 post without hanging off the sides. Mark the desired mounting points for the screws from the hardware pack.
- Drill Pilot Holes: Drill pilot holes for the mounting screws. If routing the wire through the mounting surface, drill an additional hole for the lead wire.
- Mount the Fixture: Secure the light fixture to the mounting surface using the provided hardware. Ensure it is firmly attached.
- Connect Wiring:
- Strip approximately 1/2 inch of insulation from the ends of the fixture's lead wire and the main low voltage landscape wire.
- Twist the exposed copper wires together (one from the fixture to one from the main wire).
- Secure each connection with a gel-filled direct burial wire nut. Twist the wire nut clockwise until tight. The gel inside the nut will seal the connection, protecting it from moisture.
- Bury the wire connections underground or ensure they are otherwise protected and concealed.
- Connect to Transformer: Connect the main low voltage landscape wire to your 12V AC/DC landscape lighting transformer (sold separately). Refer to your transformer's manual for specific connection instructions.
- Restore Power: Once all connections are secure and properly insulated, restore power to the landscape lighting system.

Image: Example of a WAC Landscape Lighting 12V power supply transformer, required for operation (sold separately).
Video: An overview of WAC Deck & Patio lights, demonstrating their design and suitability for various installations. This video provides visual context for the product line.
4. Operation
The WAC Landscape Lighting Cone LED Deck and Patio Light operates automatically when connected to a compatible 12V landscape lighting system controlled by a timer or photocell (not included). The light will illuminate when power is supplied to the low voltage circuit.
- Power On/Off: Control the light by turning the 12V landscape lighting transformer on or off.
- Dimming: If connected to a Magnetic Low Voltage (MLV) dimmer, the brightness can be adjusted smoothly and continuously down to 10% of its maximum output.
- Light Output: This model provides 2700K Warm LED light, offering a soft, inviting glow suitable for decks, patios, and pathways.

Image: A visual comparison showing the difference between 2700K Warm light (left) and 3000K Warm White light (right). This specific model emits 2700K Warm light.
5. Maintenance
The WAC Landscape Lighting Cone LED Deck and Patio Light is designed for minimal maintenance. The built-in LED has a rated life of 50,000 hours.
- Cleaning: Periodically clean the fixture with a soft, damp cloth to remove dirt and debris. Do not use abrasive cleaners or solvents, as these can damage the finish or lens.
- Inspection: Annually inspect the wiring and connections for any signs of wear, damage, or corrosion. Ensure wire nuts remain securely fastened.
- LED Replacement: The LED is built-in and not user-replaceable. If the LED fails within the warranty period, contact customer support.
6. Troubleshooting
If your WAC Landscape Lighting Cone LED Deck and Patio Light is not functioning as expected, refer to the following common issues and solutions:
| Problem | Possible Cause | Solution |
|---|---|---|
| Light does not turn on. |
|
|
| Light flickers or is dim. |
|
|
| Water inside the fixture. |
|
|
7. Specifications
| Feature | Detail |
|---|---|
| Model Number | 3021-27WT |
| Brand | WAC Lighting |
| Product Dimensions | 3.38" L x 1.63" W x 3.21" H |
| Material | Aluminum |
| Color | White |
| Light Source | Built-in LED |
| Input Voltage | 9-15V AC/DC |
| Power Consumption | 2.8W (4.6VA) |
| Brightness | Up to 60 Lumens (90 Lumens max) |
| Color Temperature | 2700K Warm LED |
| Color Rendering Index (CRI) | 90 |
| Rated Hours | 50,000 hours |
| Dimming | Smooth and continuous to 10% with MLV dimmer (sold separately) |
| IP Rating | IP66 (Factory sealed water tight) |
| Certifications | UL & cUL 1838, EPA, Energy Star, FCC |
| Included Components | Fixture, 3ft lead wire, 2x direct burial wire nuts, hardware pack |

Image: Technical line drawing showing the dimensions of the WAC Cone LED Deck and Patio Light.
8. Warranty & Support
Warranty: This WAC Landscape Lighting product is covered by a 10-year functional warranty and a 2-year finish warranty from the date of purchase. This warranty covers defects in materials and workmanship under normal use.
Exclusions: The warranty does not cover damage caused by improper installation, misuse, abuse, accidents, modifications, or acts of nature. It also does not cover normal wear and tear or consumable parts.
Customer Support: For technical assistance, warranty claims, or replacement parts, please contact WAC Lighting customer service. Have your model number (3021-27WT) and proof of purchase ready.
WAC Lighting Contact Information:
- Visit the WAC Lighting Store on Amazon for more information.
- Refer to the official WAC Landscape Lighting website for direct contact details.


