1. Introduction
The Viecar CY300 is a compact and efficient OBDII car diagnostic scanner designed to retrieve vehicle diagnostic information. This tool supports all OBD II protocols, including the Controller Area Network (CAN) protocol, making it compatible with most 1996 and newer vehicles.
This manual provides detailed instructions for the proper use and maintenance of your CY300 diagnostic scanner.
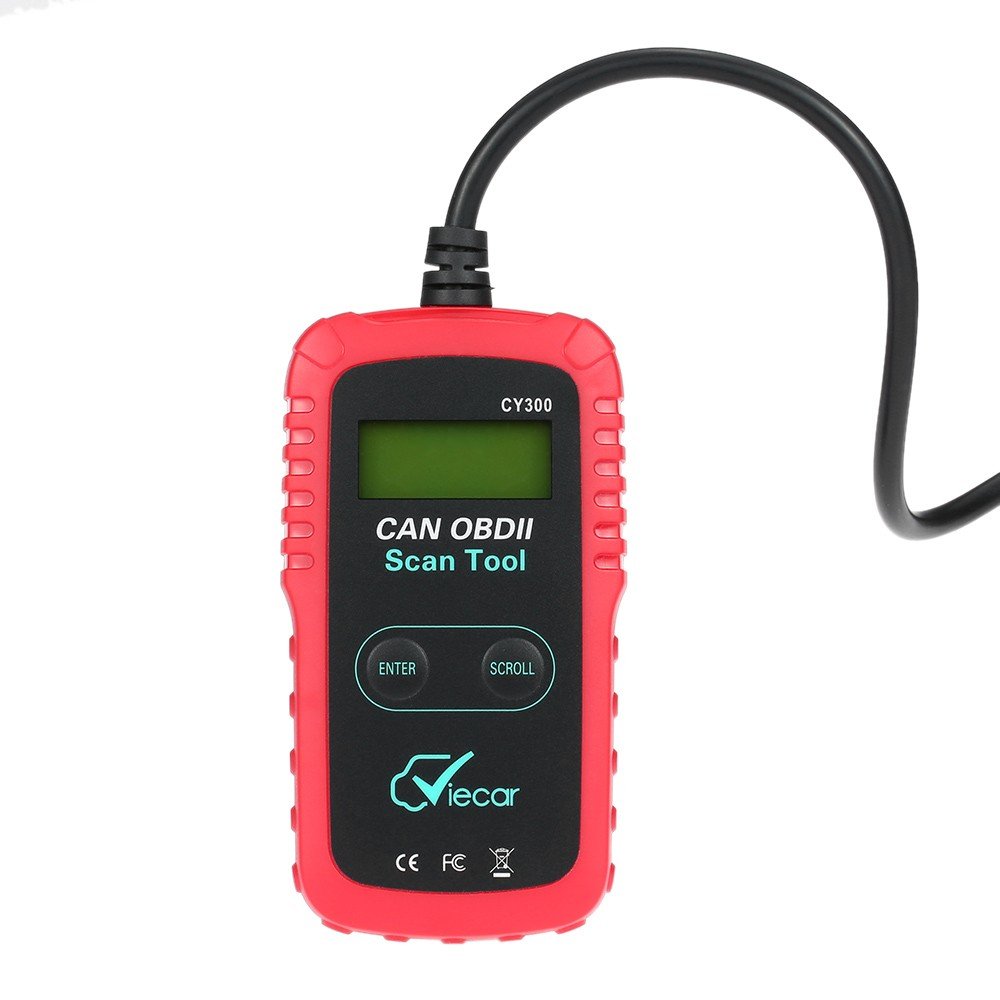
Figure 1.1: Viecar CY300 OBDII Car Diagnostic Scanner. The device is red and black with an integrated cable and OBDII connector.
2. Safety Information
- Always perform automotive testing in a safe environment.
- Wear eye protection that meets ANSI standards.
- Keep clothing, hair, hands, tools, test equipment, etc., away from all moving or hot engine parts.
- Operate the vehicle in a well-ventilated work area; exhaust gases are poisonous.
- Put blocks in front of the drive wheels and never leave the vehicle unattended while running tests.
- Use extreme caution when working around the ignition coil, distributor cap, ignition wires, and spark plugs. These components create hazardous voltages when the engine is running.
- Keep a fire extinguisher suitable for gasoline/chemical/electrical fires nearby.
- Do not connect or disconnect any test equipment while the ignition is on or the engine is running.
3. Product Overview
The Viecar CY300 is designed for ease of use, featuring a clear display and intuitive buttons for navigation.
3.1 Key Features
- Reads and clears generic and manufacturer-specific Diagnostic Trouble Codes (DTCs).
- Turns off the Check Engine Light (MIL).
- Supports multiple trouble code requests: generic, pending, and manufacturer-specific codes.
- Reviews emission readiness status of OBD monitors.
- Determines Malfunction Indicator Lamp (MIL) status.
- Retrieves Vehicle Identification Number (VIN) on 2002 and newer vehicles that support Mode 9.
- Easy plug-and-play operation.
- No internal batteries required; powered directly via the detachable OBD II cable from the vehicle.
3.2 Device Components

Figure 3.1: Labeled components of the Viecar CY300. This image highlights the LCD display, Enter button, Scroll button, and the OBD II connector.
- LCD Display: Backlit, 2-line, 8-character display for showing diagnostic information.
- Enter Button: Confirms selections or actions.
- Scroll Button: Navigates through menus and data.
- OBD II Connector: Connects the tool to the vehicle's OBD II port.
4. Setup
The Viecar CY300 is designed for simple plug-and-play operation. Follow these steps to set up your device:
- Locate the OBD II Port: The OBD II port is typically located under the dashboard on the driver's side of the vehicle. Refer to your vehicle's service manual for the exact location if you cannot find it.
- Connect the Scanner: With the vehicle's ignition off, firmly plug the CY300's OBD II connector into the vehicle's OBD II port. Ensure a secure connection.
- Turn on Ignition: Turn the vehicle's ignition to the "ON" position (do not start the engine). The scanner will automatically power on, drawing power from the vehicle's battery.
- System Initialization: The scanner will perform a system initialization and link to the vehicle's onboard computer. This may take a few seconds. Once linked, the main menu or a diagnostic screen will appear.
5. Operating Instructions
Once the scanner is connected and powered on, you can begin diagnostic operations.
5.1 Reading Diagnostic Trouble Codes (DTCs)
- From the main menu, use the Scroll button to navigate to the "Read Codes" option.
- Press the Enter button to select.
- The scanner will display any stored DTCs. Use the Scroll button to view multiple codes if present.
5.2 Clearing Diagnostic Trouble Codes (DTCs)
Warning: Clearing DTCs will erase all diagnostic data from the vehicle's computer. Ensure you have recorded any necessary information before proceeding.
- From the main menu, use the Scroll button to navigate to the "Erase Codes" option.
- Press the Enter button to select.
- Confirm your choice when prompted. The Check Engine Light (MIL) should turn off after successful clearing.
5.3 Checking I/M Readiness Status
This function checks the status of the emission-related monitoring systems to determine if they are ready for an emissions test.
- From the main menu, use the Scroll button to navigate to the "I/M Readiness" option.
- Press the Enter button to select.
- The display will show the status of various monitors (e.g., "OK" for complete, "INC" for incomplete).
5.4 Retrieving Vehicle Information (VIN)
This function allows you to retrieve the Vehicle Identification Number (VIN) for vehicles that support Mode 9.
- From the main menu, use the Scroll button to navigate to the "Vehicle Info" option.
- Press the Enter button to select.
- The VIN will be displayed on the screen.
6. Maintenance
Proper maintenance ensures the longevity and reliable operation of your Viecar CY300 scanner.
- Cleaning: Use a soft, dry cloth to clean the exterior of the scanner. Do not use abrasive cleaners or solvents.
- Storage: Store the device in a clean, dry environment away from direct sunlight, extreme temperatures, and excessive moisture. Keep it in its original packaging or a protective case when not in use.
- Cable Care: Avoid bending or kinking the OBD II cable excessively. Always grasp the connector when plugging or unplugging, not the cable itself.
- Software Updates: Check the manufacturer's website periodically for any available software updates to ensure optimal performance and compatibility with newer vehicles.
7. Troubleshooting
If you encounter issues with your Viecar CY300, refer to the following common troubleshooting steps:
- No Power:
- Ensure the OBD II connector is firmly plugged into the vehicle's port.
- Verify the vehicle's ignition is in the "ON" position.
- Check the vehicle's fuse for the OBD II port (consult your vehicle's manual).
- Link Error / Communication Error:
- Confirm the vehicle is OBD II compliant (generally 1996 and newer).
- Ensure the ignition is on and the engine is off.
- Check for any loose connections at the OBD II port.
- Try connecting the scanner to a different OBD II compliant vehicle to rule out a scanner issue.
- Screen Freezes:
- Disconnect the scanner from the vehicle, wait a few seconds, and then reconnect it.
- Ensure the vehicle's battery has sufficient charge.
- Incorrect Readings:
- Ensure the scanner's software is up to date.
- Verify the vehicle's information (VIN, year, make, model) is correctly recognized by the scanner.
8. Specifications
The following table outlines the technical specifications for the Viecar CY300 OBDII Car Diagnostic Scanner:

Figure 8.1: Visual representation of Viecar CY300 dimensions and key specifications.
| Specification | Detail |
|---|---|
| Model | Viecar CY300 |
| Color | Red + Black |
| Material | Plastic |
| Display | Backlit LCD, 2-line, 8 characters |
| Operating Temperature | 0°C to 50°C (32°F to 122°F) |
| Storage Temperature | -20°C to 70°C (-4°F to 158°F) |
| Power Source | 10 to 15.5 Volts provided via vehicle battery (no internal batteries) |
| Product Dimensions (L x W x H) | 12 cm x 6.5 cm x 2.1 cm (approx. 4.7 x 2.6 x 0.8 inches) |
| Package Weight | 260 g (approx. 9 oz) |
| UPC | 712383577481, 712383583871, 712383579997 |
| ASIN | B01KSV9GDM |
| Date First Available | August 17, 2016 |
9. Warranty and Support
For warranty information, please refer to the documentation provided at the time of purchase or contact your retailer. Specific warranty terms may vary by region and seller.
If you require technical support or have questions not covered in this manual, please contact the retailer or manufacturer directly. Keep your purchase receipt and product model number (CY300) available for faster service.