Introduction
The Saramonic SR-TM7 is a professional super-cardioid broadcast shotgun condenser microphone designed to deliver clear, broadcast-quality audio. It is suitable for use with video cameras, audio recorders, and DSLR/mirrorless cameras equipped with XLR adapters. Its long-shotgun design is optimized for capturing sound from a distance. This manual provides detailed instructions for the proper use and maintenance of your SR-TM7 microphone.
Safety Information
- Do not expose the microphone to water or excessive humidity.
- Avoid dropping or subjecting the microphone to severe impacts.
- Do not attempt to disassemble or modify the microphone.
- Keep the microphone away from strong magnetic fields.
- Use only the specified charging cable for the built-in battery.
Package Contents
Verify that all items are present in your package:
- Saramonic SR-TM7 Microphone
- Micro USB Cable
- Mic Clip with Camera Shoe Mount
- Foam Windscreen
- XLR Cable
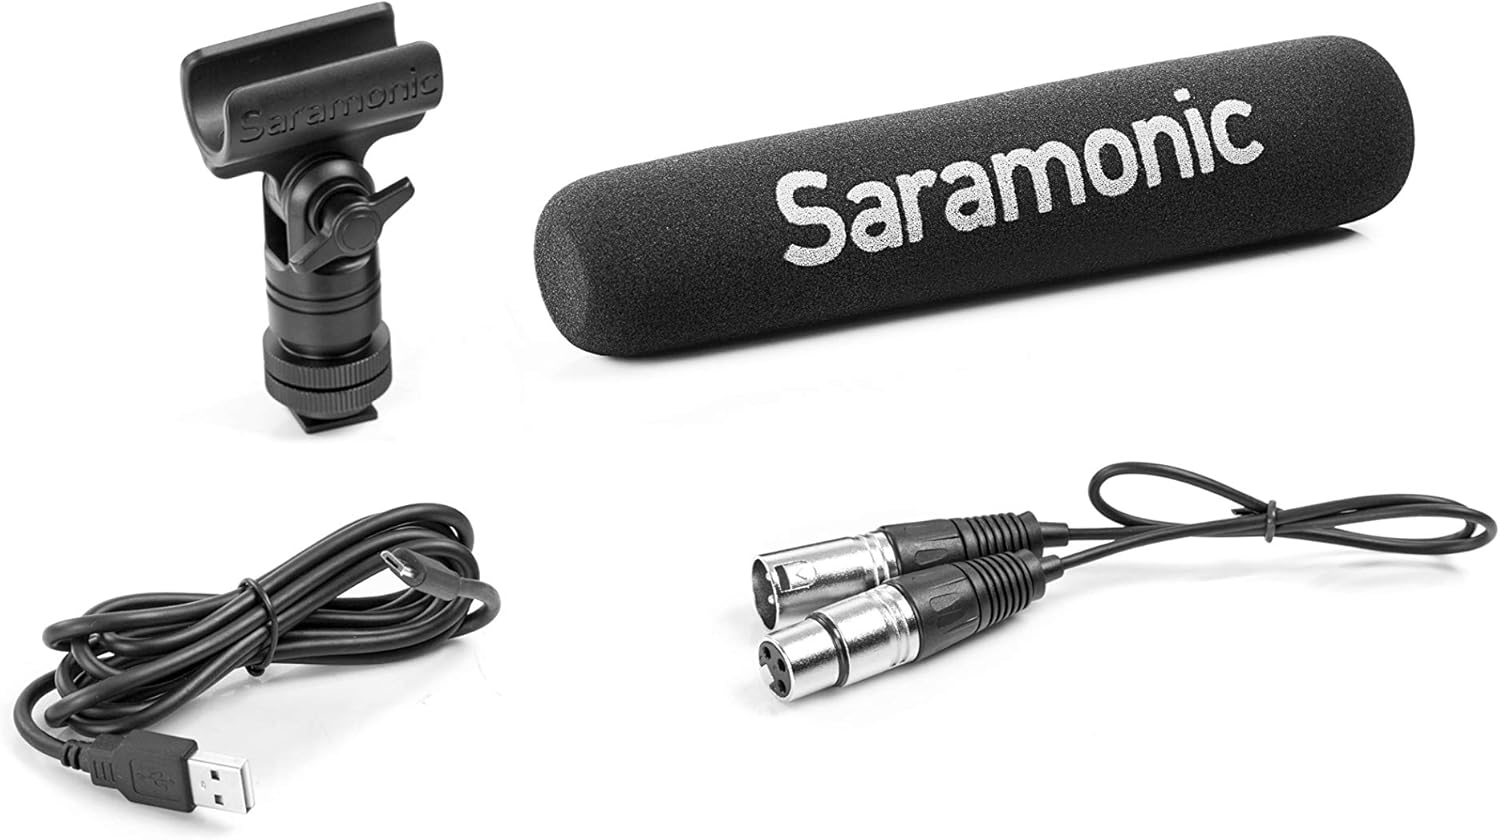
Image: Saramonic SR-TM7 microphone with its accessories, including an XLR cable, a Micro USB charging cable, a mic clip, and a foam windscreen.
Product Overview
The SR-TM7 features several controls and indicators for optimal audio capture.

Image: Saramonic SR-TM7 microphone with foam windscreen. The image highlights the control panel with buttons for high-pass filter, PAD, high frequency boost, and power.
- Microphone Capsule: The primary sound capture component.
- Digital High-Pass Filter (75Hz/150Hz): Reduces low-frequency noise.
- -10dB PAD Switch: Attenuates input signal for loud sound sources.
- +6dB High Frequency Boost Switch: Enhances clarity and sharpness of audio.
- ON/OFF Power Button: Activates and deactivates the microphone.
- XLR Output: Standard 3-pin XLR connector for audio output.
- Micro-USB Charging Port: For recharging the internal battery.
Setup
- Attach Mic Clip: Secure the SR-TM7 microphone into the provided mic clip. The mic clip can then be mounted onto a camera shoe mount or other compatible stand.
- Connect XLR Cable: Connect one end of the supplied XLR cable to the microphone's XLR output and the other end to your camera, audio recorder, or XLR adapter.
- Apply Foam Windscreen: For indoor use or light wind conditions, slide the foam windscreen over the microphone capsule to reduce plosives and minor wind noise. For outdoor use in windy conditions, a high-wind furry windscreen (e.g., TM-WS7, sold separately) is recommended.
- Power On: Press the ON/OFF power button to activate the microphone. The button will illuminate to indicate power status and battery level.

Image: The Saramonic SR-TM7 microphone integrated into a camera setup, demonstrating its typical use for video production.
Operating the Microphone
Powering the Microphone
The SR-TM7 can be powered by its internal rechargeable lithium battery or by 48V phantom power from your connected device. The power button's illumination indicates the power source and battery life.
- Internal Battery: Provides up to 150 hours of operation.
- Phantom Power: If connected to a device supplying 48V phantom power, the microphone will automatically draw power from it.
Using the Control Buttons
The SR-TM7 features five illuminated buttons for easy adjustment, even in low-light conditions. The microphone digitally controls the on-board filters and saves your settings when powered off.
- -10dB PAD: Press this button to reduce the input sensitivity by 10dB. This is useful when recording very loud sound sources to prevent distortion.
- +6dB High Frequency Boost: Activate this feature to enhance the sharpness and clarity of the audio, particularly useful for dialogue.
- Low-Cut Filters (75Hz and 150Hz): Two separate buttons allow you to engage a low-cut filter at either 75Hz or 150Hz. These filters help to eliminate distracting low-frequency noises such as rumble from vehicles, air conditioners, or footsteps, making dialogue more intelligible.
Battery and Charging
The SR-TM7 is equipped with a built-in lithium battery. The Micro-USB charging port is integrated into the XLR connector for convenience.
- Charging: Connect the supplied Micro-USB cable to the charging port on the microphone and to a standard USB power source (e.g., computer USB port, USB wall adapter).
- Charging Indicator: The power button's color will change to indicate charging status and battery life. Refer to the microphone's specific LED indicators for detailed status.
- Battery Life: A full charge provides approximately 150 hours of continuous operation.
Maintenance
- Cleaning: Use a soft, dry cloth to clean the microphone body. Do not use liquid cleaners or solvents.
- Storage: When not in use, store the microphone in a dry, dust-free environment, preferably in its original packaging or a protective case.
- Battery Care: For long-term storage, ensure the battery is partially charged (around 50%) to prolong its lifespan. Avoid fully discharging the battery for extended periods.
Troubleshooting
| Problem | Possible Cause | Solution |
|---|---|---|
| No audio output | Microphone not powered on; XLR cable not connected properly; Low battery; Phantom power not enabled on recording device. | Ensure microphone is powered on; Check XLR cable connections; Charge the battery; Enable 48V phantom power on your recording device if using. |
| Distorted audio | Input signal too high (clipping); Microphone too close to sound source. | Activate the -10dB PAD switch; Increase distance from sound source; Adjust input gain on your recording device. |
| Excessive low-frequency noise | Environmental rumble; Proximity effect. | Engage the 75Hz or 150Hz low-cut filter; Move microphone away from noise sources. |
Specifications
- Microphone Form Factor: Shotgun
- Polar Pattern: Super-Cardioid
- Frequency Response: 20 Hz - 20 kHz
- Signal-to-Noise Ratio: 80 dB
- Audio Sensitivity: 10 Decibels
- Power Source: Built-in Lithium Ion Battery / 48V Phantom Power
- Battery Life: Approximately 150 hours (internal battery)
- Connector Type: XLR, Micro USB (for charging)
- Dimensions (L x W x H): 17.72 x 3.35 x 6.89 inches (Product Dimensions)
- Item Weight: 8.1 ounces (0.23 Kilograms)
- Material: Durable Metal Construction (body), Foam (windscreen)
- Included Components: Micro USB cable, Mic Clip, Foam windshield, XLR cable
Warranty and Support
For warranty information and technical support, please refer to the official Saramonic website or contact your local distributor. Keep your proof of purchase for warranty claims.
Saramonic Official Website: www.saramonic.com


