1. Introduction
Thank you for purchasing the Minka Lavery 2254-576 Lavery Pendant Light. This fixture is designed to provide ambient lighting and enhance the aesthetic of your indoor spaces. This manual provides essential information for the safe installation, operation, and maintenance of your new pendant light. Please read these instructions thoroughly before beginning installation and retain them for future reference.
2. Important Safety Information
WARNING: Risk of electric shock. Disconnect power at the circuit breaker or fuse box before installation or servicing. All electrical connections must be in accordance with local codes, ordinances, or the National Electric Code (NEC).
- Consult a qualified electrician if you are unsure about the installation process.
- Ensure the fixture is properly grounded.
- Do not exceed the maximum wattage specified for the bulb.
- Handle glass components with care to prevent breakage.
- This fixture is designed for indoor use only.
3. Package Contents
Carefully unpack your fixture and inspect all components for damage. Keep all packaging materials until you are satisfied with the product. The package should contain the following:
- 1 x Lavery Pendant Light Fixture
- Mounting Hardware (screws, wire nuts, etc.)
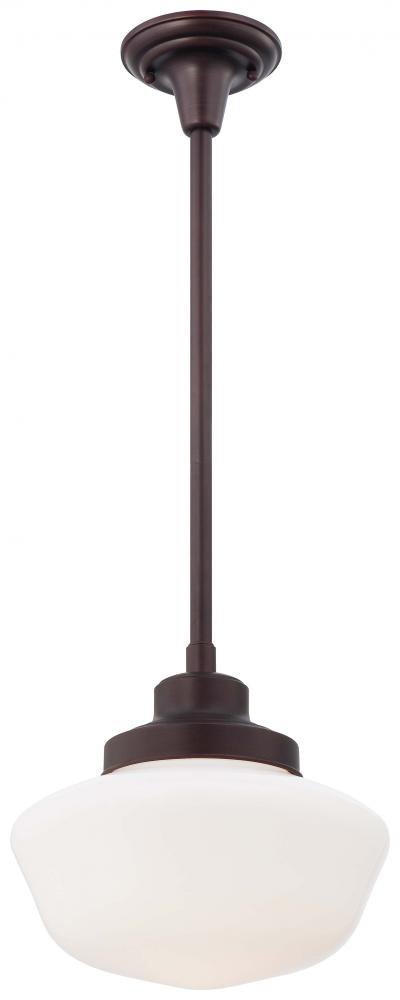
Figure 1: Minka Lavery 2254-576 Lavery Pendant Light (Brushed Bronze)
4. Specifications
| Model Number | 2254-576 |
| Dimensions (L x W x H) | 12"L x 12"W x 10.75"H |
| Weight | 5.51 pounds |
| Material | Alloy Steel, Glass |
| Finish | Brushed Bronze |
| Shade Material | Glass |
| Number of Lights | 1 |
| Max Wattage Per Bulb | 150 Watts |
| Bulb Base | E26 (Medium Base) |
| Voltage | 120 Volts |
| Dimmable | Yes (with compatible dimmer switch and bulb) |
| Installation Type | Semi Flush Mount / Pendant |
| Adjustable Hanging Height | 22.5-in Min to 58.5-in Max |
| Location Use | Indoor |
5. Setup and Installation
This fixture is designed for installation to an existing junction box (junction box not included). It is sloped ceiling adaptable and features an adjustable hanging height.
5.1 Before You Begin
- Turn off power at the circuit breaker or fuse box.
- Ensure you have all necessary tools (screwdriver, wire strippers, electrical tape, etc.).
- Read all instructions carefully before proceeding.
5.2 Mounting the Fixture
- Attach the mounting plate to the junction box using the provided screws. Ensure it is securely fastened.
- Determine the desired hanging height. The fixture's hanging rods can be adjusted from 22.5 inches minimum to 58.5 inches maximum. Connect the appropriate number of rods to achieve your desired length.
- Thread the electrical wires through the center of the hanging rods and the canopy.
5.3 Electrical Connections
- Connect the green or bare copper wire from the fixture to the ground wire from the junction box (usually green or bare copper). Secure with a wire nut.
- Connect the white wire from the fixture to the white (neutral) wire from the junction box. Secure with a wire nut.
- Connect the black wire from the fixture to the black (hot) wire from the junction box. Secure with a wire nut.
- Carefully tuck all wires into the junction box.
5.4 Final Assembly
- Attach the fixture canopy to the mounting plate, securing it with the provided screws or decorative nuts.
- Install one A21 Medium Base bulb (not included) into the socket. Do not exceed 150 watts.
- Carefully attach the glass shade to the fixture according to the specific design.
- Restore power at the circuit breaker and test the light fixture.
6. Operating Instructions
The Minka Lavery 2254-576 Lavery Pendant Light operates like a standard light fixture. Once properly installed and powered, it can be controlled by a wall switch. If a dimmable bulb and compatible dimmer switch are installed, the light output can be adjusted to create various ambiances.
7. Care and Maintenance
To maintain the appearance and longevity of your Minka Lavery pendant light, follow these guidelines:
- Cleaning: Always disconnect power before cleaning. Wipe the fixture with a soft, dry cloth. Do not use abrasive cleaners, solvents, or polishes as they may damage the finish.
- Glass Shade: The glass shade can be removed and washed with mild soap and water. Ensure it is completely dry before reattaching.
- Bulb Replacement: Ensure the power is off and the bulb has cooled before attempting to replace it. Use only E26 base bulbs with a maximum of 150 watts.
8. Troubleshooting
If your pendant light is not functioning correctly, refer to the following common issues and solutions:
| Problem | Possible Cause | Solution |
|---|---|---|
| Light does not turn on | 1. Power is off 2. Loose wiring connection 3. Faulty bulb | 1. Check circuit breaker/wall switch 2. Turn off power, check all wire connections 3. Replace bulb |
| Light flickers | 1. Loose bulb 2. Incorrect bulb type 3. Incompatible dimmer switch | 1. Tighten bulb 2. Ensure bulb is E26 base, 150W max 3. Use a dimmer switch compatible with your bulb type |
| Fixture hums | 1. Incompatible dimmer switch 2. Loose wiring | 1. Replace dimmer with a compatible one 2. Turn off power, check all wire connections |
If you are unable to resolve the issue, please contact a qualified electrician or Minka Lavery customer support.
9. Warranty Information
This Minka Lavery product is covered by a one-year limited warranty from the date of purchase. This warranty covers defects in materials and workmanship under normal use. It does not cover damage resulting from improper installation, accident, misuse, abuse, or unauthorized modifications. For warranty claims, please retain your proof of purchase and contact Minka Lavery customer support.
10. Customer Support
For technical assistance, replacement parts, or any questions regarding your Minka Lavery 2254-576 Lavery Pendant Light, please contact Minka Lavery customer support. Refer to the product packaging or the official Minka Lavery website for current contact information.


