
1. Product Overview
This document provides instructions for the Wagner Spraytech C900061.M Replacement Cap, designed for use with various SteamMachine models. This cap is a crucial component for maintaining the proper function and safety of your steam cleaner by ensuring pressure builds correctly.
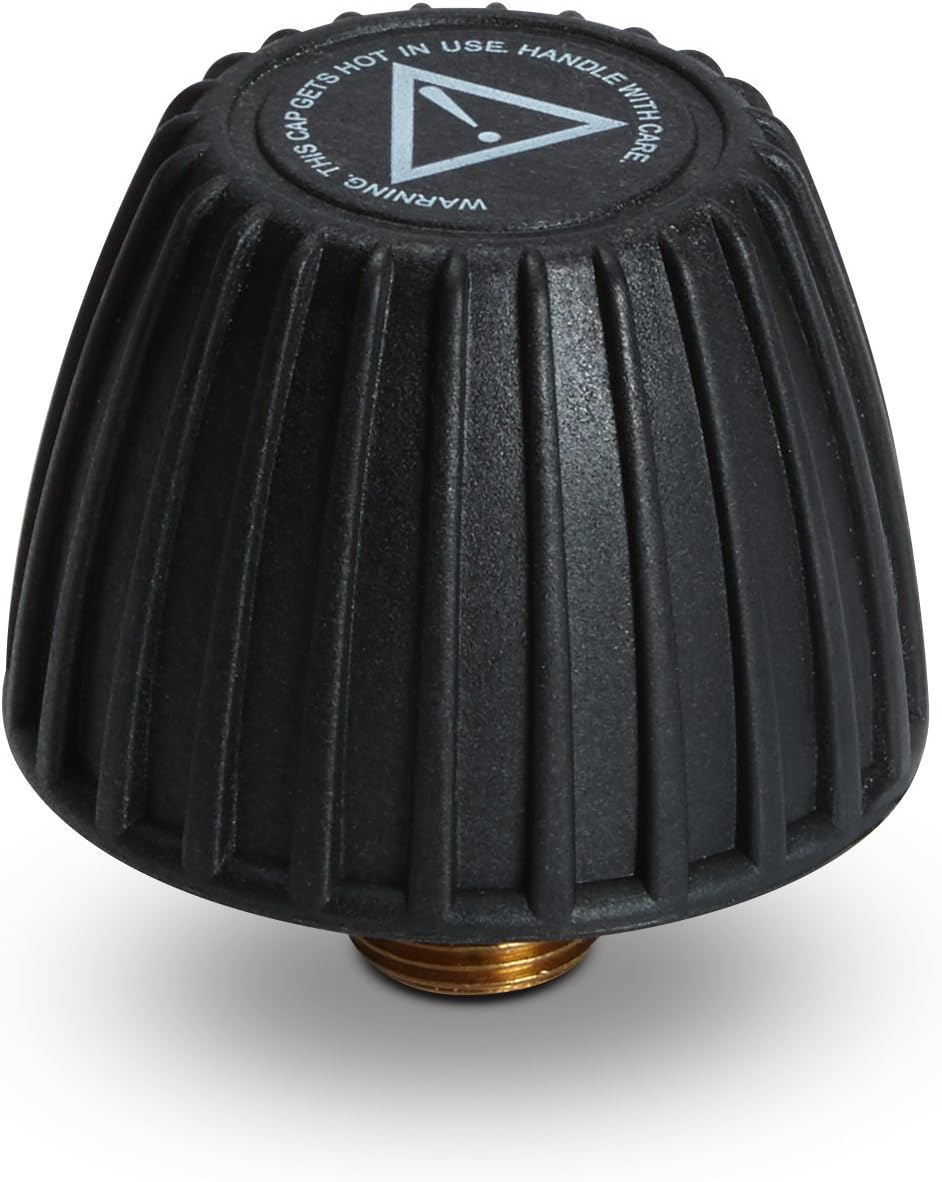
Image 1.1: The Wagner Spraytech C900061.M SteamMachine Replacement Cap. This cap is designed for secure sealing and pressure regulation in compatible steam cleaners.
2. Compatibility
The C900061.M Replacement Cap is compatible with the following steam cleaner models:
- Wagner 905 Steam Cleaner
- Wagner 915e Steam Cleaner
- Wagner 925 Steam Cleaner
- HomeRight SteamMachine
- HomeRight SteamMachine Elite
- AutoRight Steamer

Image 2.1: Visual representation of steam cleaner models compatible with the C900061.M Replacement Cap.
3. Safety Information
The replacement cap is designed with a safety feature that prevents it from being unscrewed when the steam cleaner is pressurized and hot. This is a critical safety mechanism to prevent steam burns and injury.
- Always allow the steam cleaner to cool down completely and depressurize before attempting to remove or replace the cap.
- Never force the cap if it resists turning.
- Ensure the cap is securely tightened before operating the steam cleaner to prevent steam leakage.
4. Installation (Cap Replacement)
Follow these steps to replace the SteamMachine cap:
- Ensure the steam cleaner is unplugged, completely cooled, and depressurized. Refer to the safety information above.
- Carefully unscrew the existing cap by turning it counter-clockwise.
- Place the new C900061.M Replacement Cap onto the steam cleaner's fill opening.
- Screw the new cap clockwise until it is hand-tight. Do not overtighten. The cap should feel secure.
- Before operating, visually inspect the cap to ensure it is seated correctly and there are no gaps.

Image 4.1: Illustrates the general area on a steam cleaner where the cap is located and accessed for replacement.
5. Maintenance
To ensure the longevity and proper function of your replacement cap:
- Periodically inspect the cap for any signs of wear, cracks, or damage.
- Clean the cap with a damp cloth if it becomes dirty. Avoid abrasive cleaners.
- Ensure the threads on both the cap and the steam cleaner's opening are clean and free of debris to allow for a proper seal.
6. Troubleshooting
If you encounter issues with your replacement cap:
- Cap will not unscrew: This is a safety feature. The steam cleaner is likely still pressurized or hot. Allow it to cool down completely and depressurize before attempting to remove the cap.
- Steam leakage around the cap: Ensure the cap is securely tightened. Check for any debris on the threads of the cap or the steam cleaner's opening that might prevent a proper seal. Inspect the cap for damage; if damaged, replace it.
- Difficulty screwing on the new cap: Ensure the cap is aligned correctly with the threads. Do not force it. If it still doesn't screw on smoothly, check for any damage to the cap's threads or the steam cleaner's opening.
7. Specifications
| Specification | Detail |
|---|---|
| Part Number | C900061.M |
| Item Weight | 3.68 ounces |
| Product Dimensions | 2.5 x 2.5 x 2.5 inches |
| Included Components | Replacement Cap |
| Manufacturer | HomeRight (for Wagner) |
8. Warranty and Support
Specific warranty information for the C900061.M Replacement Cap is not provided in this manual. For detailed warranty terms, technical support, or further assistance, please contact Wagner Spraytech customer service directly or visit their official website. Keep your purchase receipt for warranty claims.