Introduction
Thank you for choosing the Mitzu 12-5007 Wired Microphone. This professional-grade dynamic microphone is designed for high-fidelity audio capture, featuring a unidirectional polar pattern to isolate sound from a single direction and minimize background noise. Constructed from durable metal, it includes a detachable Cannon-type cable for easy transport and a fabric bag for protection. This manual provides essential information for setting up, operating, maintaining, and troubleshooting your microphone.
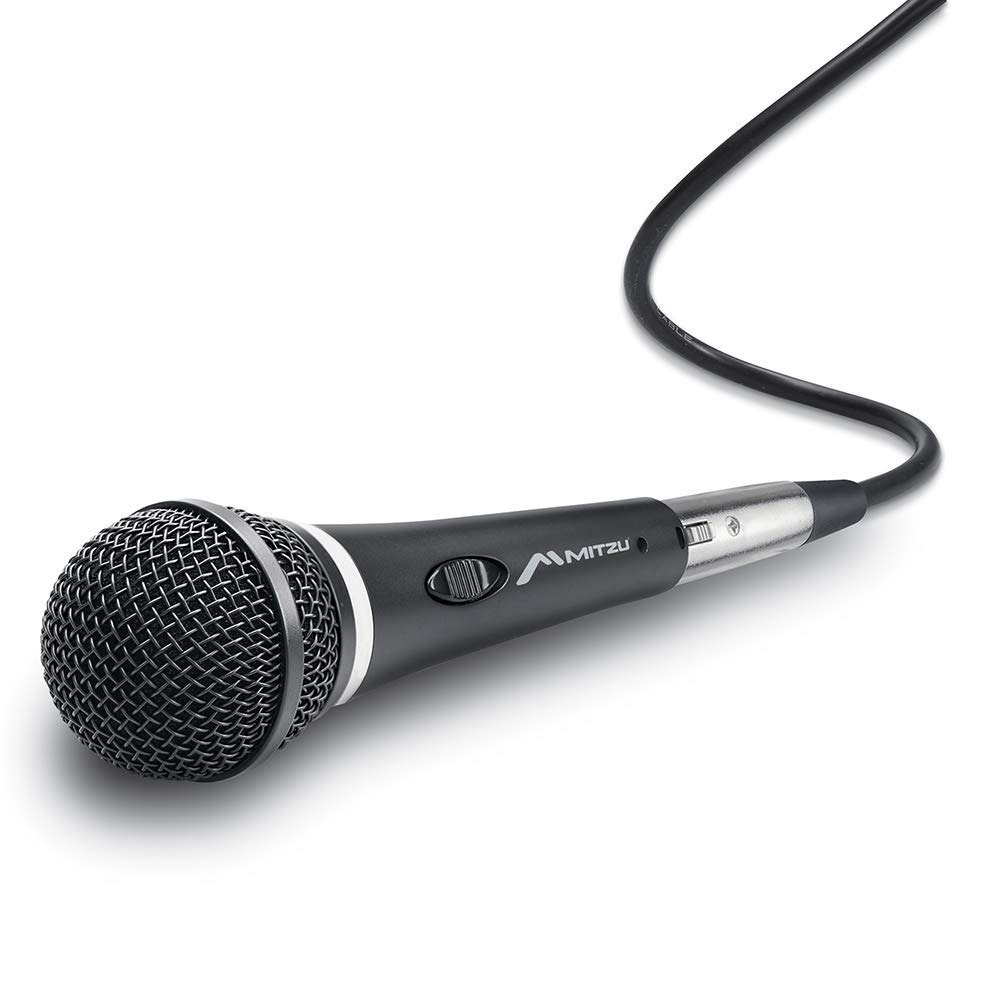
Image: The Mitzu 12-5007 wired microphone, showcasing its robust design and integrated on/off switch.
Package Contents
Ensure all items are present in the package:
- Mitzu 12-5007 Wired Microphone
- Detachable Cannon-type Cable (3 meters)
- Fabric Protection Bag

Image: The Mitzu 12-5007 microphone packaging, indicating the product and its features.
Setup
Connecting the Microphone
- Locate the detachable Cannon-type cable. One end is an XLR connector (Cannon-type) and the other is a 1/4-inch (6.3mm) jack.
- Connect the XLR end of the cable firmly into the microphone's input port at the base. Ensure it clicks into place to prevent accidental disconnection.
- Connect the 1/4-inch jack end of the cable into the microphone input of your audio mixer, amplifier, or recording device. Ensure the connection is secure.

Image: Close-up of the microphone's detachable cable connectors, showing the XLR (Cannon-type) and 1/4-inch jack ends.
Positioning the Microphone
For optimal performance, position the microphone appropriately for your sound source. Due to its unidirectional pattern, the microphone is most sensitive to sound coming from directly in front of it, effectively reducing pickup from the sides and rear. This makes it ideal for vocals and instruments where isolating the sound source is crucial.
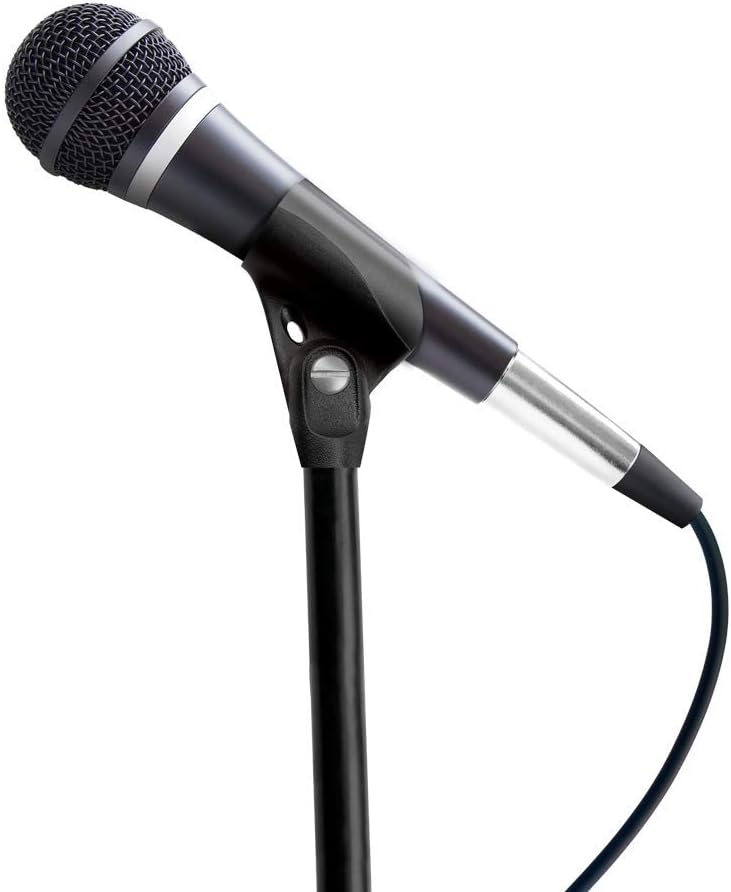
Image: The Mitzu 12-5007 microphone mounted on a stand, demonstrating a typical setup for use.
Operation
Powering On/Off
The Mitzu 12-5007 microphone features an integrated on/off switch for convenient control. To activate the microphone, slide the switch to the 'ON' position. To deactivate it, slide the switch to the 'OFF' position. Always ensure the microphone is off when not in use or when connecting/disconnecting cables to prevent sudden loud noises or potential damage to audio equipment.
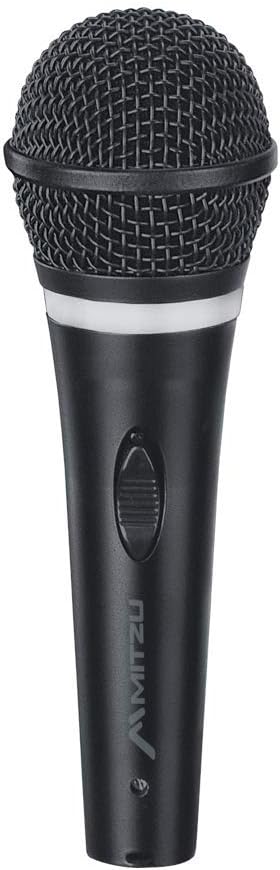
Image: A close-up view of the Mitzu 12-5007 microphone, highlighting the on/off switch located on the body.
Optimal Sound Capture
To achieve the best sound quality, speak or sing directly into the top of the microphone, maintaining a consistent distance. Experiment with microphone placement relative to the sound source to find the ideal balance between clarity and ambient noise rejection. Adjust input levels on your connected audio equipment to prevent distortion (clipping) while ensuring a strong signal.
Maintenance
Cleaning
To maintain the microphone's appearance and performance, regularly wipe the body with a soft, dry cloth. For the grille, use a soft brush to gently remove any dust or debris. Avoid using liquid cleaners, solvents, or abrasive materials, as these can damage the microphone's finish or internal components.
Storage
When not in use, store the Mitzu 12-5007 microphone in its included fabric protection bag. This will shield it from dust, moisture, and minor impacts. Store the microphone and cable in a cool, dry place away from direct sunlight and extreme temperatures.

Image: The black fabric bag provided with the Mitzu 12-5007 microphone, designed for protection and transport.
Troubleshooting
No Sound Output
- Check Connections: Ensure the microphone cable is securely connected to both the microphone and the audio input device.
- Microphone Switch: Verify that the microphone's on/off switch is in the 'ON' position.
- Audio Device Settings: Confirm that the input channel on your mixer or amplifier is selected and its volume/gain is turned up. Check the master volume of your audio system.
- Test Cable: If possible, try a different microphone cable to rule out a faulty cable.
Poor Sound Quality (Distortion, Low Volume, Noise)
- Input Levels: Adjust the gain or input level on your audio device. If the sound is distorted, reduce the input level. If it's too low, increase it.
- Microphone Position: Ensure the microphone is positioned correctly relative to the sound source. Speaking too far away can result in low volume and increased background noise. Speaking too close or too loudly can cause distortion.
- Cable Integrity: Inspect the microphone cable for any visible damage or kinks. A damaged cable can cause intermittent sound or noise.
- Environmental Noise: Minimize background noise in your recording or performance environment.
Specifications
| Feature | Description |
|---|---|
| Model | 12-5007 |
| Type | Dynamic, Moving Coil |
| Polar Pattern | Unidirectional |
| Frequency Response | 5 - 15,000 Hz (15 KHz) |
| Sensitivity | -54 dB +/-3 |
| Impedance | 6 ohms |
| Connectivity Technology | Auxiliary (Wired) |
| Connector Type | Cannon-type (XLR) to 1/4-inch (6.3mm) Jack |
| Cable Length | 3 meters |
| Material | High-resistance Metal, Plastic |
| Dimensions (L x W x H) | 6.5 x 14.5 x 23 cm |
| Weight | 620 g |
| Power Source | Wired (No batteries required) |
| Special Features | Detachable cable, On/Off switch |