1. Introduction
This manual provides essential information for the safe and effective use of your Jackson Safety TrueSight II Digital Auto-Darkening Welding Helmet, Model 46163. Please read these instructions thoroughly before operating the helmet to ensure proper protection and functionality. This helmet is designed to protect your eyes and face from sparks, spatter, and harmful radiation under normal welding conditions.
2. Safety Information
Always prioritize safety when welding. This helmet is a critical piece of personal protective equipment (PPE). Failure to follow safety guidelines can result in serious injury.
- Eye Protection: The auto-darkening filter (ADF) protects against harmful UV/IR radiation, even in the light state. However, always ensure the helmet is functioning correctly before welding.
- Impact Protection: The helmet provides limited protection against impact. Always wear appropriate primary eye protection (safety glasses) underneath the helmet.
- Ventilation: Ensure adequate ventilation in your work area to avoid inhaling welding fumes.
- Compliance: This product meets ANSI Z87.1-2010 and CSA Z94.3 standards, and is DIN Plus certified.
- Inspection: Before each use, inspect the helmet for any damage, cracks, or loose parts. Replace damaged components immediately.
3. Product Overview
The Jackson Safety TrueSight II welding helmet is engineered for optimal performance and user comfort. Key features include:
- Superior Optical Clarity: Balder Technology delivers a true 1/1/1/1 optical rating (EN 379) for clear vision.
- Large Viewing Area: A 4.0" x 3.25" viewing area provides an expansive field of view.
- Four Independent Arc Sensors: Strategically placed to minimize the chance of blockage during welding, ensuring consistent darkening.
- Digital Controls: Easy-to-use digital buttons for adjusting shade, sensitivity, and delay, with LED indicators for Weld, Grind, and Torch modes.
- Variable Shade: Adjustable shades from 5 to 13 for various welding applications.

Figure 1: Overall view of the Jackson Safety TrueSight II Welding Helmet.
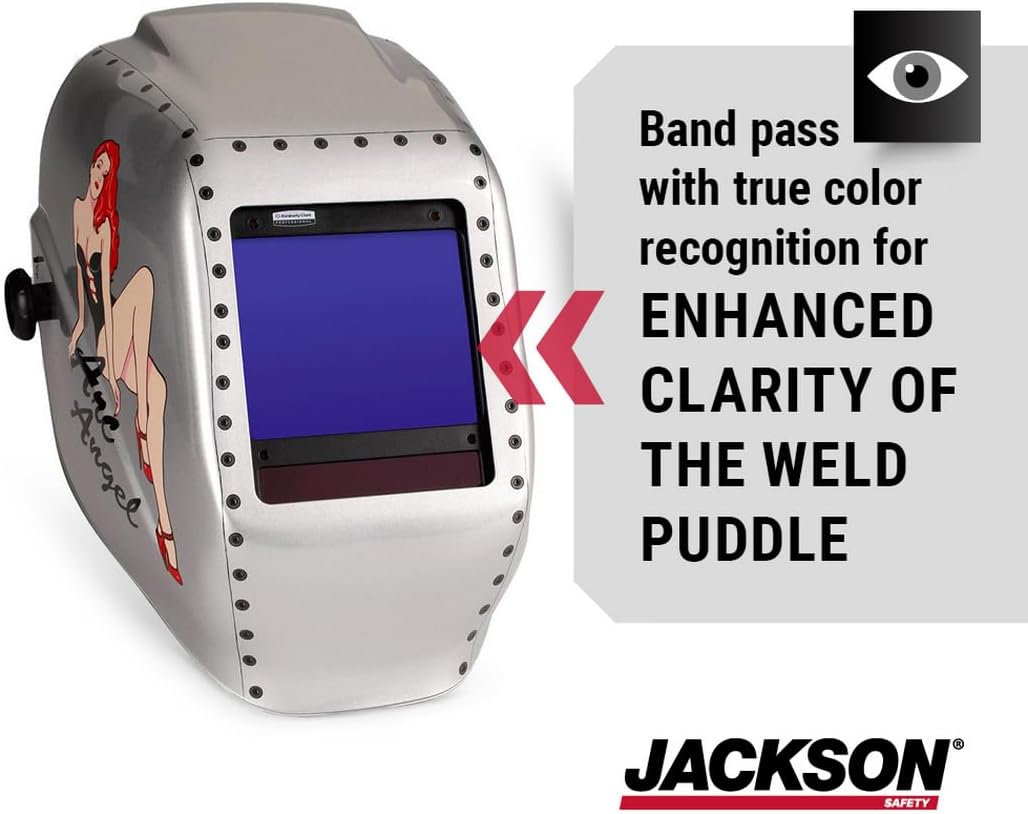
Figure 2: The helmet's lens offers true color recognition for enhanced clarity of the weld puddle.

Figure 3: The helmet features a large 4.0" x 3.25" viewing area for improved visibility.

Figure 4: Easy-to-use digital controls for Weld, Torch, and Grind modes, along with shade, sensitivity, and delay adjustments.

Figure 5: Four independent arc sensors provide superior eye protection by reducing the chance of blockage during welding.
4. Setup
Before first use, perform the following setup steps:
- Battery Installation: The helmet requires 2 AAA batteries, which are included. Open the battery compartment (typically located on the inside of the helmet's ADF unit) and insert the batteries, observing correct polarity.
- Headgear Adjustment: Adjust the headgear to fit comfortably and securely on your head. Use the adjustment knob at the back to tighten or loosen the band. Adjust the top strap to position the helmet correctly for your face. Ensure the helmet sits evenly and does not obstruct your vision when flipped up or down.
- Protective Film: Remove any clear protective films from both sides of the auto-darkening filter lens and the outer protective lens.
- Function Test: Before welding, perform a function test. Press the 'ON' button. Briefly expose the sensors to a bright light source (not direct sunlight or a welding arc). The lens should darken instantly. If it does not, check batteries and settings.
5. Operating Instructions
The TrueSight II helmet features intuitive digital controls for various applications.
5.1 Power On/Off
- Press the ON button to power on the helmet.
- The helmet will automatically power off after a period of inactivity to conserve battery life.
5.2 Mode Selection
Use the dedicated buttons to select the desired mode:
- Weld Mode: For all standard welding processes. The lens will auto-darken upon arc strike.
- Grind Mode: Keeps the lens in a light state (Shade 3-4) for grinding operations, providing eye protection without darkening.
- Torch Mode: Suitable for torch cutting applications, offering a specific shade range.
5.3 Adjusting Shade, Sensitivity, and Delay
The helmet allows for precise adjustments to suit different welding environments and personal preferences.
- Shade Adjustment: Use the SHADE +/- buttons to select a shade level between 5 and 13. Refer to welding safety charts for appropriate shade levels for your specific process and amperage.
- Sensitivity Adjustment: Use the SENSITIVITY +/- buttons to adjust how easily the sensors detect an arc. Higher sensitivity is useful for low amperage welding or when the arc is partially obscured.
- Delay Adjustment: Use the DELAY +/- buttons to set the time the lens remains dark after the arc extinguishes. A longer delay is beneficial for high amperage welding or when tack welding to prevent eye fatigue from rapid light changes.
6. Maintenance
Regular maintenance ensures the longevity and proper functioning of your welding helmet.
- Cleaning: Clean the helmet shell with mild soap and water. Clean the outer and inner protective lenses with a soft cloth and lens cleaning solution. Do not use abrasive cleaners or solvents.
- ADF Cleaning: Gently wipe the auto-darkening filter with a soft, lint-free cloth. Do not immerse the ADF in water or cleaning solutions.
- Battery Replacement: Replace the 2 AAA batteries when the low battery indicator illuminates or if the helmet fails to darken properly. Ensure correct polarity.
- Inspection: Periodically inspect the headgear for wear and tear. Check the outer and inner protective lenses for scratches or damage and replace as needed. Ensure all connections are secure.
- Storage: Store the helmet in a clean, dry place away from extreme temperatures and direct sunlight.
7. Troubleshooting
If you encounter issues with your welding helmet, refer to the following common troubleshooting steps:
| Problem | Possible Cause | Solution |
|---|---|---|
| Lens does not darken or darkens inconsistently. | Low batteries, dirty sensors, incorrect sensitivity setting, sensors blocked. | Replace batteries. Clean sensors. Adjust sensitivity. Ensure sensors are not obstructed. |
| Lens remains dark after welding. | Delay setting too high. | Adjust the delay setting to a shorter duration. |
| Poor visibility through the lens. | Dirty protective lenses, scratched lenses. | Clean protective lenses. Replace scratched outer or inner protective lenses. |
| Headgear adjustments loosen frequently. | Adjustment mechanism not fully tightened. | Ensure all headgear adjustment knobs and straps are securely tightened before use. |
| Helmet randomly goes completely black (not just darkened). | Faulty unit or critical battery issue. | Replace batteries. If the issue persists, contact customer support for potential replacement or repair. |
8. Specifications
| Feature | Specification |
|---|---|
| Model Number | 46163 |
| Brand | Jackson Safety |
| Optical Clarity Rating | 1/1/1/1 (EN 379) |
| Viewing Area | 4.0" x 3.25" |
| Shade Range | Variable 5-13 |
| Sensors | 4 Independent Arc Sensors |
| Power Source | 2 x AAA Batteries (Included) |
| Material Type | Nylon |
| Color | Silver |
| Weight | 2 Pounds (approx. 907.18 grams) |
| Standards Met | ANSI Z87.1-2010, CSA Z94.3, DIN Plus |
| UPC | 036000461633 |
9. Warranty and Support
For specific warranty information regarding your Jackson Safety TrueSight II Digital Auto-Darkening Welding Helmet, Model 46163, please refer to the documentation included with your purchase or visit the official Jackson Safety website. Warranty terms and conditions may vary.
If you require technical assistance, have questions about product functionality, or need to report a defect, please contact Jackson Safety customer support through their official channels. Ensure you have your product model number (46163) and purchase details available when contacting support.