1. Introduction
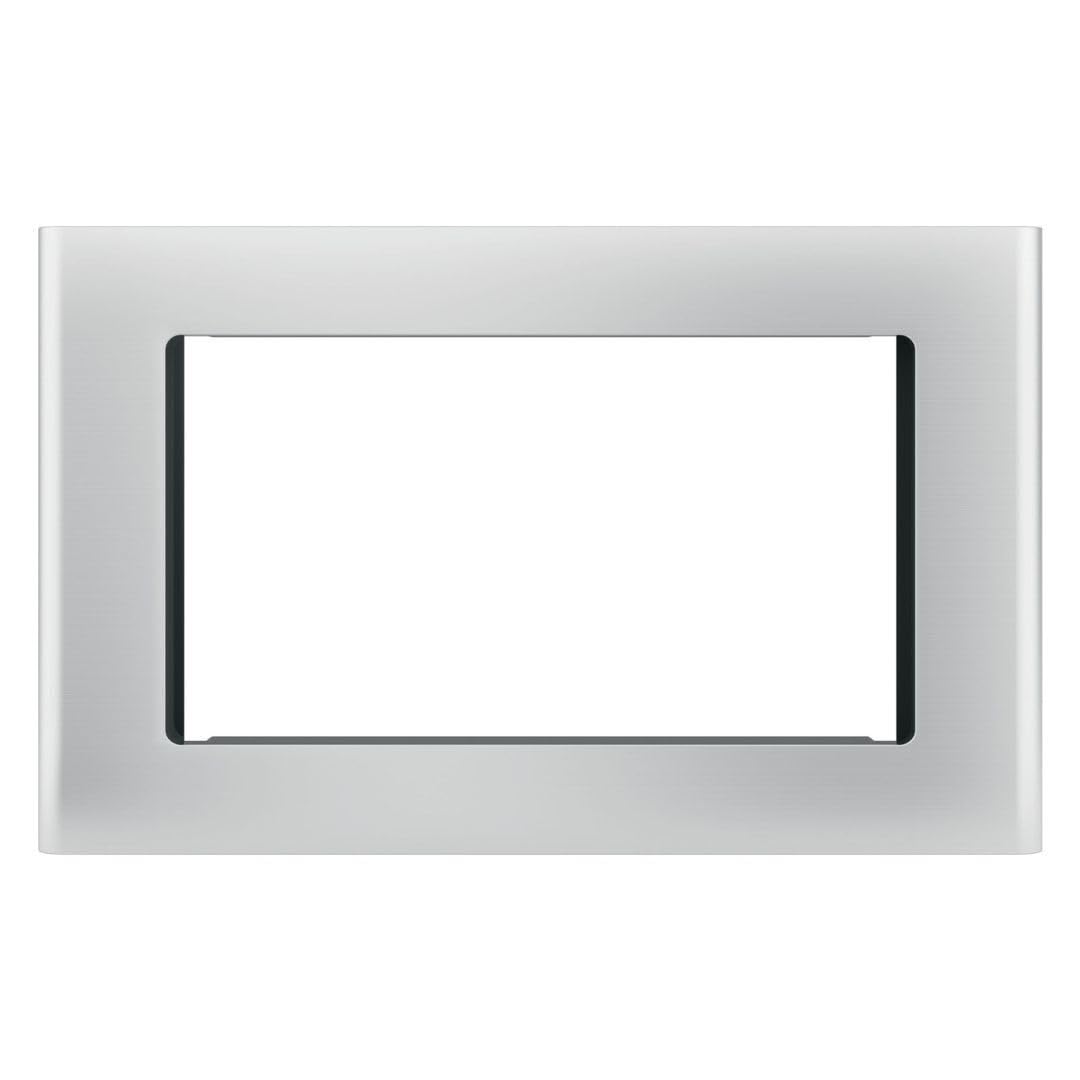
This manual provides detailed instructions for the proper installation, operation, and maintenance of your GE JX9152SJSS Stainless Steel 27-inch Built-In Microwave Oven Trim Kit. This trim kit is designed to provide a custom, integrated appearance for your compatible microwave oven, enhancing the aesthetic of your kitchen.
Please read all instructions carefully before beginning installation or use to ensure safe and efficient operation.
2. Safety Information
- Professional Installation Recommended: Installation of this appliance requires basic mechanical and electrical skills. If you are not comfortable with these tasks, it is recommended to seek assistance from a qualified installer.
- Fire-Resistant Materials: The trim kit is constructed with fire-resistant materials for added safety. However, always ensure proper ventilation and clearances as specified in the microwave oven's manual.
- Electrical Safety: Ensure the power supply to the installation area is disconnected before beginning any work. Follow all local electrical codes and ordinances.
- Weight Considerations: The trim kit is designed to support the weight of a compatible microwave oven. Ensure the cabinet or shelf where the microwave will be installed is sturdy enough to support the combined weight.
3. Included Components
Your GE JX9152SJSS Microwave Oven Trim Kit package includes all necessary components for installation:
- Trim Kit Frame (Stainless Steel)
- Bottom Bracket
- Side Brackets
- Upper Bracket
- Mounting Screws
Please verify that all components are present and undamaged before proceeding with installation. If any parts are missing or damaged, contact GE customer service.
4. Setup and Installation
This section outlines the general steps for installing the trim kit. Always refer to the specific installation instructions provided with your microwave oven for precise measurements and additional requirements.
- Prepare the Cabinet Opening: Ensure your cabinet opening meets the required dimensions for both the trim kit and your specific microwave model. Proper ventilation clearances are crucial.
- Install Brackets: Secure the bottom, side, and upper brackets within the cabinet opening according to the trim kit's specific instructions. These brackets provide support and alignment for the microwave and trim kit.
- Position the Microwave: Carefully slide your compatible microwave oven into the prepared opening, ensuring it rests securely on the bottom bracket and aligns with the side and upper brackets.
- Secure the Microwave: Follow your microwave's instructions to secure it within the cabinet opening, typically by fastening it to the brackets.
- Attach the Trim Kit Frame: Once the microwave is securely in place, position the stainless steel trim kit frame around the microwave opening. Align the frame with the pre-drilled holes in the brackets or cabinet.
- Fasten the Trim Kit: Use the provided mounting screws to securely attach the trim kit frame to the brackets and/or cabinet. Ensure the frame is flush and level.
- Final Check: Verify that the microwave is stable, the trim kit is securely fastened, and there are no gaps or misalignments.


5. Operating Considerations
The trim kit itself does not have operational controls. Its function is to provide a finished, built-in appearance for your microwave oven. All operational aspects, such as cooking settings, timers, and power levels, are controlled directly on your microwave oven.
Ensure that the microwave oven's door opens and closes freely without obstruction from the trim kit. The trim kit is designed to allow proper ventilation for the microwave; do not block any vents on the microwave or the trim kit.
6. Maintenance
Maintaining your GE Stainless Steel Trim Kit is simple and helps preserve its appearance.
- Cleaning: For general cleaning, wipe the stainless steel surface with a soft cloth dampened with warm, soapy water. Dry thoroughly with a clean, soft cloth to prevent water spots.
- Stubborn Stains: For more stubborn stains or fingerprints, use a stainless steel cleaner specifically designed for appliances. Always apply the cleaner to a cloth first, then wipe in the direction of the grain.
- Avoid Abrasives: Do not use abrasive cleaners, scouring pads, or harsh chemicals, as these can scratch or damage the stainless steel finish.
- Regular Inspection: Periodically check the trim kit and microwave for any signs of loosening or damage. Tighten screws if necessary.
7. Troubleshooting
If you encounter issues with your trim kit, consider the following:
- Trim Kit Not Flush: Ensure all mounting screws are tightened evenly. Check if the cabinet opening is perfectly square and level. Minor adjustments to bracket placement may be needed during installation.
- Gaps Around Microwave: Verify that the microwave oven is centered correctly within the trim kit opening. Ensure the microwave model is compatible with this specific trim kit, as incorrect sizing can lead to gaps.
- Scratches on Stainless Steel: Minor scratches can sometimes be buffed out with a specialized stainless steel scratch repair kit. For deeper scratches, professional repair or replacement of the affected part may be necessary.
- Microwave Door Obstruction: Recheck the microwave's positioning within the trim kit. Ensure no part of the trim kit is interfering with the door's hinge mechanism or opening path.
For issues related to the microwave oven's operation, refer to the microwave's own instruction manual.
8. Specifications
| Specification | Detail |
|---|---|
| Brand | GE |
| Model Number | JX9152SJSS |
| Color | Stainless Steel |
| Material | Stainless Steel |
| Installation Type | Built-In |
| Item Weight | 16 ounces |
| Included Components | Microwave Oven Trim Kit |
| Special Feature | Custom Appearance for Built-In Microwaves |
| UPC | 084691820543 |
9. Warranty Information
This GE JX9152SJSS Stainless Steel 27-inch Built-In Microwave Oven Trim Kit is covered by a 1 Year Manufacturer Warranty from the date of purchase. This warranty covers defects in materials and workmanship under normal use. For specific terms, conditions, and to make a warranty claim, please refer to the warranty documentation included with your purchase or contact GE customer support.
10. Support
For further assistance, technical support, or to order replacement parts, please contact GE Appliances customer service. Have your model number (JX9152SJSS) and serial number ready when contacting support.
- GE Appliances Website: www.geappliances.com
- Customer Service Phone: Refer to the GE Appliances website for the most current contact numbers for your region.