
Meer YG300
Meer YG300 Classic Mini Projector User Manual
Model: YG300
1. Introduction
The Meer YG300 Classic Mini Projector is a compact and portable LED LCD video projector designed for various entertainment purposes, including watching movies, playing games, and enjoying sports. Its small size makes it ideal for travel, outdoor activities, and creating a private theater experience anywhere. This manual provides essential information for setting up, operating, maintaining, and troubleshooting your projector.

The Meer YG300 Classic Mini Projector is designed for ultimate portability, easily fitting into a bag for on-the-go entertainment.
2. Safety Information
Please read all safety instructions carefully before using the projector. Improper use can result in fire, electric shock, or other hazards. Keep this manual for future reference.
- Do not expose the projector to rain or moisture to prevent fire or electric shock.
- Do not open the casing. Refer all servicing to qualified service personnel.
- Ensure proper ventilation. Do not block ventilation openings.
- Use only the power adapter supplied with the projector.
- Avoid direct eye exposure to the projector lens when the lamp is on.
- Keep the projector away from heat sources and direct sunlight.
3. Package Contents
Verify that all items are present in your package:
- Meer YG300 Classic Mini Projector
- HDMI Cable
- Remote Control
- Power Adapter
- AV Cable
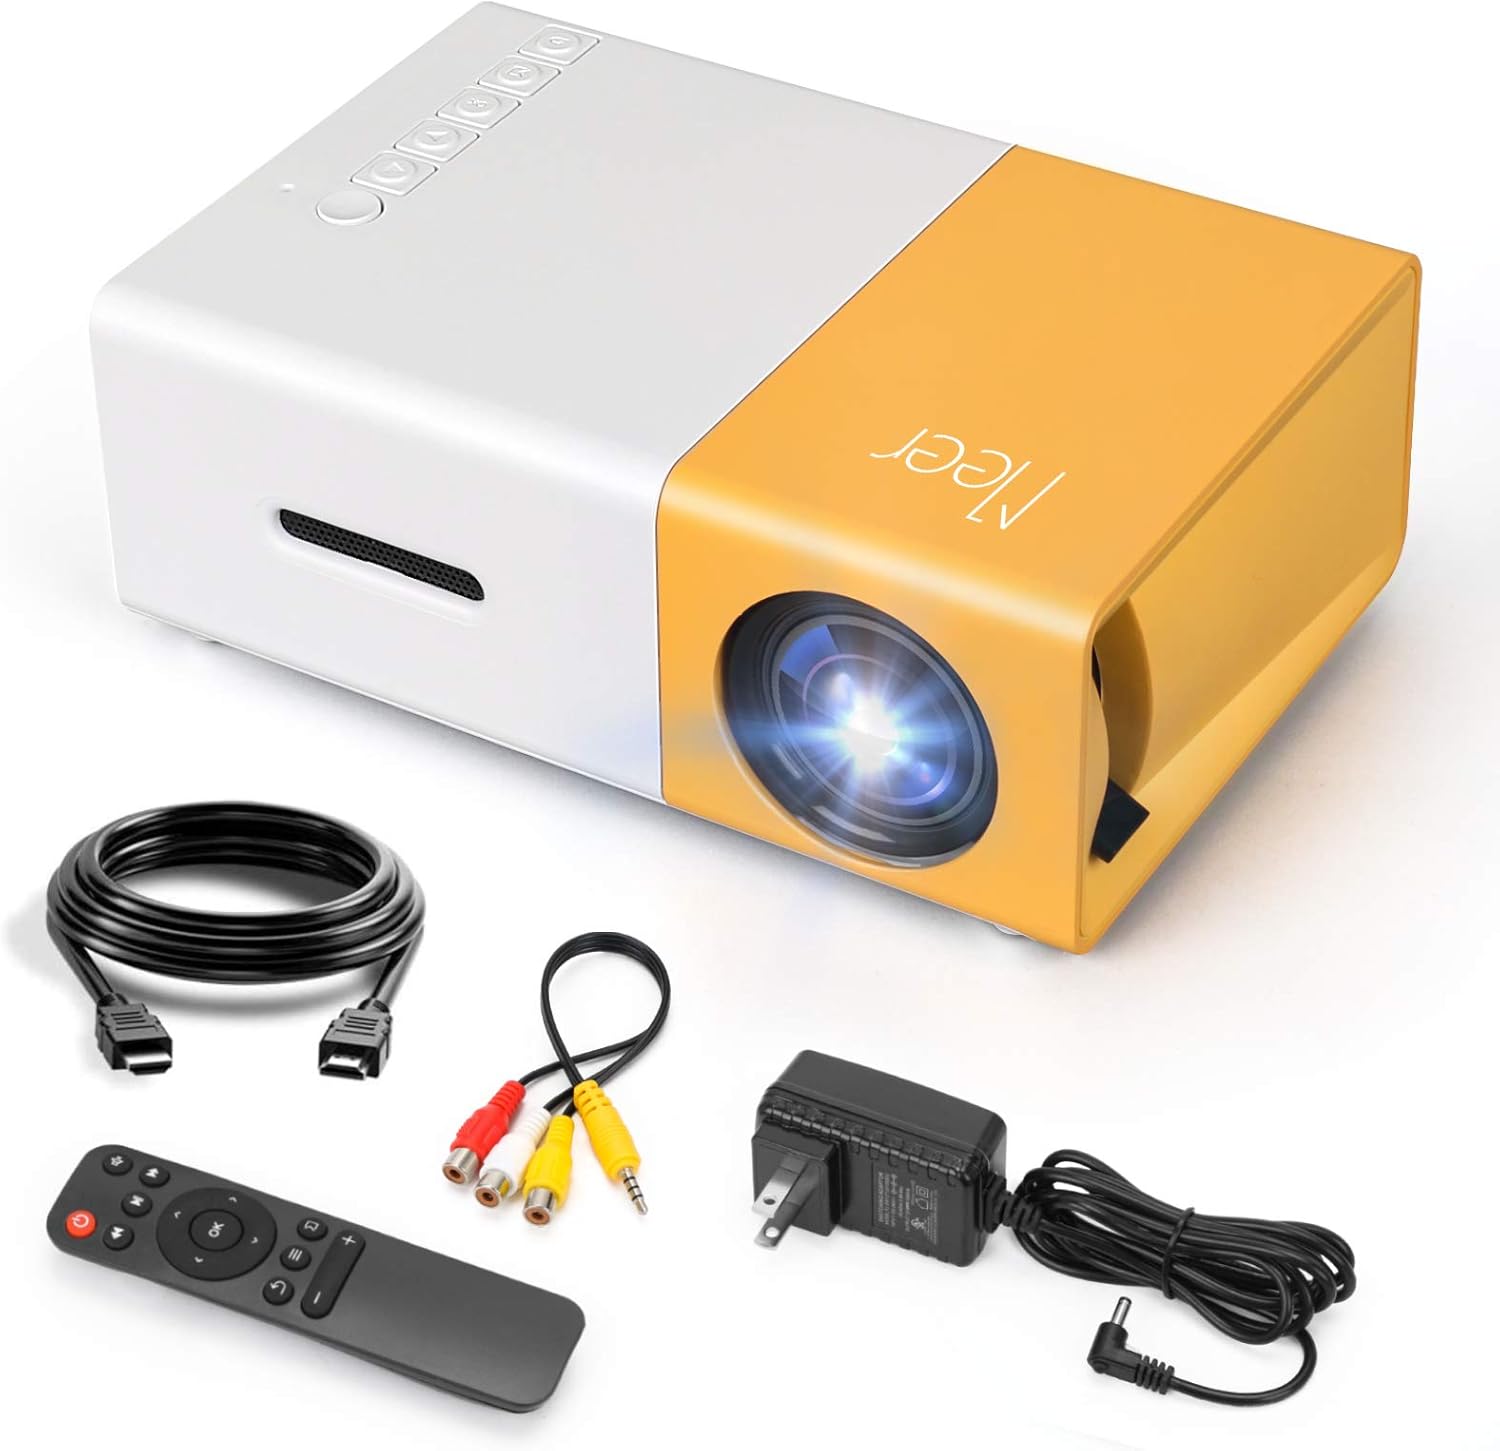
The complete package contents of the Meer YG300 Classic Mini Projector, including the projector unit and all necessary cables and accessories.
4. Product Overview
Familiarize yourself with the various parts and interfaces of your Meer YG300 Classic Mini Projector.
4.1. Front and Side View

Detailed diagram illustrating the various buttons and input/output ports on the Meer YG300 Classic Mini Projector.
- Power Switch: Turns the projector on/off.
- Navigation Buttons (Left, Right, Up, Down): Used to navigate menus.
- OK Button: Confirms selections.
- Input Button: Selects input source.
- Return Button: Goes back to the previous menu.
- Micro SD Card Slot: For playing media directly from a Micro SD card.
- AV Input: Connects to devices using the AV cable.
- Micro USB (5V/2A): Power input for the projector.
- Earphone Slot: For connecting external headphones or speakers.
4.2. Rear View

Rear panel of the projector, highlighting the USB, DC power, and HDMI ports.
- USB Input Slot: For playing media directly from a USB drive.
- DC Power Input: Main power connection.
- Switch of Battery's Power: (Note: This model does not have a built-in battery. This switch may be for internal components or a feature present in other variants.)
- HDMI Input Slot: Connects to devices via HDMI cable.
5. Setup
5.1. Powering the Projector
The Meer YG300 Classic Mini Projector does not have its own internal battery. It requires a 5V/2A power source to operate. You can use the included wall charger or a compatible power bank, making it versatile for both indoor and outdoor use.

The projector can be powered by a standard wall adapter or a portable power bank (5V/2A minimum) for flexible usage.
5.2. Initial Placement
Place the projector on a stable, flat surface. Ensure there are no obstructions in front of the lens or around the ventilation openings. For optimal viewing, use the projector in a dark environment.
6. Operating the Projector
6.1. Connecting Devices
The projector supports multiple input sources:
- HDMI: Connect to laptops, TV sticks, gaming consoles (PS4, PS5, X-Box ONE), or tablets.
- USB: Insert a USB flash drive to play videos, photos, or music directly.
- AV: Use the included AV cable to connect to older devices like DVD players.
- SD Card: Insert a Micro SD card to play media files.
To connect directly to a smartphone or tablet, you will need a specific adapter (e.g., Lightning to HDMI, Micro USB to HDMI, or Type-C to HDMI), which is not included. For wireless connection, a Wi-Fi display adapter is required for screen mirroring or casting. For streaming services, it is recommended to use devices like Fire Stick, Google Chromecast, or Roku.

The projector offers broad multimedia support, connecting to a wide range of devices for diverse entertainment options.
6.2. Adjusting Focus and Projection Size
The projector features a manual focus adjustment. Rotate the focus ring on the lens until the image appears clear. The optimal projection distance is between 1 to 3 meters, yielding a projection size of up to 60 inches.

Guide to projection distances and screen sizes for the Meer YG300 Classic Mini Projector.
6.3. Audio Output
The projector has a built-in speaker for audio playback. For a more immersive experience or louder sound, you can connect external speakers or headphones via the earphone slot.
6.4. Usage Scenarios

Enjoy movies indoors with family.
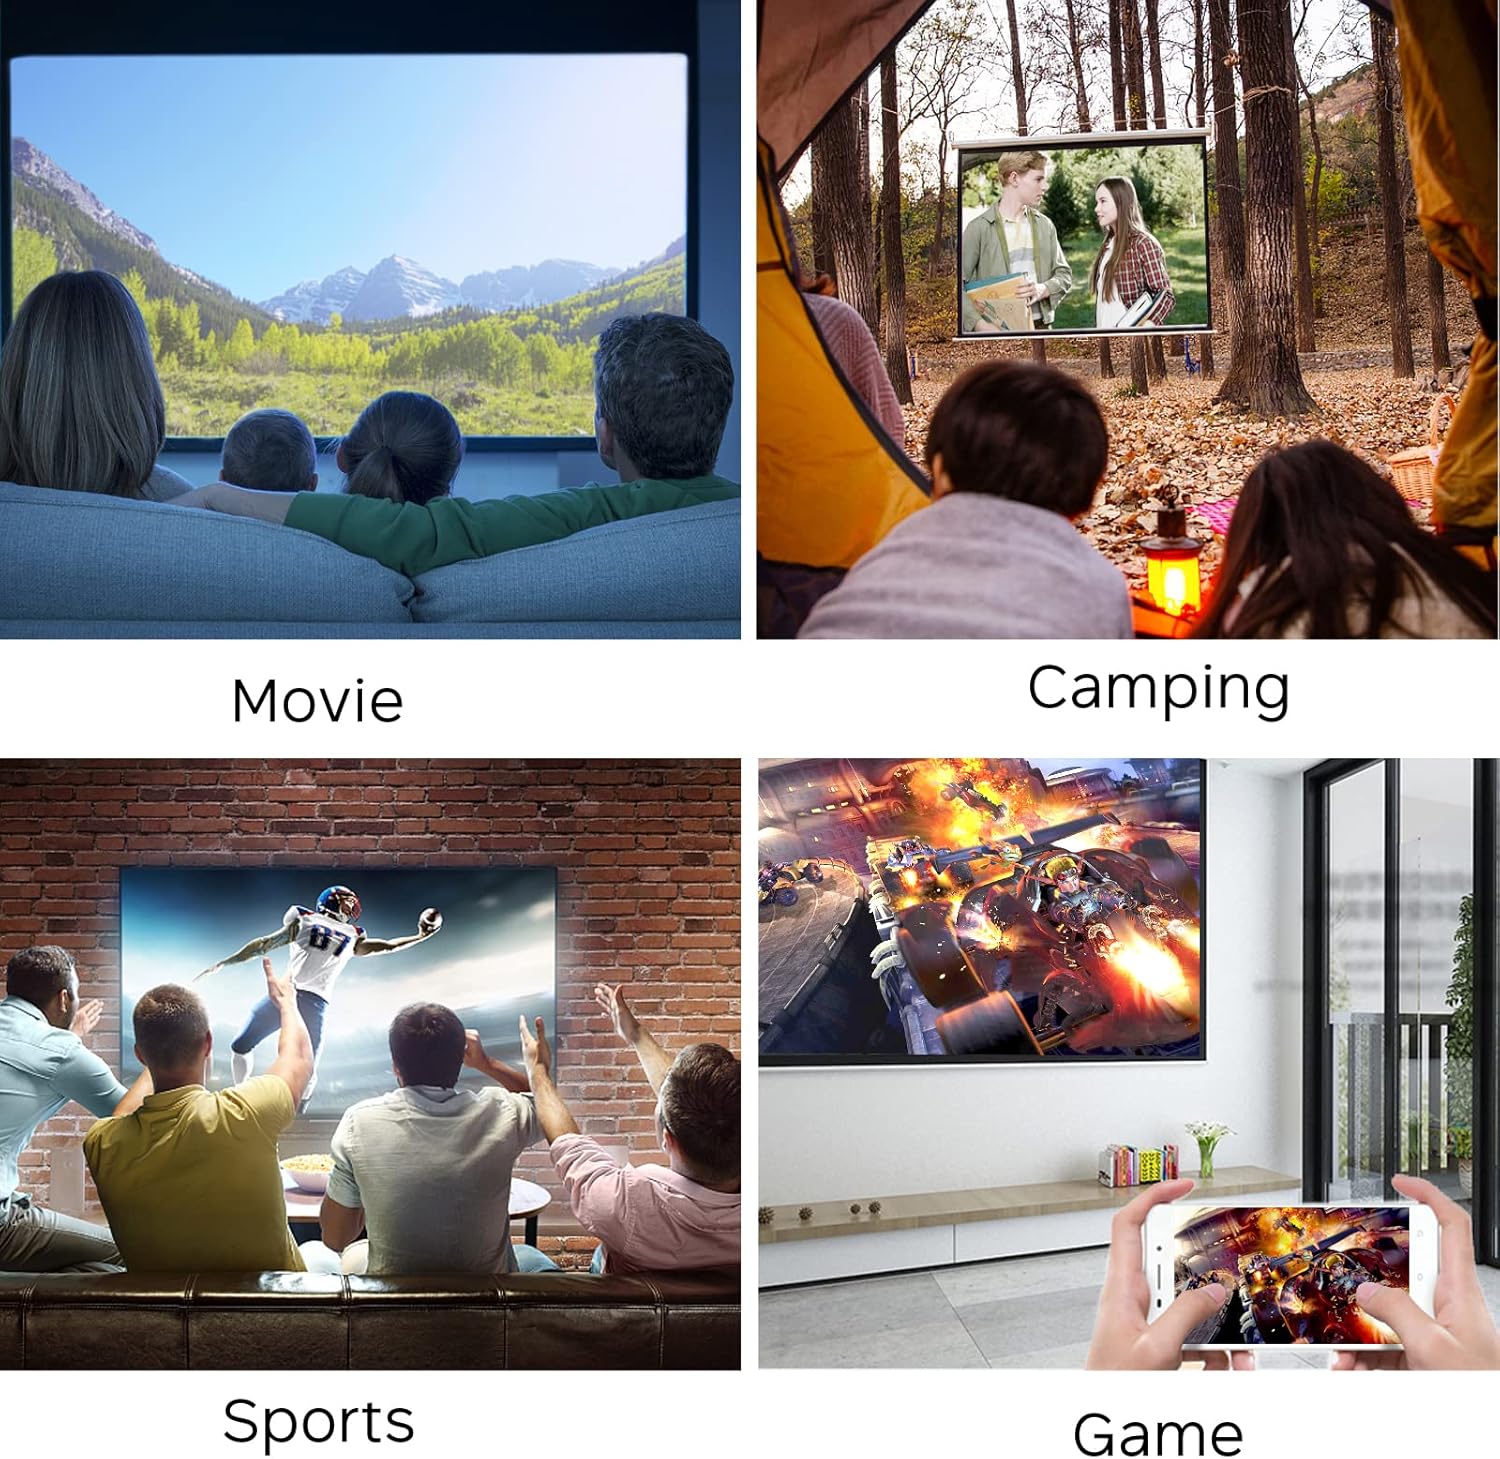
Perfect for outdoor entertainment and camping.
7. Maintenance
To ensure the longevity and optimal performance of your projector, follow these maintenance guidelines:
- Cleaning the Lens: Use a soft, lint-free cloth specifically designed for optical lenses. Do not use abrasive cleaners or cloths that could scratch the lens.
- Cleaning the Casing: Wipe the projector's exterior with a soft, dry cloth. For stubborn dirt, a slightly damp cloth can be used, but ensure no moisture enters the device.
- Ventilation: Regularly check that the ventilation openings are clear of dust and debris to prevent overheating. Do not place the projector on soft surfaces that might block airflow.
- Storage: When not in use for extended periods, store the projector in a cool, dry place, away from direct sunlight and extreme temperatures.
8. Troubleshooting
If you encounter issues with your projector, refer to the following common problems and solutions:
| Problem | Possible Cause | Solution |
|---|---|---|
| No image on screen | No power; Incorrect input source; Loose cable connection | Ensure power adapter is connected and power source is active. Select the correct input source (HDMI, USB, AV, SD). Check all cable connections. |
| Blurry image | Out of focus; Incorrect projection distance | Adjust the focus ring on the lens. Ensure the projector is within the recommended projection distance (1-3 meters). |
| No sound | Volume too low; Muted; External audio device not connected properly | Increase the volume. Check if the projector or source device is muted. Ensure external speakers/headphones are correctly plugged into the earphone slot. |
| Projector overheats | Blocked ventilation; Prolonged use in hot environment | Ensure ventilation openings are clear. Operate in a well-ventilated area. Allow the projector to cool down if it feels excessively hot. |
| Remote control not working | Dead batteries; Obstruction between remote and projector | Replace batteries in the remote control. Ensure there is a clear line of sight between the remote and the projector's IR receiver. |
9. Specifications
| Feature | Detail |
|---|---|
| Brand Name | Meer |
| Item Model Number | YG300 |
| Product Dimensions | 4.98 x 3.37 x 1.88 inches |
| Item Weight | 10.2 ounces |
| Color Name | Yellow |
| Display Resolution | 640 x 480 |
| Support Resolution | 1080P (Input) |
| Brightness | 400 Lumens |
| Aspect Ratio | 4:3 or 16:9 |
| Projection Distance | 1-3 meters |
| Projection Size | Up to 60 inches |
| Connectivity Technology | HDMI, USB, AV, SD |
| Special Features | Built-in Speakers |
| Power Source | 5V/2A (via wall charger or power bank) |
| Country of Origin | China |
10. Warranty and Support
For any product inquiries, technical support, or warranty information, please refer to the official Meer website or contact their customer service directly. You may also find additional resources and FAQs on the product's Amazon listing page.
A digital version of this user guide is available for download: User Guide (PDF)
Related documentsYG300


Ask a question about this manual
Ask about setup, troubleshooting, compatibility, parts, safety, or missing instructions. Manuals+ will review the question and use this page’s manual context to help answer it.