1. Introduction
This manual provides comprehensive instructions for the installation, operation, and maintenance of your Honeywell Home RDWL311A2000 Series 3 Portable Wireless Doorbell and Push Button. This system offers a convenient and customizable solution for home entry notification without requiring complex wiring.

Image 1.1: The Honeywell Home Series 3 Portable Wireless Doorbell and its accompanying Push Button.
The portable design allows for flexible placement of the doorbell unit, while the wireless push button ensures easy installation at your desired entry point. The system is designed for ease of use and reliability.
2. What's Included
Verify that all components are present in the package:
- Portable Wireless Doorbell Unit
- Push Button
- CR2032 battery (for Push Button)
- Doorbell wall mounting bracket
- Push button mounting bracket and adhesive pad
- Flat head screws
- Round head screws
- Wall anchors
Note: 4 AA batteries for the Portable Wireless Doorbell are not included and must be purchased separately.
3. Key Features
The Honeywell Home Series 3 Doorbell system offers the following features:
- Wireless Operation: No wiring required for installation, simplifying setup.
- Preinstalled Tunes: Comes with 4 selectable tunes.
- Extended Range: Robust wireless signal provides a range of up to 250 feet (76 meters).
- Portable Design: The doorbell unit can be placed on a shelf, table, or mounted on a wall.
- Battery Powered: Doorbell requires 4 AA batteries (not included); Push Button includes a CR2032 battery.
- Illuminated Push Button: Features an LED halo feedback when pressed.
- Weather Resistant Push Button: Suitable for outdoor surface mounting.
4. Setup and Installation
4.1. Installing Batteries in the Doorbell Unit
- Locate the battery compartment on the back of the portable doorbell unit.
- Open the battery compartment cover.
- Insert 4 AA alkaline batteries (not included), ensuring correct polarity (+/-).
- Close the battery compartment cover securely.

Image 4.1: Rear view of the doorbell unit with the battery compartment open, showing where to insert 4 AA batteries.
4.2. Installing the Push Button
The push button comes with a pre-installed CR2032 battery. It can be mounted using the adhesive pad or screws.
- Select Location: Choose a suitable location near your door, ensuring it is within the 250-foot range of the doorbell unit.
- Adhesive Mounting:
- Clean the mounting surface thoroughly.
- Peel the backing from the adhesive pad on the push button mounting bracket.
- Press the bracket firmly onto the desired surface for at least 30 seconds.
- Attach the push button to the mounted bracket.
- Screw Mounting:
- Remove the push button from its mounting bracket.
- Hold the mounting bracket against the desired surface and mark the screw holes.
- Drill pilot holes if necessary. For masonry, insert wall anchors.
- Secure the bracket with the provided screws.
- Attach the push button to the mounted bracket.
4.3. Pairing the Push Button with the Doorbell Unit
The push button and doorbell unit are typically pre-paired from the factory. If they are not responding, follow these steps to pair them:
- Ensure batteries are correctly installed in both units.
- On the doorbell unit, press and hold the Settings button (gear icon) for approximately 5 seconds until the unit emits a short beep.
- Within 10 seconds, press the push button. The doorbell unit should chime, indicating successful pairing.
- Test the connection by pressing the push button again.
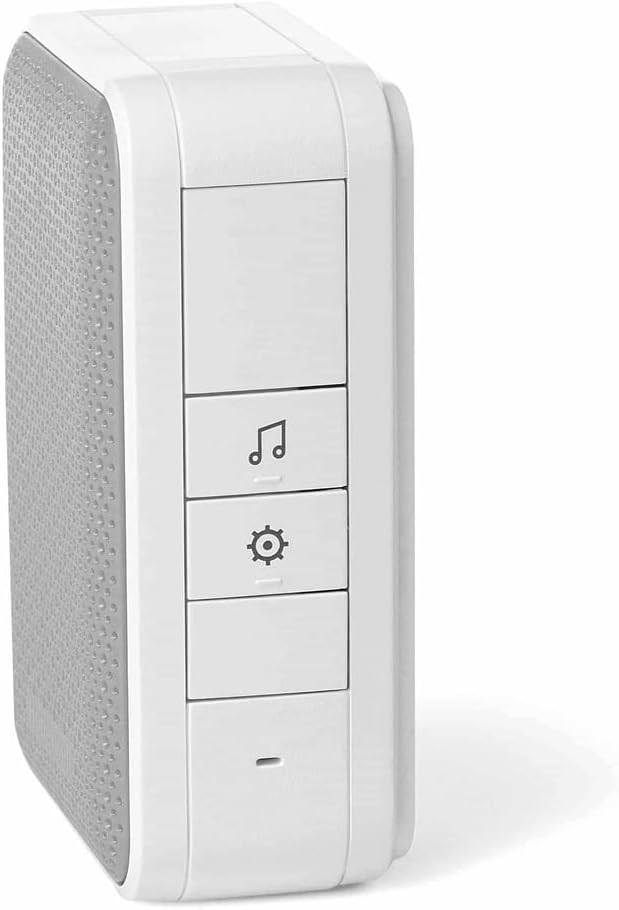
Image 4.2: Side view of the doorbell unit, highlighting the tune selection and settings buttons.
5. Operating Instructions
5.1. Changing the Chime Tune
The doorbell unit comes with 4 preinstalled tunes. To change the tune:
- Press the Tune Selection button (music note icon) on the side of the doorbell unit. Each press will cycle through the available tunes.
- Stop pressing when you hear your desired tune.
5.2. Adjusting Volume
The doorbell unit typically has a volume control button or a setting within the settings menu. Refer to the specific button on the side of your unit (often indicated by a speaker icon or +/- symbols) to adjust the volume.
5.3. Daily Use
When a visitor presses the push button, the doorbell unit will sound the selected chime tune and the push button's halo LED will illuminate briefly.
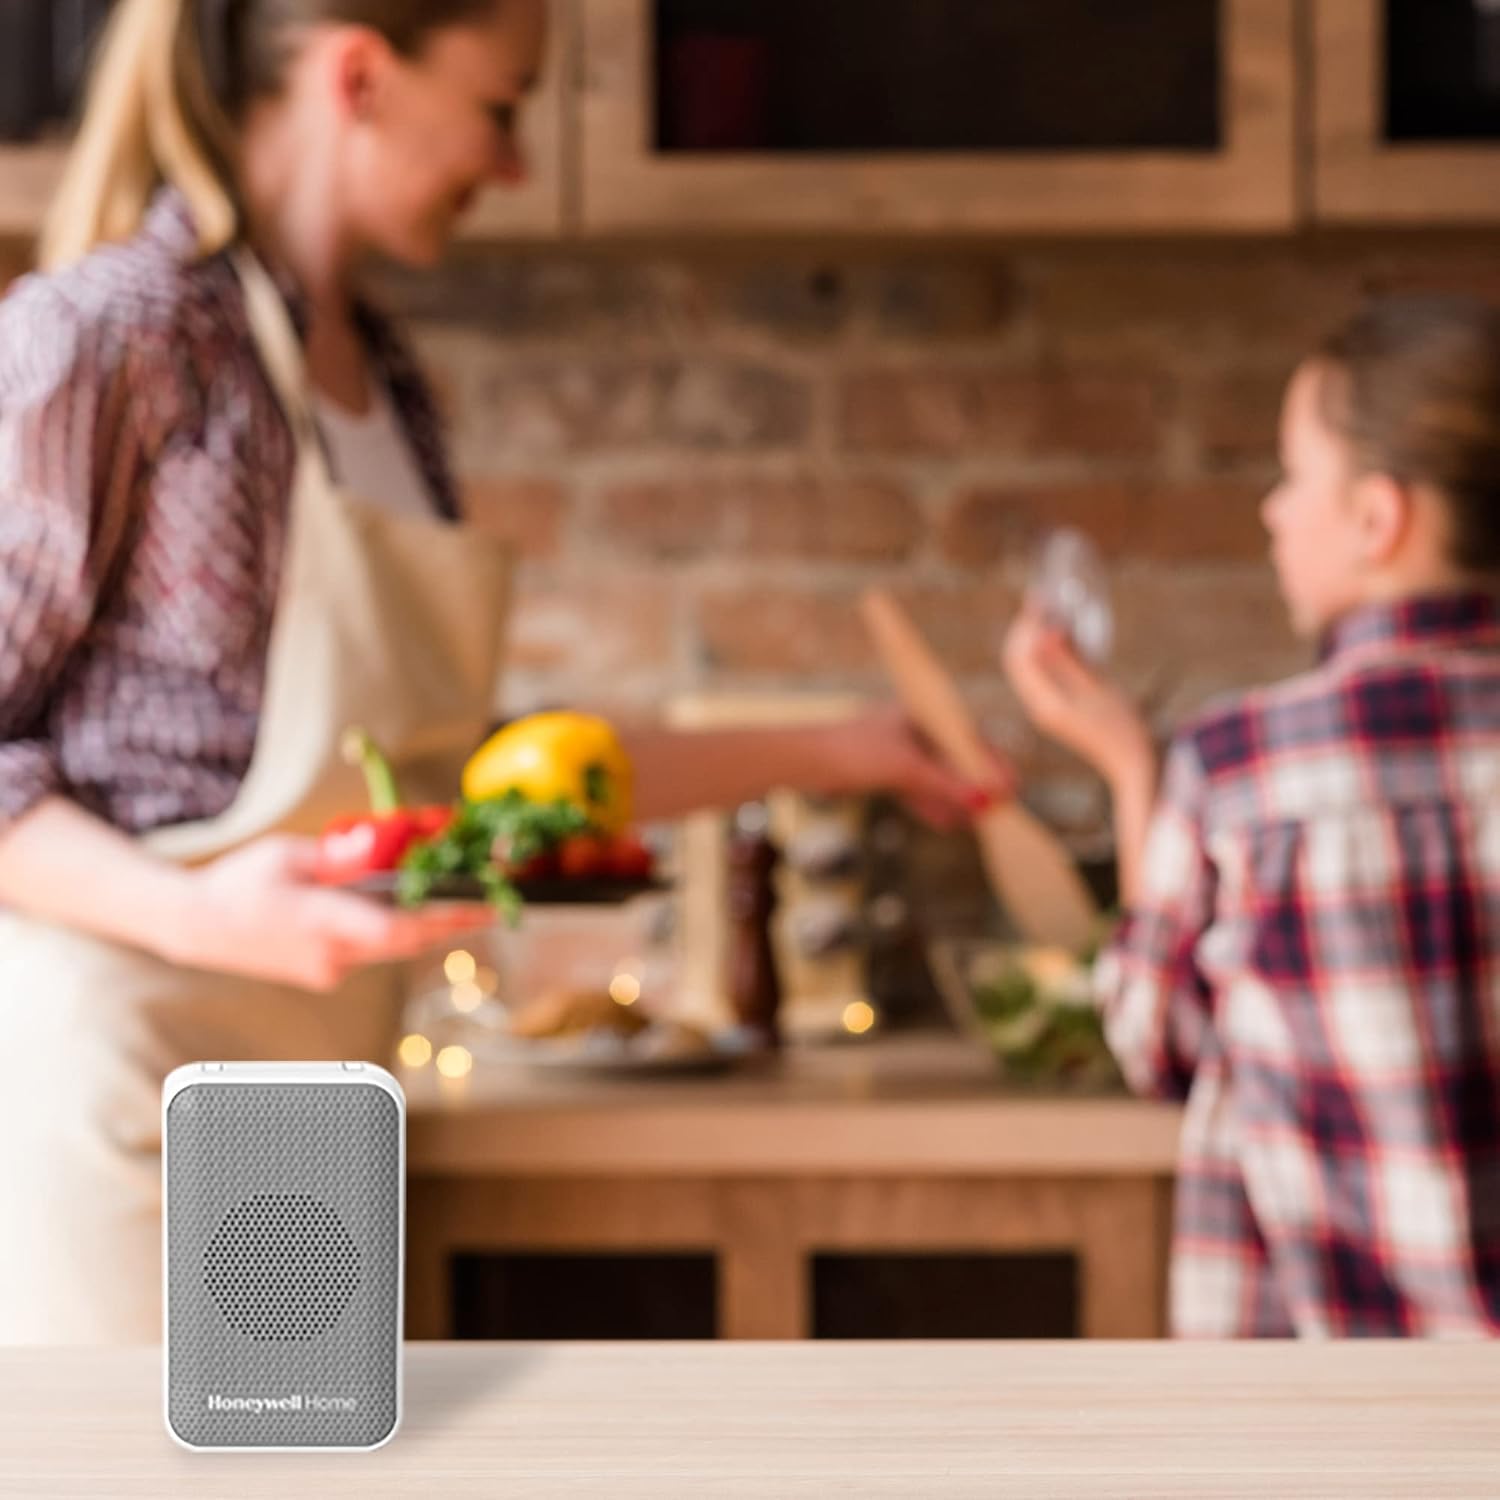
Image 5.1: The portable doorbell unit can be conveniently placed in various locations, such as a kitchen counter.
6. Maintenance
6.1. Battery Replacement
Doorbell Unit (4 AA batteries):
- When the doorbell unit's sound becomes weak or inconsistent, it's time to replace the batteries.
- Open the battery compartment on the back of the unit.
- Remove the old batteries and dispose of them responsibly.
- Insert 4 new AA alkaline batteries, observing correct polarity.
- Close the compartment cover.
Push Button (CR2032 battery):
- If the push button's LED halo does not light up or the doorbell unit does not chime when pressed, the CR2032 battery may need replacement.
- Carefully open the push button casing (refer to the diagram in the full user manual if needed).
- Replace the old CR2032 battery with a new one, ensuring correct polarity.
- Securely close the casing.
6.2. Cleaning
Wipe the doorbell unit and push button with a soft, dry cloth. Do not use abrasive cleaners or solvents, as these can damage the finish or internal components.
7. Troubleshooting
| Problem | Possible Cause | Solution |
|---|---|---|
| Doorbell unit does not chime when push button is pressed. |
|
|
| Chime sound is weak or distorted. | Low batteries in doorbell unit. | Replace AA batteries in the doorbell unit. |
| Push button LED does not light up. | Low or dead battery in push button. | Replace CR2032 battery in the push button. |
8. Specifications
| Attribute | Detail |
|---|---|
| Model Number | RDWL311A2000 |
| Brand | Honeywell Home |
| Power Source (Doorbell) | 4 x AA Batteries (not included) |
| Power Source (Push Button) | 1 x CR2032 Battery (included) |
| Wireless Range | Up to 250 feet (76 meters) |
| Dimensions (Doorbell Unit) | 1.67 x 2.75 x 4.33 inches |
| Item Weight | 8 ounces |
| Color | Gray |
| Voltage | 110 Volts (for reference, product is battery powered) |
| Included Components | CR2032 battery, Doorbell wall mounting bracket, Flat head screws, Portable Wireless Doorbell, Push Button, Push button mounting bracket and adhesive pad, Round head screws, Wall anchors |

Image 8.1: Dimensional drawing of the doorbell unit and push button with measurements.
9. Warranty and Support
For warranty information, technical support, or to access the full user manual, please visit the official Honeywell Home website or refer to the documentation provided with your product. You can also find the official user manual here.
Manufacturer: Honeywell Home
For further assistance, contact Honeywell Home customer service.