Introduction
This manual provides comprehensive instructions for the setup, operation, maintenance, and troubleshooting of your Aluratek 10" WIFI Digital Photo Frame. Please read this manual thoroughly to ensure proper use and to maximize the features of your device.
Package Contents
Verify that all items are present in the package:
- Aluratek 10" WIFI Digital Photo Frame
- Power Adapter
- Quick Start Guide
- Frame Stand
Setup
1. Physical Setup
Place the digital photo frame on a stable, flat surface or mount it on a wall using a compatible VESA mount. Attach the included frame stand for tabletop use.
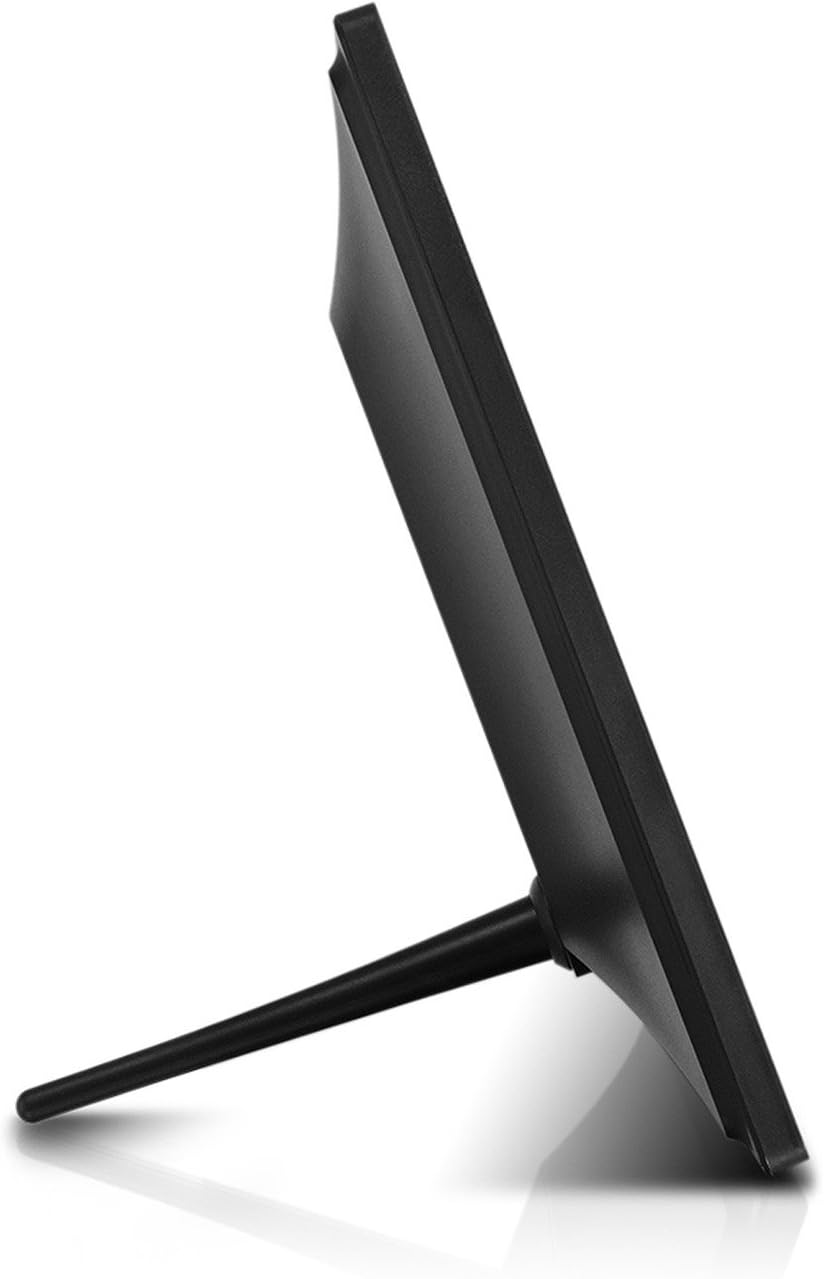
Image: Side view of the Aluratek 10-inch digital photo frame with its stand attached, illustrating how the stand supports the frame for tabletop display.
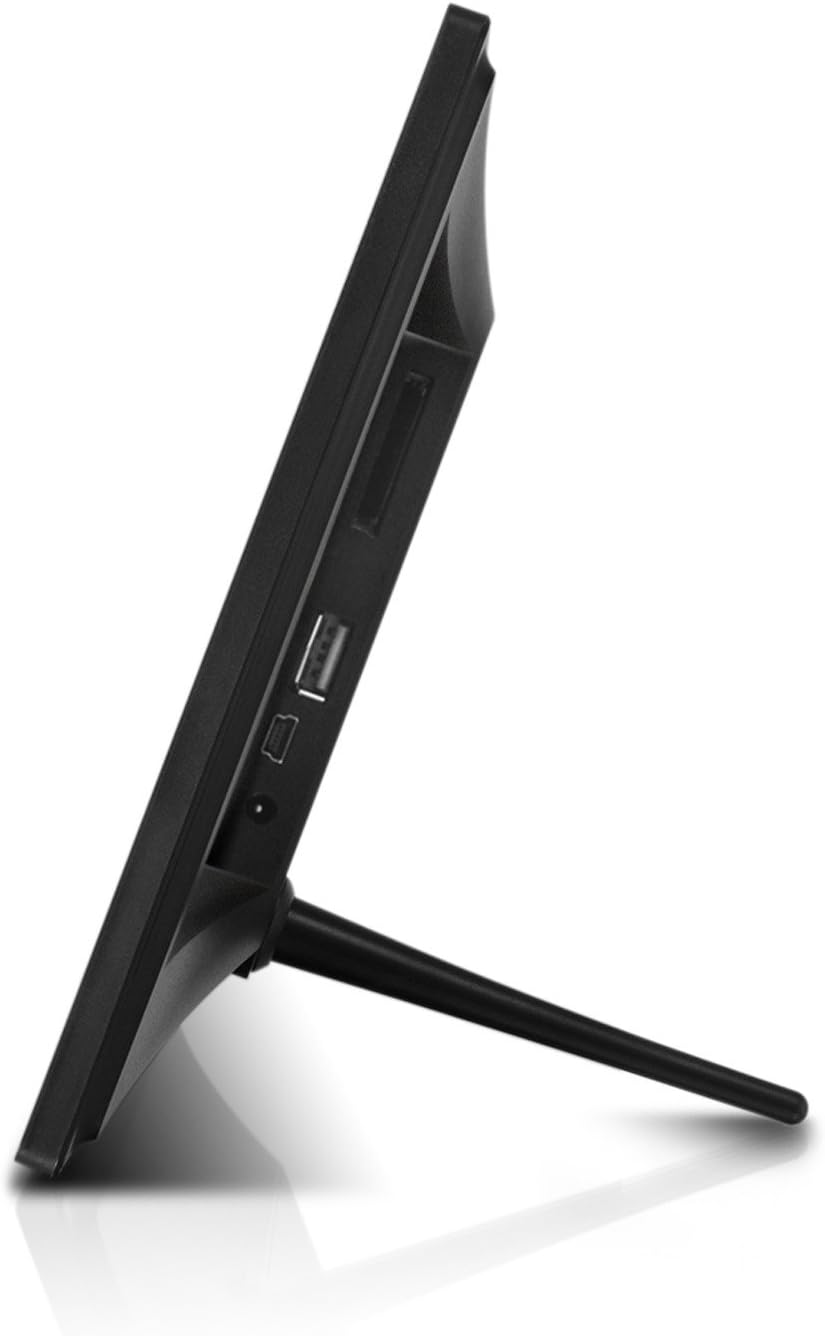
Image: Side view of the Aluratek 10-inch digital photo frame, highlighting the various ports available for connectivity, including USB and power input.
2. Powering On
Connect the power adapter to the DC IN port on the back of the frame and plug the other end into a power outlet. The frame will automatically power on.
3. Initial Wi-Fi Setup
Upon first use, the frame will guide you through the Wi-Fi setup process. Select your Wi-Fi network from the list and enter the password using the on-screen keyboard. A stable Wi-Fi connection is essential for sharing photos wirelessly and accessing online features.
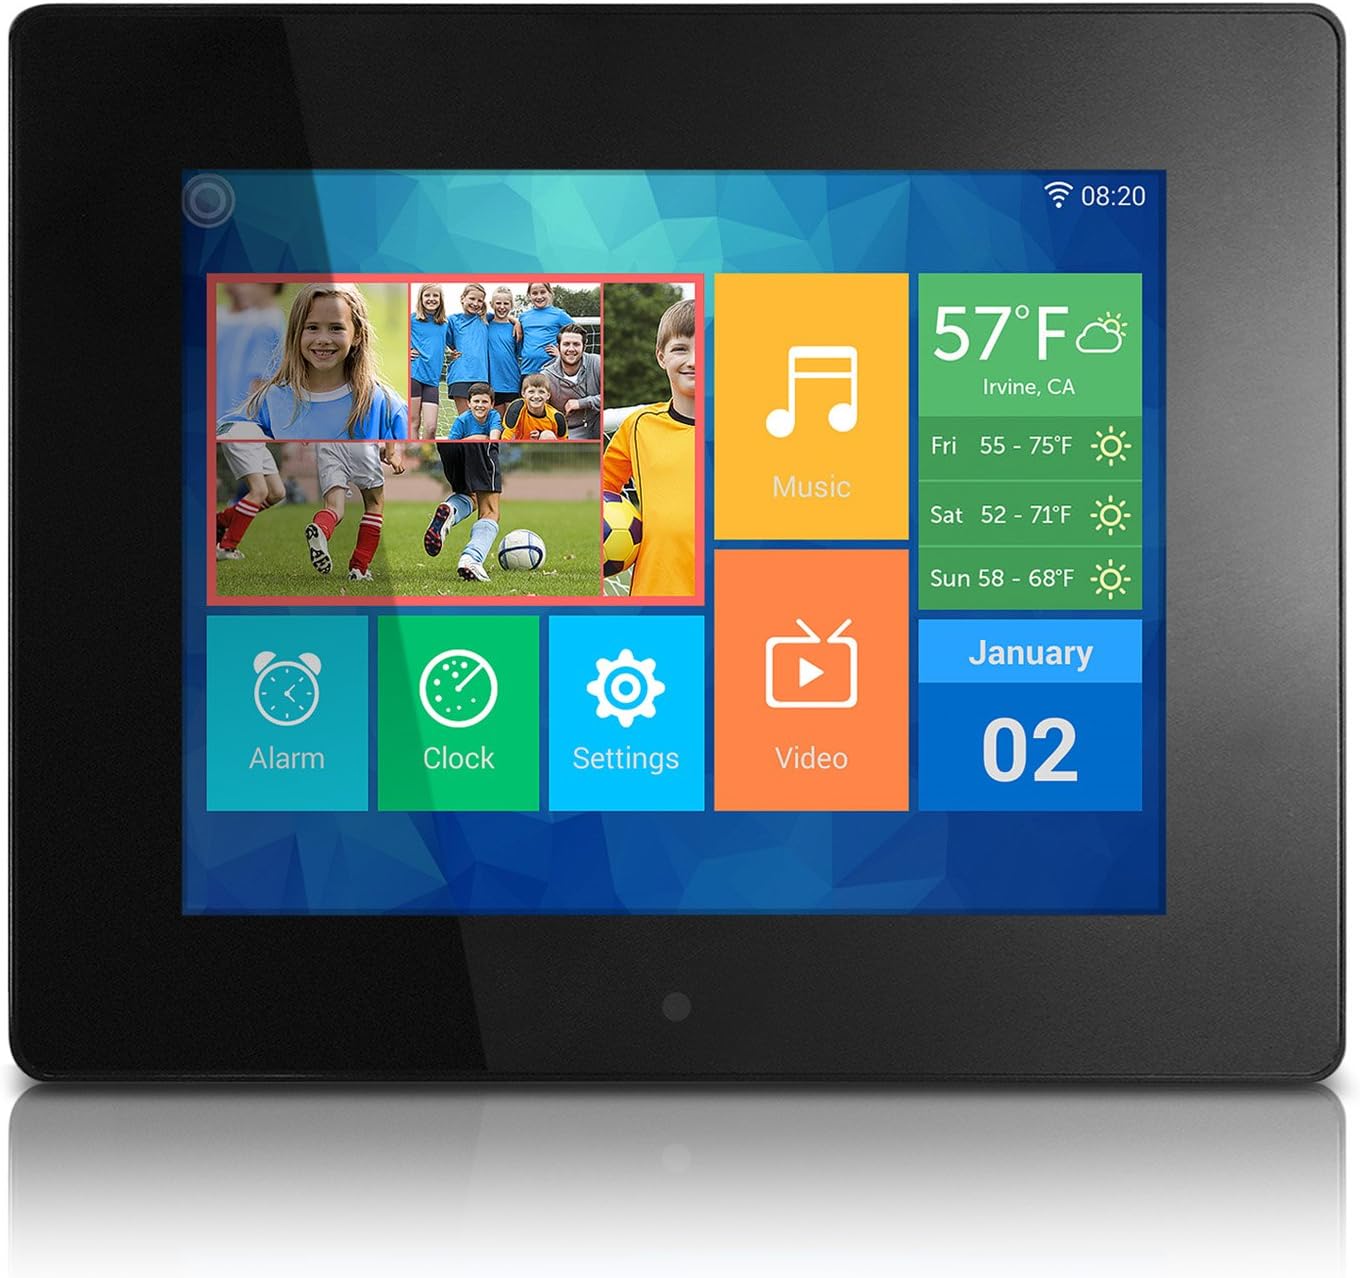
Image: The main menu interface of the Aluratek 10-inch digital photo frame, showing icons for various functions like photos, music, settings, and weather.
4. Setting Date and Time
After connecting to Wi-Fi, the frame should automatically synchronize the date and time. If not, navigate to Settings > System Settings to manually adjust these parameters.
Operating Instructions
1. Navigating the Touchscreen Interface
The Aluratek digital photo frame features a responsive touchscreen for intuitive navigation. Tap icons to open applications, swipe to browse through content, and use the back arrow to return to previous screens.
2. Adding Photos and Videos
There are multiple ways to add media to your frame:
- Wireless Transfer: Use the dedicated Photo Partner App (available for smartphones and tablets) to send photos and videos directly to your frame over Wi-Fi. You can also share from Facebook and Twitter accounts.

Image: A smartphone screen displaying selected photos, with an arrow indicating wireless transfer to the Aluratek digital photo frame, which shows the received images.
- USB Flash Drive: Insert a USB flash drive into the USB 2.0 port on the back of the frame. The frame will detect the drive, allowing you to browse and import media.
- SD/SDHC Card: Insert an SD or SDHC memory card into the card slot on the back of the frame. Similar to USB, you can browse and import media directly from the card.

Image: Rear view of the Aluratek 10-inch digital photo frame, showing an SD card partially inserted into its dedicated slot, indicating external storage capability.
3. Viewing Photos and Videos
From the main menu, tap the Photos or Video icon to access your media. You can view content stored in the internal memory, cloud storage, or connected USB/SD devices. The frame supports various playback modes, including slideshows with customizable intervals.
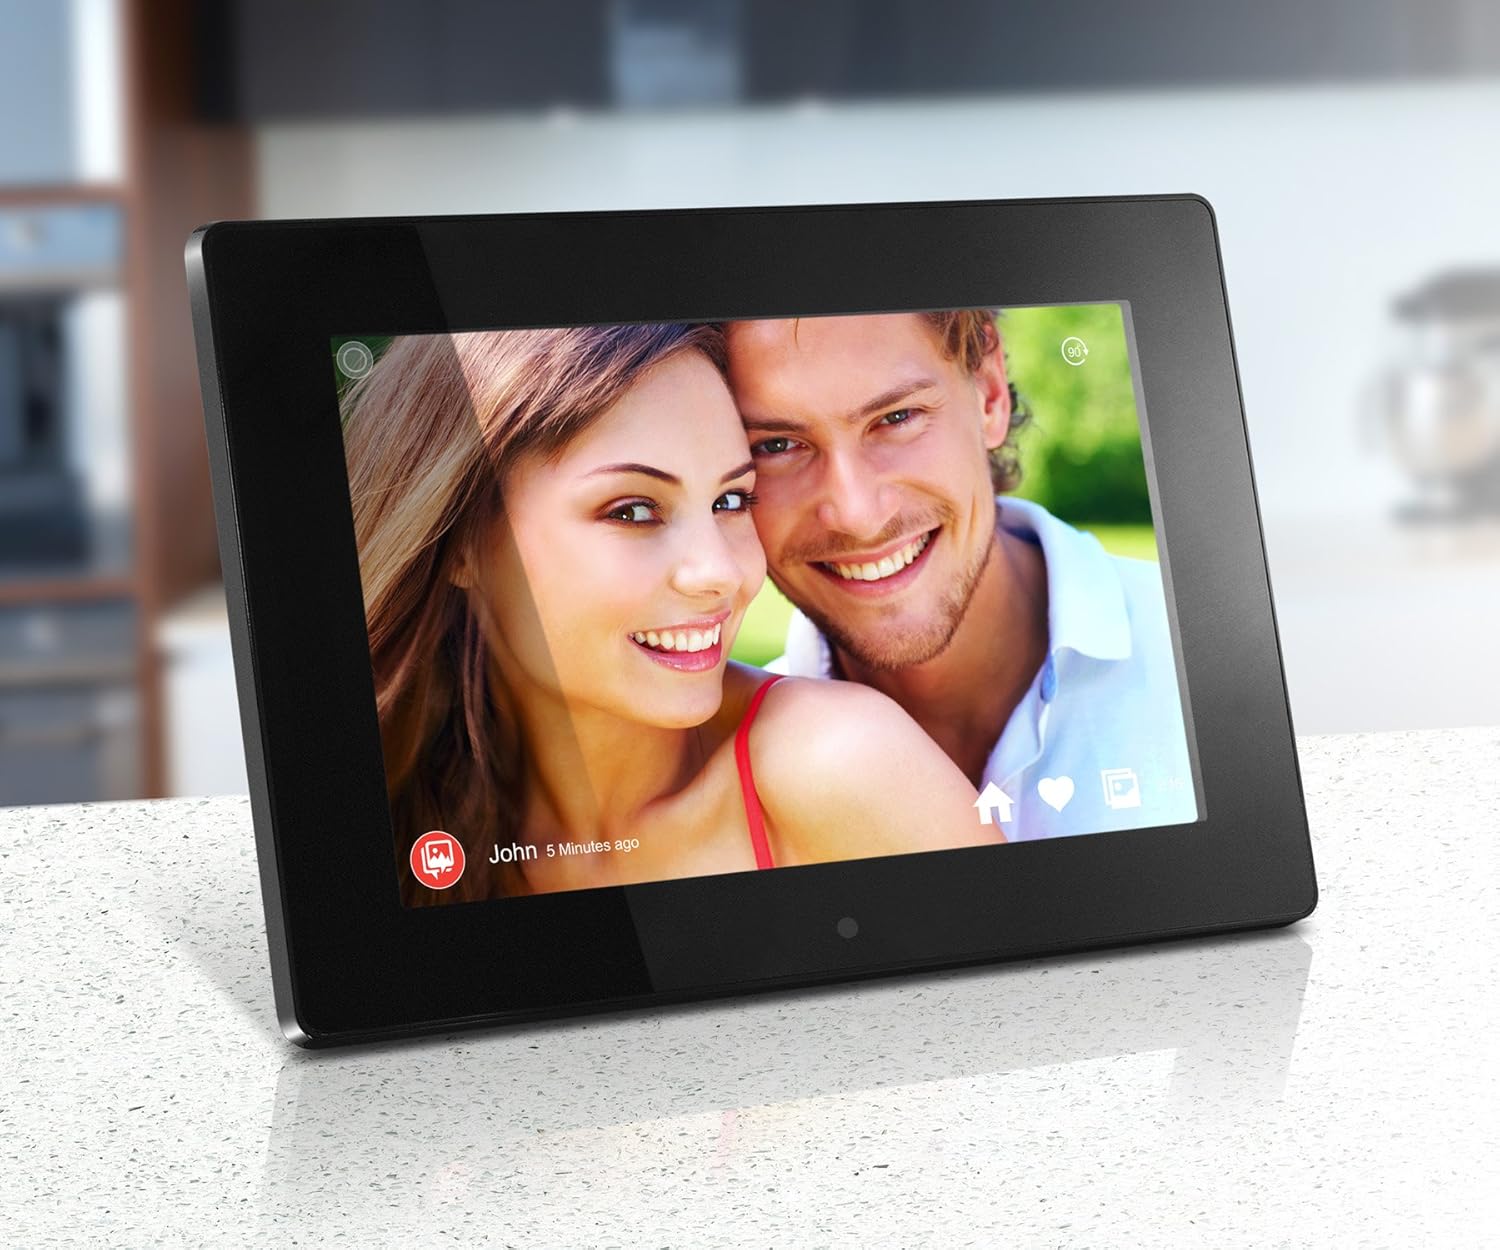
Image: The Aluratek 10-inch digital photo frame displaying a vibrant photo of a smiling couple, showcasing the IPS display quality.

Image: The Aluratek 10-inch digital photo frame displaying a warm family photo, demonstrating its use as a personal display for cherished memories.
For a visual guide on how to use the frame's features, including media playback, please refer to the official product video:
Video: An official Aluratek product video demonstrating the features and functionality of the 10" Hi-Res WIFI Digital Photo Frame, including touchscreen navigation, media playback, and app integration.
4. Using Built-in Apps
The frame includes several useful built-in applications:
- Clock: Displays the current time.
- Calendar: Provides a monthly calendar view.
- Alarm: Set alarms for reminders or wake-up calls.
- Weather: Displays local weather information (requires internet connection).
Maintenance
1. Cleaning the Display
To clean the touchscreen display, gently wipe it with a soft, lint-free cloth. For stubborn smudges, slightly dampen the cloth with water or a screen-safe cleaning solution. Avoid abrasive materials or harsh chemicals.
2. Software Updates
Periodically check for software updates in the Settings menu. Updates can provide new features, performance improvements, and bug fixes. Ensure the frame is connected to Wi-Fi and has sufficient battery life (if applicable) or is plugged into power during updates.
3. Storage Management
The frame comes with 32GB of internal memory. To manage storage, you can delete unwanted photos or videos directly from the frame's media library. For large transfers or backups, consider using a USB flash drive or SD card.
Troubleshooting
This section addresses common issues you might encounter. For more detailed troubleshooting, please refer to the full user manual available as a PDF.
| Problem | Solution |
|---|---|
| Frame does not power on. | Ensure the power adapter is securely connected to both the frame and a working power outlet. Try a different outlet. |
| Cannot connect to Wi-Fi. | Verify your Wi-Fi password. Ensure the frame is within range of your router. Restart both the frame and your router. |
| Photos/Videos not displaying. | Check if the media files are in a supported format. Ensure USB drives or SD cards are properly inserted and formatted. Try restarting the frame. |
| Touchscreen is unresponsive. | Restart the frame by unplugging and re-plugging the power adapter. Ensure the screen is clean and free of debris. |
Specifications
- Display: 10" Touchscreen IPS LCD Display
- Resolution: 1280 x 800 (WSVGA)
- Internal Memory: 32GB
- Connectivity: Wi-Fi
- Compatible Devices: Smartphone, USB Flash Drive, SD/SDHC Card
- Color: Black
- Product Dimensions: 7.36 x 10.75 x 0.99 inches
- Item Weight: 1.25 pounds
- Model Number: AWDMPF110F
- Manufacturer: Aluratek
Warranty and Support
Aluratek products are designed for reliability and performance. For warranty information and technical support, please visit the official Aluratek website or refer to the warranty card included with your product. You can also download the complete user manual in PDF format for detailed instructions and support information.
Official User Manual (PDF): Download Here


