1. Introduction
Thank you for choosing the CCLIFE Car Spring Compressor. This 2-piece tool is designed for the safe and efficient removal and installation of coil springs during vehicle suspension repair and maintenance. Please read this manual thoroughly before use to ensure proper operation and safety.
2. Safety Information
WARNING: Improper use of spring compressors can result in serious injury or death. Always follow these safety guidelines.
- Never use a pneumatic screwdriver or impact wrench with this spring compressor. This tool is designed for manual operation only. Using power tools can cause sudden failure, leading to severe injury.
- Always wear appropriate personal protective equipment, including safety glasses and heavy-duty gloves.
- Ensure the vehicle is securely supported on jack stands on a level surface before beginning any work.
- Inspect the spring compressor for any damage or wear before each use. Do not use if any part is bent, cracked, or otherwise compromised.
- Ensure the claws are securely engaged on the spring coils and are evenly spaced to maintain spring curvature and prevent slippage.
- Compress the spring slowly and evenly, alternating turns on each compressor screw to maintain balance.
- Keep hands and other body parts clear of the spring and compressor during operation.
- Do not over-compress the spring beyond the necessary amount for removal or installation.
- If the spring appears to be binding or slipping, stop immediately and re-evaluate the setup.
3. Product Overview and Components
The CCLIFE Car Spring Compressor set consists of two individual spring compressors, each featuring robust construction for reliable performance.

Figure 3.1: Key design features of the CCLIFE Car Spring Compressor, highlighting the square joint for a 1/2" drive, drop-forged jaws for secure grip, and a heat-treated compression screw for durability.
- Compression Screw: A long, threaded rod used to apply tension and compress the spring.
- Jaw Assemblies (Claws): Four robust claws per tensioner (two per side) designed to securely grip the spring coils. These are drop-forged for strength.
- Hex Drive End: A 19mm square joint at the end of the compression screw, compatible with a 1/2" (12.5mm) drive ratchet or wrench for manual operation.
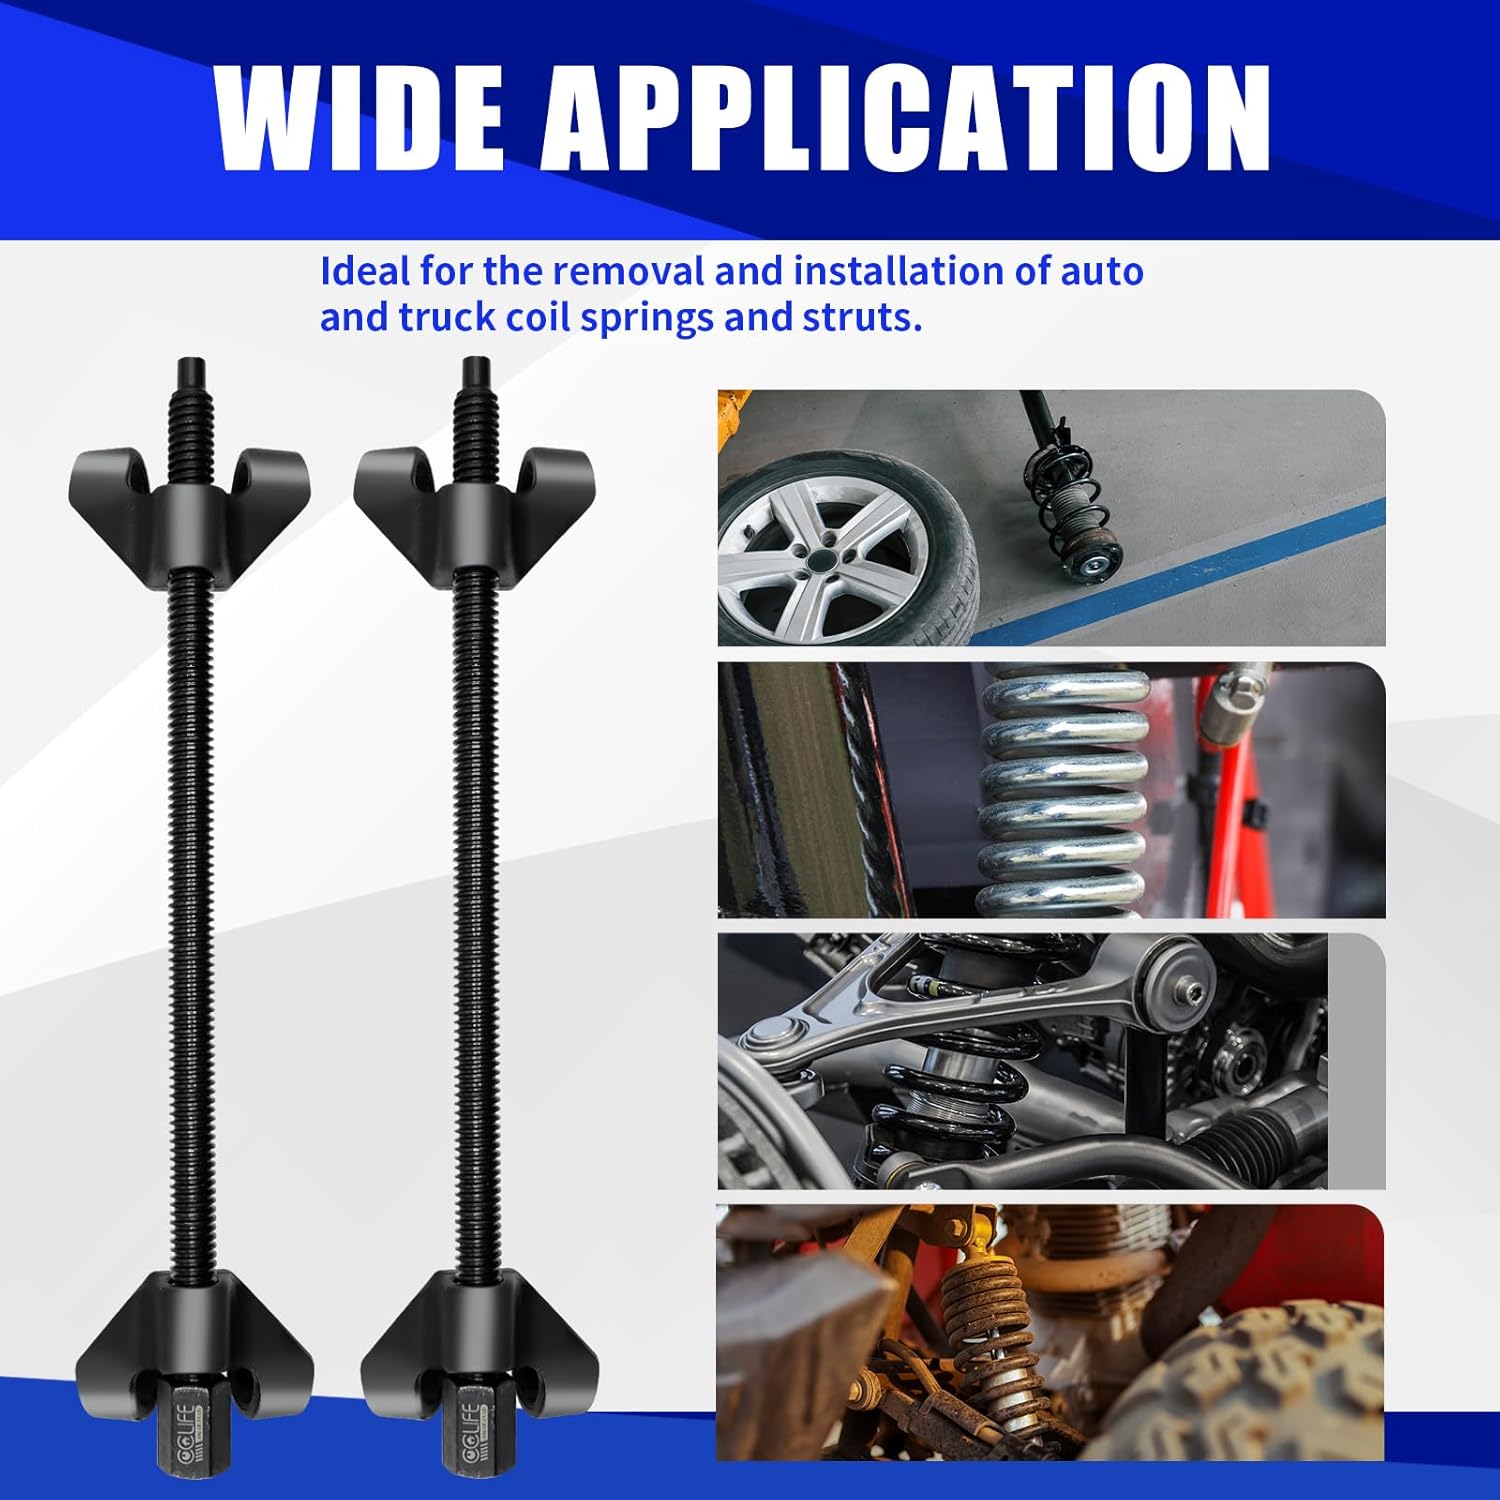
Figure 3.2: Illustration of the premium materials used, including forged steel construction and a black powder-coated finish for durability and corrosion resistance.
4. Specifications
| Feature | Detail |
|---|---|
| Model Number | 1611 |
| Material | Cr-V Steel (Chromium-Vanadium Steel) |
| Maximum Jaw Opening | 370 mm (approximately 14.5 inches) |
| Minimum Jaw Opening | 102 mm (approximately 4 inches) |
| Number of Claws per Tensioner | 4 |
| Drive Size | 1/2 inch (12.5 mm) square drive for 19mm hex |
| Item Dimensions (L x W x H) | 14.96 x 3.74 x 2.76 inches (each compressor) |
| Color | Black |

Figure 4.1: Product dimensions, showing the maximum jaw opening of 370mm and minimum jaw opening of 102mm.
5. Setup and Preparation
Before using the spring compressor, ensure you have all necessary tools and have prepared your vehicle safely.
- Vehicle Preparation:
- Park the vehicle on a firm, level surface.
- Engage the parking brake and block the wheels not being worked on.
- Loosen the lug nuts on the wheel corresponding to the strut you are working on.
- Jack up the vehicle and support it securely with jack stands. Never rely solely on a jack.
- Remove the wheel.
- Consult your vehicle's service manual for specific instructions on strut removal.
- Tool Inspection:
- Inspect both spring compressors for any signs of damage, such as bent screws, cracked jaws, or excessive wear.
- Ensure the threads on the compression screws are clean and free of debris. Lightly lubricate the threads with a suitable grease if necessary to ensure smooth operation.
6. Operating Instructions
Follow these steps carefully to safely compress and decompress coil springs.

Figure 6.1: The strong steel jaws securely hook into the spring coils, providing balanced compression.
- Positioning the Compressors:
- Place the two spring compressors on opposite sides of the coil spring.
- Ensure the jaws of each compressor are securely hooked onto the spring coils. Position them so that the claws grip at least two full coils, ideally near the top and bottom of the spring, avoiding the very ends.
- The compressors should be as evenly spaced as possible around the spring's circumference to ensure balanced compression.
- Compressing the Spring:
- Using a 1/2" drive ratchet or wrench on the 19mm hex end, slowly begin to turn the compression screws.
- Crucially, turn each compressor screw alternately and evenly. For example, turn one screw a few rotations, then switch to the other and turn it the same amount. This prevents uneven compression, which can cause the spring to bow or slip.
- Continue compressing until the spring tension is relieved from the strut assembly, allowing for safe disassembly. Do not over-compress.
- Removing the Spring:
- Once the spring is sufficiently compressed, carefully remove the strut components as per your vehicle's service manual.
- With the spring removed from the strut, you can then safely remove the spring compressors.
- Decompressing the Spring (for installation):
- After installing the new or reconditioned spring onto the strut, re-attach the spring compressors in the same balanced manner.
- Slowly and evenly release the tension by turning the compression screws alternately, allowing the spring to expand gradually.
- Ensure the spring seats correctly in its upper and lower mounts as it expands.
- Once the spring is fully seated and tension is transferred to the strut, remove the compressors.

Figure 6.2: The design allows for smooth rotation and easier adjustment of the compression screw, facilitating balanced spring compression.
7. Maintenance
Proper maintenance will extend the life of your CCLIFE Car Spring Compressor.
- Cleaning: After each use, wipe down the compressors to remove dirt, grease, and debris.
- Lubrication: Periodically apply a light coat of grease to the compression screw threads to ensure smooth operation and prevent corrosion.
- Inspection: Regularly inspect the jaws, screws, and overall structure for any signs of wear, bending, or cracking. Replace the tool if any damage is found.
- Storage: Store the spring compressors in a clean, dry place, away from moisture and corrosive materials.
8. Troubleshooting
If you encounter issues during operation, refer to the following common problems and solutions.
| Problem | Possible Cause | Solution |
|---|---|---|
| Spring not compressing evenly or bowing. | Uneven application of tension; compressors not spaced correctly. | Ensure compressors are opposite each other and turn screws alternately and evenly. Re-position if necessary. |
| Compressor jaws slipping on the spring. | Jaws not fully engaged; dirty coils; worn jaws. | Ensure jaws grip at least two full coils. Clean spring coils. Inspect jaws for wear; replace tool if worn. |
| Difficulty turning compression screws. | Threads are dry or dirty; screw is bent; spring is binding. | Lubricate threads. Clean threads. Inspect screw for damage. Ensure spring is not binding due to uneven compression. |


