1. Introduction
Thank you for purchasing the Unicview HD250 Projector. This manual provides essential information for the safe and efficient operation of your device. Please read this manual thoroughly before use and retain it for future reference.
2. Safety Instructions
- Do not look directly into the projector lens when the lamp is on.
- Ensure proper ventilation around the projector to prevent overheating.
- Keep the projector away from water or other liquids.
- Use only the power adapter supplied with the projector.
- Do not attempt to repair the projector yourself. Contact qualified service personnel.
- Place the projector on a stable, level surface.
3. Package Contents
Verify that all items are present in your package:
- Unicview HD250 Projector
- Remote Control
- Power Cable
- HDMI Cable (may vary by region)
- User Manual (this document)
4. Product Overview
Familiarize yourself with the projector's components and connection ports.

Image 4.1: Front and side view of the Unicview HD250 Projector, showing the lens and ventilation grilles.

Image 4.2: Rear view of the Unicview HD250 Projector, highlighting various input ports including HDMI, USB, VGA, and DVB-T antenna input.
4.1. Input/Output Ports
- HDMI: Connect to computers, Blu-ray players, gaming consoles.
- USB: For media playback from USB drives or connecting peripherals.
- VGA: Connect to older computers or laptops.
- RCA (AV): For connecting legacy video devices.
- DVB-T: Antenna input for digital terrestrial television.
- Audio Out: Connect external speakers or headphones.
- Power Input: Connect the power cable.
5. Setup
5.1. Placement
Position the projector on a stable, flat surface or mount it securely. Ensure there is adequate space for ventilation around the projector.

Image 5.1: Example of projector placement in a living room environment, demonstrating its use for home theater.
The projector supports various projection modes:
- Front Projection: Projector is placed in front of the screen.
- Rear Projection: Projector is placed behind a translucent screen.
- Ceiling Front Projection: Projector is mounted upside down on the ceiling in front of the screen.
- Ceiling Rear Projection: Projector is mounted upside down on the ceiling behind a translucent screen.

Image 5.2: Illustration of the projection image flip function, showing how the image can be inverted for different mounting options like ceiling projection.
5.2. Connecting Power
- Connect the power cable to the projector's power input port.
- Plug the other end of the power cable into a suitable electrical outlet.
5.3. Connecting Input Devices
The Unicview HD250 supports multiple input sources:
- HDMI: Use an HDMI cable to connect your computer, game console, or media player to the projector's HDMI port.
- USB: Insert a USB flash drive into the USB port for direct media playback.
- VGA: Connect a VGA cable from your computer to the projector's VGA port.
- DVB-T: Connect a terrestrial antenna to the DVB-T input for digital TV channels.
- Wireless (WIFI/Miracast/Airplay): For screen mirroring from compatible smartphones and tablets. Refer to the "Operating Instructions" section for detailed steps.

Image 5.3: Diagram showing a laptop connected to the projector via an HDMI cable, illustrating a common setup for displaying content.

Image 5.4: Visual representation of the projector's integrated Android system, USB media player, and DVB-T tuner, along with Wi-Fi connectivity and compatibility with multiple devices like game controllers and mice.
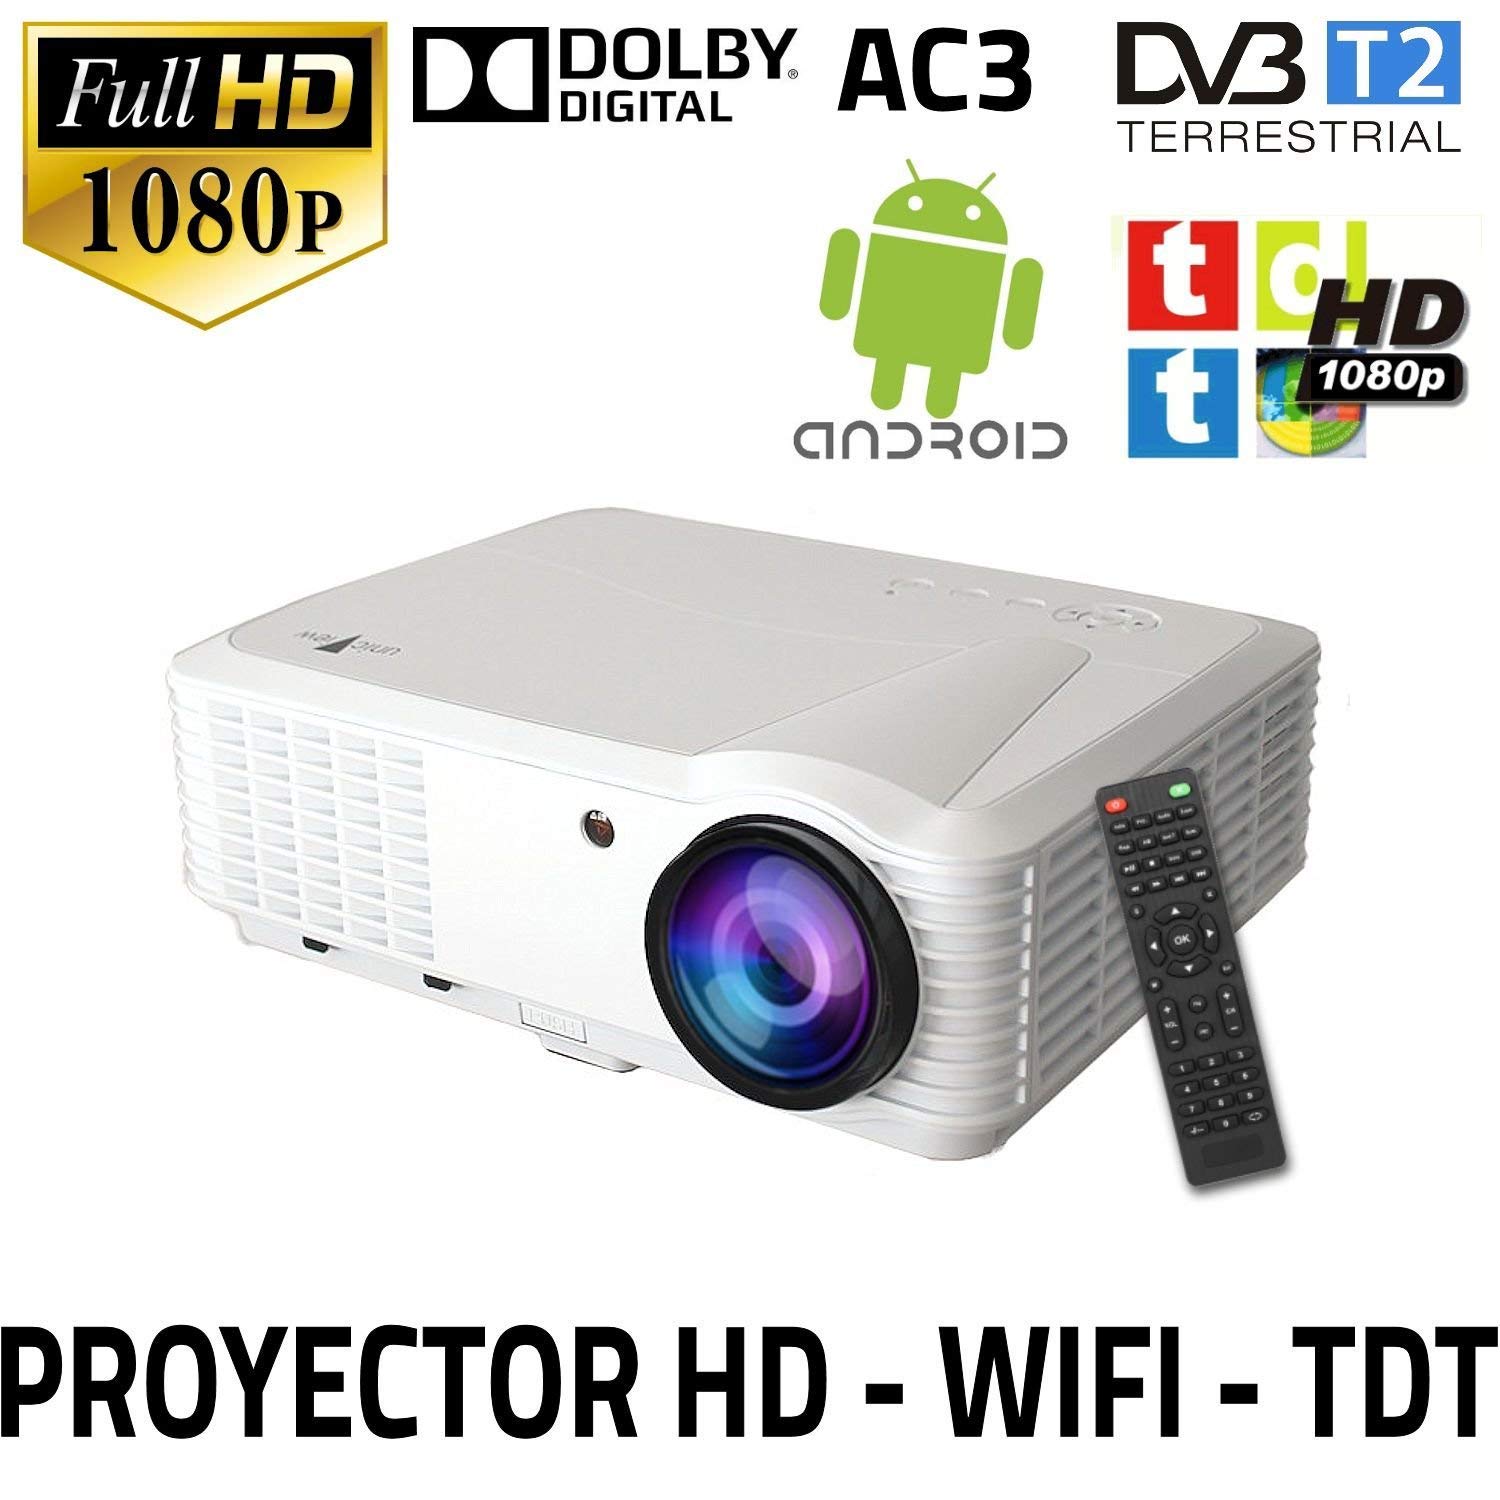
Image 5.5: Diagram illustrating wireless screen mirroring capabilities (Airplay/Miracast) from smartphones and tablets to the Unicview HD250 Projector via a Wi-Fi connection.
5.4. Focus and Keystone Correction
Adjust the focus ring on the projector lens until the image is clear. Use the keystone correction feature (manual or digital, depending on model) to correct trapezoidal distortion if the projector is not perfectly perpendicular to the screen.
6. Operating Instructions
6.1. Power On/Off
- Press the power button on the projector or remote control to turn the unit on.
- Press the power button again to turn off the projector. Allow the fan to run for a short period to cool down the lamp before unplugging.
6.2. Source Selection
Use the "Source" button on the remote control or projector panel to cycle through available input sources (HDMI1, HDMI2, USB, VGA, AV, DVB-T, Android).
6.3. Android System Operation
The Unicview HD250 features an integrated Android operating system. Navigate the interface using the remote control or by connecting a USB mouse/keyboard.
- Wi-Fi Connection: Go to Settings > Wi-Fi and select your network. Enter the password to connect.
- App Installation: Download and install applications from the pre-installed app store or by sideloading APK files via USB.
- Screen Mirroring (Airplay/Miracast):
- Ensure your smartphone/tablet and the projector are connected to the same Wi-Fi network.
- On the projector, select the "Miracast" or "Airplay" application (often labeled "Happycast" or similar).
- On your mobile device, activate screen mirroring (e.g., "Smart View" on Android, "Screen Mirroring" on iOS) and select the projector from the list of available devices.
6.4. Media Playback (USB)
Insert a USB flash drive containing media files (videos, photos, music) into the USB port. The projector's media player will automatically detect the drive, allowing you to browse and play content.
6.5. DVB-T Tuner
Connect a DVB-T antenna to the projector. In the main menu, select the DVB-T input and perform a channel scan to find available digital terrestrial television channels.
6.6. Projection Distance and Screen Size
The optimal projection distance varies depending on the desired screen size. Refer to the following approximate guide:

Image 6.1: Chart illustrating the relationship between projection distance and screen size, showing examples like 1.5m for 50 inches, 2m for 64 inches, up to 4m for 134 inches.
| Screen Size (inches) | Projection Distance (meters) |
|---|---|
| 50" | 1.5m |
| 64" | 2m |
| 81" | 2.5m |
| 100" | 3m |
| 120" | 3.6m |
| 134" | 4m |
7. Maintenance
7.1. Cleaning the Lens
Use a soft, lint-free cloth specifically designed for optical lenses. Gently wipe the lens in a circular motion. Do not use abrasive cleaners or excessive force.
7.2. Cleaning the Projector Body
Wipe the exterior of the projector with a soft, dry cloth. For stubborn marks, slightly dampen the cloth with water. Avoid using chemical cleaners.
7.3. Filter Cleaning
Regularly check and clean the air filters to ensure proper ventilation and prevent dust buildup. Refer to the projector's physical design for filter access points. Gently remove dust using a soft brush or vacuum cleaner.
7.4. Lamp Replacement
The Unicview HD250 uses an LED lamp with an estimated lifespan of 50,000 hours, significantly reducing the need for frequent replacement. If lamp replacement becomes necessary, contact customer support for guidance.
8. Troubleshooting
| Problem | Possible Cause | Solution |
|---|---|---|
| No image displayed | Power cable disconnected; Incorrect input source; Lens cap on. | Check power connection; Select correct input source; Remove lens cap. |
| Image is blurry | Out of focus; Incorrect projection distance. | Adjust focus ring; Adjust projector distance. |
| Image is trapezoidal | Projector not perpendicular to screen. | Adjust keystone correction. |
| No sound | Volume too low; Muted; Incorrect audio output selected. | Increase volume; Unmute; Check audio settings. |
| Remote control not working | Dead batteries; Obstruction between remote and projector. | Replace batteries; Remove obstructions; Point remote directly at IR receiver. |
| Wi-Fi connection issues | Incorrect password; Router too far; Network interference. | Verify password; Move projector closer to router; Check for interference. |
9. Specifications
| Feature | Detail |
|---|---|
| Model Number | HD250 |
| Brand | Unicview |
| Connectivity Technology | HDMI, USB, VGA, RCA, DVB-T, Wi-Fi |
| Native Resolution | 1920 x 1080 (Full HD) |
| Display Type | LED |
| Brightness | 2,800 Lumens (CREE LED) |
| Lamp Life | Up to 50,000 hours |
| Lamp Power | 150 W LED |
| Dimensions (L x W x H) | 24 x 33 x 11 cm |
| Weight | 3 kg (6.61 lbs) |
| Mounting Type | Table Mount (supports ceiling mount) |
| Controller Type | Remote Control |
| Operating System | Android (version may vary) |
| Special Features | Integrated DVB-T tuner, USB media player, Wi-Fi, Airplay/Miracast support |
10. Warranty and Support
For warranty information and technical support, please refer to the warranty card included with your product or visit the official Unicview website. Do not attempt to open or repair the projector yourself, as this may void your warranty.
For further assistance, please contact Unicview customer service.