1. Introduction
The OREI EX-165C HDMI over Ethernet Extender allows you to transmit HDMI signals up to 165 feet (50 meters) over a single Cat5e/Cat6/Cat7 Ethernet cable. This device supports Full HD 1080p resolution and includes features such as a local HDMI loop out, bi-directional IR control, and Power over Cable (POC) functionality.
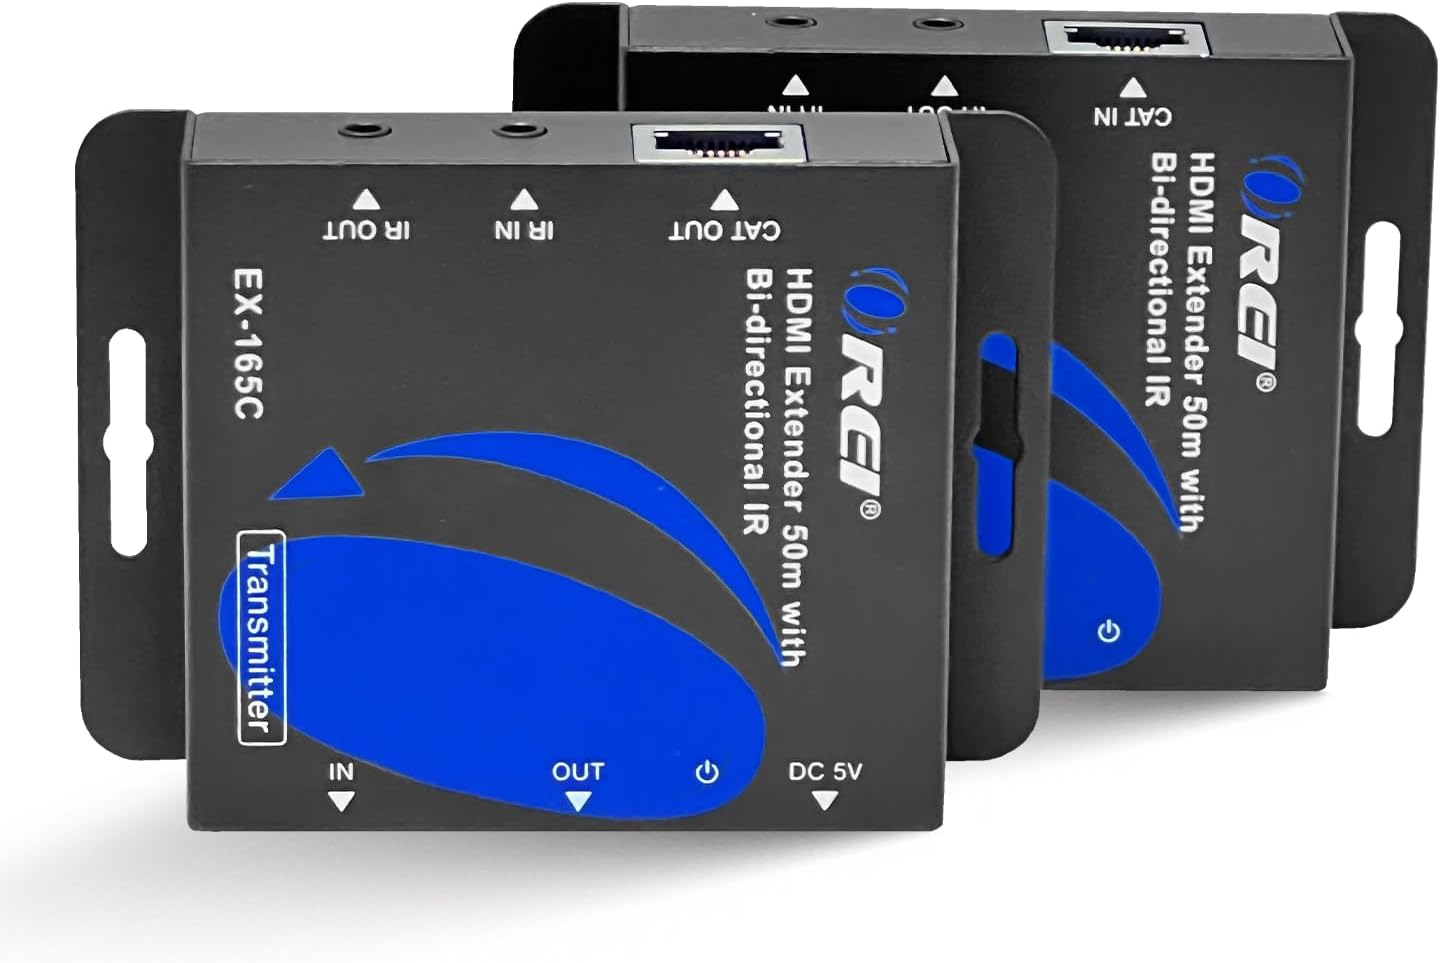
Figure 1: OREI EX-165C HDMI Extender units (Transmitter and Receiver)
Key Features:
- Extends HDMI signals up to 165 feet (50m) using a single Cat5e/Cat6/Cat7 Ethernet cable.
- Supports Full HD 1080p video resolution at 60Hz.
- Features a local HDMI loop out on the transmitter for connecting a display near the source.
- Includes bi-directional IR control for managing source devices from the receiver location or vice-versa.
- Power over Cable (POC) functionality, requiring only one power adapter for either the transmitter or receiver unit.
- Compatible with various devices including Blu-ray players, gaming consoles (PS3, Xbox 360), satellite boxes, laptops, and tablets.
- Robust metal housing designed to reduce EMI/RFI interference.
- Plug and Play installation with no drivers required.
2. Package Contents
Verify that all items listed below are included in your package:
- 1x HDMI Extender Transmitter Unit (EX-165C)
- 1x HDMI Extender Receiver Unit (EX-165C)
- 1x Power Adapter (DC 5V)
- 1x IR Transmitter Cable
- 1x IR Receiver Cable
- 1x User Manual

Figure 2: Package Contents
3. Setup Instructions
Follow these steps to set up your OREI EX-165C HDMI Extender:
- Connect the HDMI Source: Plug an HDMI cable from your source device (e.g., Blu-ray player, game console) into the HDMI IN port on the Transmitter unit.
- Connect Local Display (Optional): If you wish to have a local display near your source, connect an HDMI cable from the HDMI OUT (Loop) port on the Transmitter unit to your local display.
- Connect Ethernet Cable: Connect a single Cat5e/Cat6/Cat7 Ethernet cable (up to 165 feet / 50 meters) from the CAT OUT port on the Transmitter unit to the CAT IN port on the Receiver unit. Note: For optimal performance, use high-quality shielded (STP) Cat6 cable. This device requires a direct point-to-point connection and will not work over your home network.
- Connect Remote Display: Plug an HDMI cable from the HDMI OUT port on the Receiver unit to your remote display (e.g., TV, projector).
- Connect IR Cables:
- For IR control of the source device from the remote display location: Connect the IR Receiver cable to the IR IN port on the Receiver unit and position its eye to receive signals from your remote control. Connect the IR Transmitter cable to the IR OUT port on the Transmitter unit and position its emitter over the IR sensor of your source device.
- For IR control of the remote display from the source location (bi-directional): Connect the IR Receiver cable to the IR IN port on the Transmitter unit and position its eye to receive signals from your remote control. Connect the IR Transmitter cable to the IR OUT port on the Receiver unit and position its emitter over the IR sensor of your remote display.
- Power On: Connect the provided 5V DC power adapter to either the Transmitter unit or the Receiver unit. Due to Power over Cable (POC) functionality, only one power adapter is required. The other unit will receive power through the Ethernet cable.
- EDID Settings: The Transmitter unit features an EDID switch. Set the EDID switch to use the directly connected monitor as the source for resolution information, especially during initial setup or troubleshooting. Once a stable signal is achieved, you may switch it back to the remote monitor if desired, unless the pass-through monitor is permanently attached.

Figure 3: Typical Connection Diagram

Figure 4: Power Over Cable (POC) Functionality
Video 1: OREI HDMI Extender EX-165C Overview and Basic Setup (0:41)
4. Operating Instructions
Once all connections are made and power is supplied, the extender system should automatically detect and transmit the HDMI signal.
Signal Transmission:
- Ensure both the source device and the display devices are powered on.
- The extender units will establish a connection and transmit the video and audio signal to the remote display.
- If using the HDMI loop out, the local display will also show the source content.
IR Control:
- To control your source device from the remote display location, point your remote control at the IR Receiver eye connected to the Receiver unit. The signal will be transmitted via the Ethernet cable to the IR Transmitter connected to your source device.
- To control your remote display from the source location, point your remote control at the IR Receiver eye connected to the Transmitter unit. The signal will be transmitted via the Ethernet cable to the IR Transmitter connected to your remote display.
Video 2: Detailed Setup and Operation of OREI HDMI Extender (7:42)
5. Maintenance
The OREI EX-165C HDMI Extender is designed for reliable operation with minimal maintenance. To ensure longevity and optimal performance:
- Keep the units in a cool, dry environment, away from direct sunlight, heat sources, and moisture.
- Clean the units with a soft, dry cloth. Avoid using harsh chemicals or abrasive cleaners.
- Ensure all cables are securely connected and not under strain.
- Avoid blocking ventilation openings on the units.
6. Troubleshooting
If you encounter issues with your OREI EX-165C HDMI Extender, refer to the following common solutions:
- No Video/Audio Signal:
- Verify all HDMI and Ethernet cables are securely connected.
- Ensure both the transmitter and receiver units are powered on (check LED indicators).
- Confirm the Cat5e/Cat6/Cat7 cable is a direct point-to-point connection and not routed through a network switch or router.
- Test with a different, shorter Ethernet cable to rule out cable issues.
- Check the EDID switch setting on the transmitter. Try setting it to use the local display's EDID for a stable signal, especially during initial setup.
- Cycle power to both the extender units and connected source/display devices.
- Flickering or Poor Picture Quality:
- Ensure you are using a high-quality Cat6 or Cat7 cable, especially for longer distances. Some Cat5e cables may not provide optimal performance for 1080p over 165 feet.
- Adjust the EQ (equalization) settings if available on your specific model (refer to the physical unit for any small switches). For longer cables, start with higher strength settings and gradually reduce; for shorter cables, start low and increase. Cycle power after each adjustment and wait for signal sync.
- Reduce the resolution of the source device to see if the signal stabilizes.
- IR Control Not Working:
- Ensure the IR Receiver eye is positioned correctly to receive signals from your remote control.
- Verify the IR Transmitter emitter is directly over the IR sensor of the device you intend to control.
- Check that the IR cables are securely plugged into the correct ports (IR IN on the receiving end, IR OUT on the transmitting end).
- Power Issues (POC):
- If only one power adapter is used, ensure it is connected to either the transmitter or receiver. Both units should power on.
- If cycling power to the receiver unit when POC is active, unplug both its power adapter (if connected) and the Ethernet cable to ensure a full reset.
Important Note: It is highly recommended to test your setup with all cables and devices before performing any permanent installation or routing cables through walls or ceilings.
7. Specifications
| Feature | Description |
|---|---|
| Model Number | EX-165C |
| Brand | OREI |
| Max Extension Distance | 165 feet (50 meters) over Cat5e/Cat6/Cat7 cable |
| Supported Resolutions | Up to 1080p@60Hz (including 480i/p, 576i/p, 720p) |
| Video Bandwidth | 4.95 Gbps |
| HDMI Compliance | HDMI 1.3, HDCP 1.4 |
| Audio Formats | PCM7.1, Dolby TrueHD, DTS HD Master Audio |
| IR Control | Bi-directional |
| Power Supply | DC 5V (Power over Cable - POC) |
| Product Dimensions (each unit) | 3.7" (L) x 2.7" (W) x 0.78" (H) |
| Item Weight (Transmitter) | 168g / 5.92oz |
| Item Weight (Receiver) | 165g / 5.82oz |
| Housing Material | Metal |
| Color | Black |
| Compatible Devices | Blu-ray, PS3, Xbox 360, Satellite Boxes, Laptops, Tablets, PCs, Projectors |

Figure 5: Compact Size and Technical Specifications
8. Warranty and Support
OREI stands behind the quality of its products. The EX-165C HDMI Extender comes with:
- 12-Month Manufacturer's Warranty: Covers defects in materials and workmanship under normal use.
- Lifetime OREI Tech Support: Access to technical assistance for the lifespan of your product.
- Local Support: OREI offers lifetime local support, being based in the U.S.A.
For technical assistance or warranty claims, please visit the official OREI website or contact their customer support.

Figure 6: OREI Support Information