Introduction
The Bosch LR 6 Line Laser Receiver is designed to enhance the functionality of the GCL 2-160 Self-Leveling Cross-Line Laser by extending its detection range and improving visibility in various conditions. This receiver facilitates line laser detection up to 165 feet, making it suitable for outdoor use, bright environments, or when the laser beam is not directly visible on a surface.
Key features of the LR 6 receiver include dual-sided LED arrow indicators for clear visual feedback, a volume-adjustable audio signal for precise on-grade positioning, and an accuracy button for fine or coarse adjustments. For versatile mounting, the unit incorporates built-in heavy-duty magnets for attachment to metal surfaces and includes a quick-release mounting bracket for secure assembly, particularly on leveling rods.

Figure 1: Front view of the BOSCH LR 6 Red-Beam Laser Receiver.
Product Features
- Durable Construction: Features robust over-molded construction with an IP54 rating, providing protection against splash water and dust.
- Dual-Sided LED Indicator: Offers easy visual readout on both sides of the receiver for enhanced usability.
- Quick-Release Mounting Bracket: Allows for convenient attachment of the receiver to a leveling rod.
- Adjustable Audio Indicator: Provides clear signals for on-grade positioning, with volume adjustable to suit different worksite noise levels.
- Extended Working Range: Capable of detecting lines from Bosch GCL 2-160 lasers up to 165 feet.
- Heavy-Duty Magnets: Integrated magnets enable secure attachment to metal surfaces, ideal for suspended-ceiling installations.

Figure 2: Detailed diagram highlighting key features of the LR 6 receiver, including dual-sided LED indicators, ergonomic soft-grip, battery indicator, intuitive three-button keypad, and built-in heavy-duty magnets.
Setup
1. Battery Installation
The BOSCH LR 6 receiver requires two (2) AAA batteries for operation. These batteries are typically included with the product.
- Locate the battery compartment cover on the rear of the receiver.
- Open the battery compartment cover.
- Insert two AAA batteries, ensuring correct polarity (+/-) as indicated inside the compartment.
- Close the battery compartment cover securely.
2. Mounting the Receiver
The LR 6 receiver offers multiple mounting options for various applications:
- Using the Quick-Release Mounting Bracket:
The included quick-release mounting bracket allows for easy and secure attachment to a leveling rod or similar support. Simply slide the receiver into the bracket until it clicks into place. The bracket can then be clamped onto the desired surface.
- Using Built-in Magnets:
The receiver features heavy-duty magnets on its side, enabling direct attachment to metal surfaces. This is particularly useful for applications such as suspended-ceiling installations or attaching to metal studs.

Figure 3: The LR 6 receiver shown with its quick-release mounting bracket and the two AAA batteries required for operation.

Figure 4: The LR 6 receiver demonstrating its magnetic attachment capability on a metal frame, ideal for hands-free operation.
Operating Instructions
1. Powering On/Off
Press the red power button (marked with an 'I' inside a circle) located on the front of the receiver to turn the unit on or off.
2. Detecting the Laser Line
Position the LR 6 receiver in the path of the laser line from your compatible Bosch GCL 2-160 laser. The receiver can detect the laser line up to 165 feet away.
- Visual Indication: The dual-sided LED indicators will guide you to the laser line.
- An upward-pointing red arrow indicates the receiver is below the laser line; move the receiver up.
- A downward-pointing red arrow indicates the receiver is above the laser line; move the receiver down.
- A green LED light indicates the receiver is precisely on the laser line.
- Audio Indication: The receiver provides an audible signal to assist in locating the laser line.
- A slow beeping sound indicates the receiver is approaching the laser line.
- A continuous tone indicates the receiver is precisely on the laser line.
- A fast beeping sound indicates the receiver is moving away from the laser line.
3. Adjusting Audio Volume
Press the speaker icon button on the front of the receiver to cycle through different audio volume levels or to mute the audio signal. Adjust the volume to suit your worksite environment.
4. Adjusting Accuracy (Fine/Coarse)
Press the accuracy button (marked with two horizontal lines and arrows) to switch between fine and coarse detection modes. The fine mode provides higher precision for critical alignment tasks, while the coarse mode allows for quicker detection over larger tolerances.

Figure 5: Front view of the LR 6 receiver, illustrating the display and control buttons for power, audio, and accuracy settings.
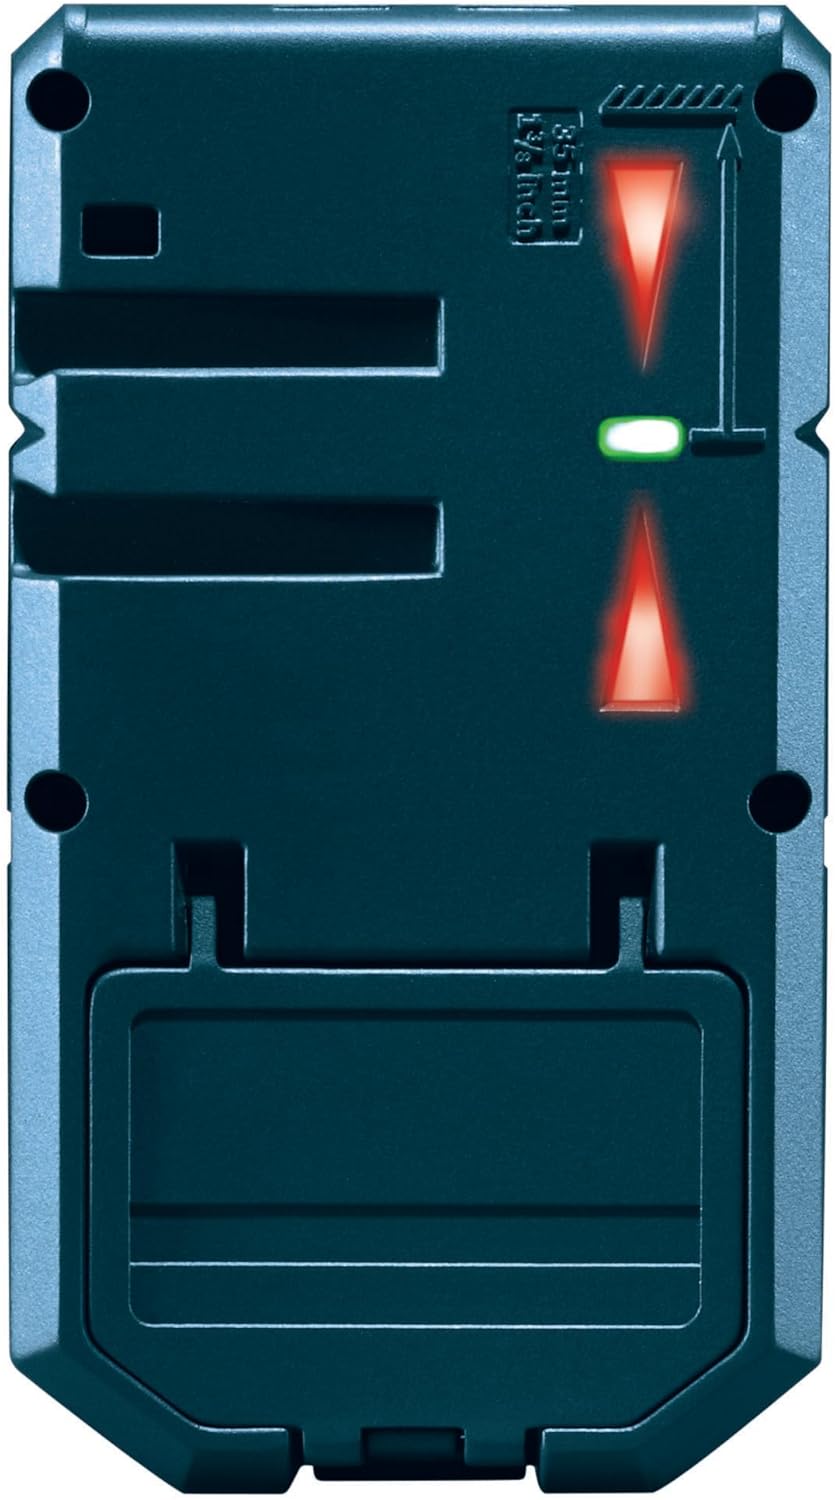
Figure 6: Rear view of the LR 6 receiver, showing the battery compartment and the magnetic attachment points.

Figure 7: The LR 6 receiver actively detecting a laser line on a vertical wall, demonstrating its practical application in construction and leveling tasks.

Figure 8: The LR 6 receiver magnetically attached to a ceiling grid, illustrating its utility for overhead leveling and alignment.
Maintenance
Proper maintenance ensures the longevity and accuracy of your BOSCH LR 6 Laser Receiver.
- Cleaning: Regularly wipe the receiver with a soft, damp cloth. Do not use harsh chemicals, abrasive cleaners, or solvents, as these can damage the plastic housing and display.
- Storage: When not in use, store the receiver in its original packaging or a protective case in a dry, dust-free environment. Remove batteries if the device will not be used for an extended period to prevent leakage.
- Avoid Extreme Conditions: While the LR 6 is IP54 rated for splash water and dust protection, avoid prolonged exposure to extreme temperatures, direct sunlight, or excessive moisture.
- Handle with Care: Despite its robust construction, avoid dropping the receiver or subjecting it to strong impacts, which could affect its internal components and calibration.
Troubleshooting
This section addresses common issues you might encounter with your BOSCH LR 6 Laser Receiver.
| Problem | Possible Cause | Solution |
|---|---|---|
| Receiver does not power on. |
|
|
| No laser line detection or inconsistent detection. |
|
|
| Audio signal is too quiet or too loud. | Audio volume setting is not optimal for the environment. | Press the audio button to cycle through volume levels or mute the sound as needed. |
Specifications
| Feature | Detail |
|---|---|
| Brand | BOSCH |
| Model Number | LR 6 |
| Part Number | LR 6 |
| Style | 165 ft. Receiver - RED |
| Material | Plastic |
| Color | Clear |
| Product Dimensions (L x W) | 4.8" x 2.7" |
| Item Weight | 4.2 ounces (0.26 Pounds) |
| Operation Mode | Automatic |
| Power Source | Battery Powered |
| Batteries Required | 2 AAA batteries (included) |
| Battery Cell Type | Alkaline |
| Measurement System | Metric |
| Included Components | (1) LR 6 165 Ft. Red-Beam Line Laser Receiver, (1) Quick-Release Mounting Bracket, (2) AAA Batteries |
| UPC | 000346476224 |
Warranty and Support
Warranty Information
Bosch measuring and layout tools, including the LR 6 receiver, are covered by a one-year limited warranty. An additional year of coverage can be obtained by registering your tool within eight (8) weeks of purchase, extending the total warranty period to two (2) years.
For detailed terms and conditions, please visit the official Bosch Power Tool Warranty website or contact Bosch customer support.

Figure 9: Bosch Limited Warranty details, indicating extended coverage upon product registration.
Customer Support
For further assistance, technical support, or to inquire about service, please contact Bosch customer service at 1-877-BOSCH99 (1-877-267-2499).
You can also visit the official Bosch store for more product information and resources:


