
CCH YPL3-10C-CCH
CCH YPL3-10C-CCH Portable Air Conditioner User Manual
Model: YPL3-10C-CCH
1. Introduction
This user manual provides detailed instructions for the safe operation and maintenance of your CCH YPL3-10C-CCH 10,000 BTU Portable Air Conditioner. This unit offers portable cooling and features a dehumidifier function capable of removing 62.4 pints of moisture per day. Please read this manual thoroughly before use and retain it for future reference.
2. Safety Information
To prevent injury to the user or other people and property damage, the following instructions must be followed. Incorrect operation due to ignoring instructions may cause harm or damage.
- Always use the unit on a flat, stable surface.
- Ensure the power supply matches the voltage specified on the rating label.
- Do not operate the unit with a damaged cord or plug.
- Keep the air intake and exhaust vents clear of obstructions.
- Do not insert fingers or foreign objects into the air inlets/outlets.
- Unplug the unit before cleaning or servicing.
- Do not use chemical solvents to clean the unit.
- This appliance is not intended for use by persons (including children) with reduced physical, sensory or mental capabilities, or lack of experience and knowledge, unless they have been given supervision or instruction concerning use of the appliance by a person responsible for their safety.
3. Product Overview
Familiarize yourself with the components of your portable air conditioner.

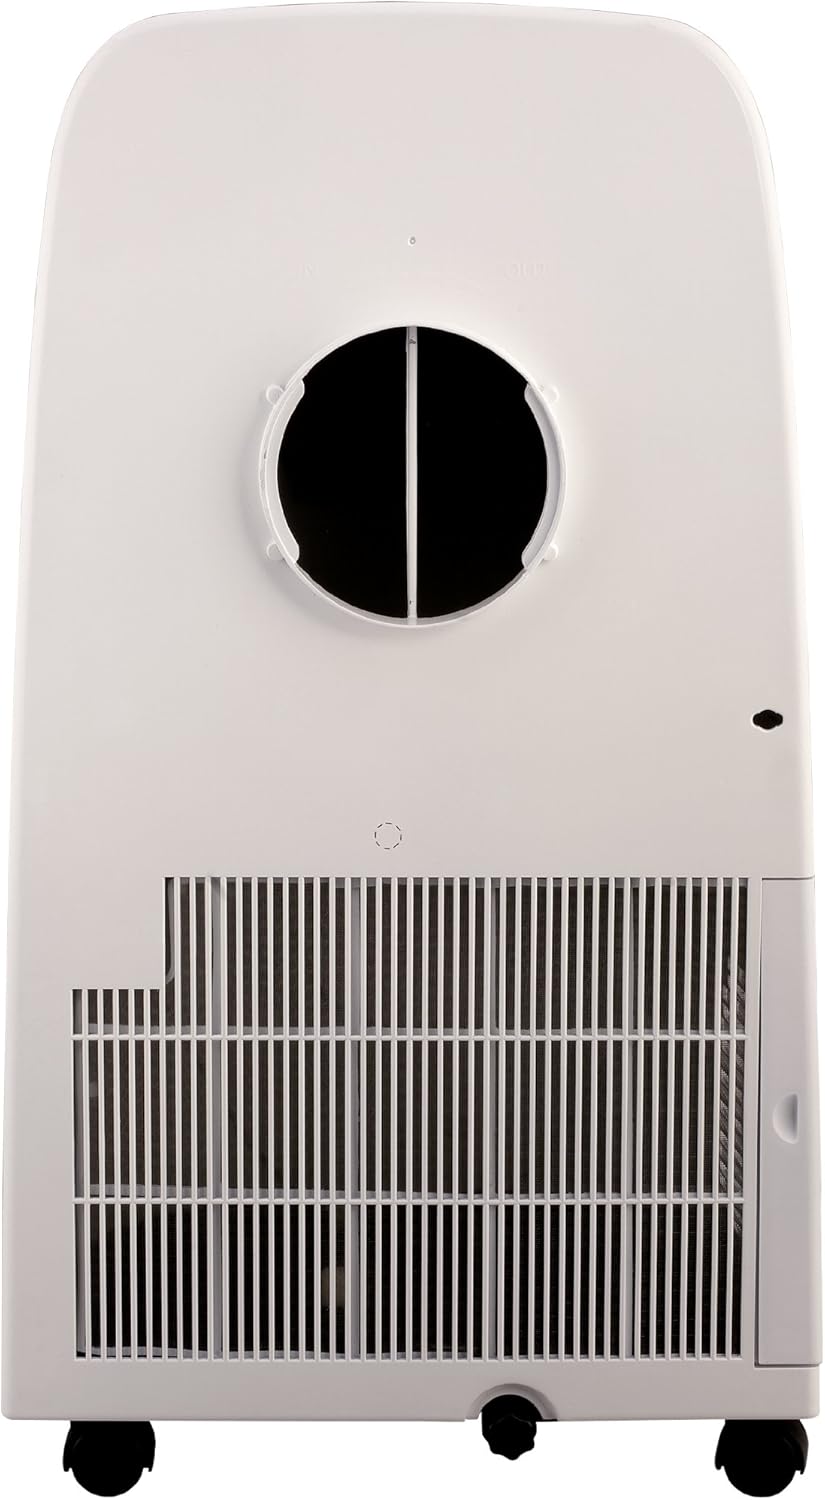

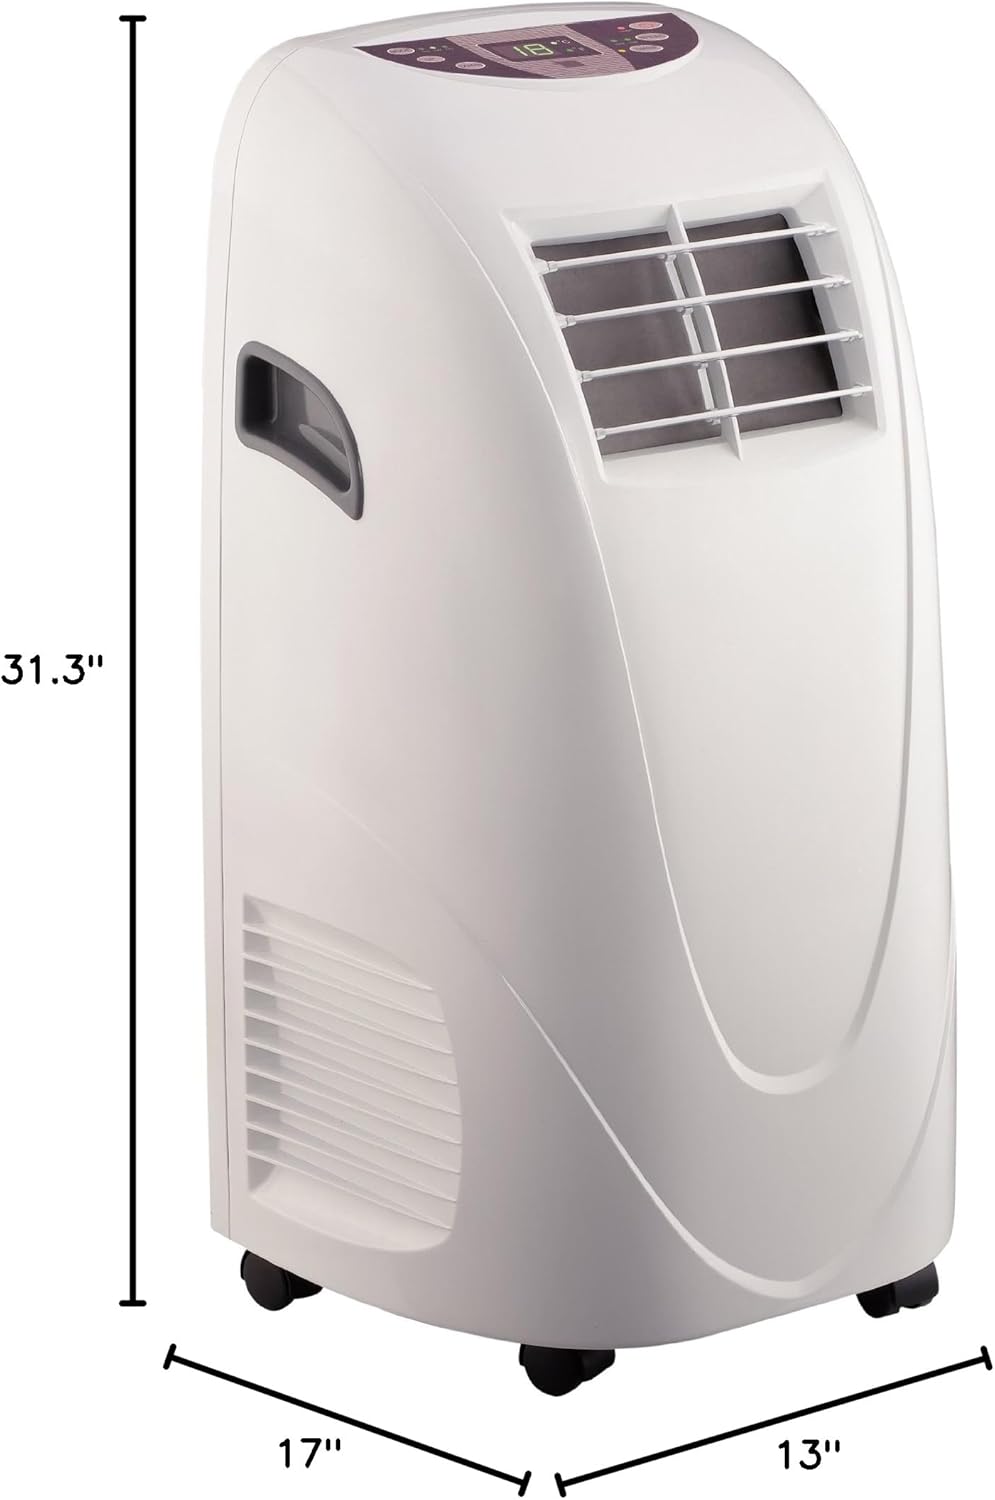
3.1. Components
- Main Unit with Casters
- Exhaust Hose
- Window Sealing Plate Kit
- Remote Control
- Drain Hose (for continuous drainage)
3.2. Control Panel and Remote Control
The unit can be operated via the control panel on top of the unit or the included remote control. Both offer similar functionalities.
- MODE Button: Cycles through Cool, Dry (Dehumidify), and Fan modes.
- UP/DOWN Buttons: Adjusts temperature settings or timer duration.
- SPEED Button: Selects fan speed (High/Low).
- TIMER Button: Sets the auto-on or auto-off timer.
- Power Button: Turns the unit on or off.
4. Setup and Installation
4.1. Placement
Place the air conditioner on a firm, level surface in a location that allows for proper ventilation. Ensure there is at least 20 inches (50 cm) of space from walls or other objects to allow for adequate airflow.
4.2. Exhaust Hose Installation
- Screw the exhaust hose connector onto one end of the exhaust hose.
- Attach the other end of the exhaust hose to the exhaust outlet on the back of the unit by twisting it clockwise until secure.
- Insert the window sealing plate kit into the window opening. Adjust the length of the window kit to fit your window horizontally or vertically.
- Connect the exhaust hose connector to the opening in the window sealing plate. Ensure a tight seal to prevent hot air from re-entering the room.
4.3. Drainage Setup
The unit has a self-evaporative system, but in high humidity conditions or when operating in Dehumidify mode, water may accumulate. You have two drainage options:
- Manual Drainage: When the internal water tank is full, the unit will stop operating and display an error code (e.g., "FL"). Place a shallow pan or bucket under the drain port at the bottom rear of the unit and remove the drain plug to empty the water. Replace the plug firmly after draining.
- Continuous Drainage: For continuous operation in high humidity or Dehumidify mode, attach the provided drain hose to the continuous drain port (usually located above the manual drain port) and route it to a floor drain or a larger container. Ensure the hose is sloped downwards to allow gravity drainage.
5. Operating Instructions
5.1. Power On/Off
Press the Power button on the control panel or remote control to turn the unit on or off.
5.2. Mode Selection
Press the MODE button repeatedly to cycle through the available modes:
- Cool Mode: For cooling the room. Use the UP/DOWN buttons to set the desired temperature.
- Dry (Dehumidify) Mode: For removing excess moisture from the air. The fan speed will be fixed to low in this mode.
- Fan Mode: For air circulation without cooling. Use the SPEED button to select fan speed.
5.3. Temperature and Fan Speed Adjustment
- In Cool mode, use the UP or DOWN buttons to adjust the desired room temperature. The temperature range is typically 62°F to 88°F (17°C to 30°C).
- Press the SPEED button to toggle between High and Low fan speeds in Cool and Fan modes.
5.4. Timer Function
The timer function allows you to set the unit to automatically turn on or off after a set period.
- Auto-Off Timer: While the unit is operating, press the TIMER button. Use the UP/DOWN buttons to set the desired hours (1-24) after which the unit will turn off.
- Auto-On Timer: While the unit is off, press the TIMER button. Use the UP/DOWN buttons to set the desired hours (1-24) after which the unit will turn on.
- To cancel the timer, press the TIMER button again before the set time expires.
6. Maintenance
Regular maintenance ensures optimal performance and extends the lifespan of your air conditioner.
6.1. Air Filter Cleaning
The air filter should be cleaned every two weeks or more frequently depending on usage and air quality.
- Turn off and unplug the unit.
- Locate the air filter panel (usually on the back or side of the unit).
- Remove the filter.
- Clean the filter with warm, soapy water. Rinse thoroughly and allow it to air dry completely before reinserting. Do not expose to direct sunlight.
6.2. Water Drainage
As mentioned in Setup, regularly check and drain accumulated water, especially if not using continuous drainage. Failure to drain can lead to unit shutdown or potential leaks.
6.3. Storage
If storing the unit for an extended period:
- Drain all accumulated water completely.
- Clean the air filter.
- Run the unit in Fan mode for a few hours to dry the internal components.
- Unplug the power cord and coil it neatly.
- Store the unit in a cool, dry place, away from direct sunlight and extreme temperatures.
7. Troubleshooting
| Problem | Possible Cause | Solution |
|---|---|---|
| Unit does not turn on. | No power supply; Power cord damaged; Circuit breaker tripped. | Check power plug and outlet; Inspect power cord; Reset circuit breaker. |
| Unit does not cool effectively. | Air filter clogged; Room too large; Exhaust hose not properly installed or blocked; Doors/windows open. | Clean air filter; Ensure room size is within specifications (up to 300 sq. ft.); Check exhaust hose connection and ensure it's not kinked; Close all doors and windows. |
| Unit is noisy. | Unit not on a level surface; Fan motor noise (normal operation). | Place unit on a flat, stable surface; Some operational noise is normal for portable ACs. |
| Water leaking from unit. | Drain plug loose or missing; Internal water tank full (if not using continuous drain); Continuous drain hose kinked or blocked. | Ensure drain plug is secure; Manually drain the unit; Check continuous drain hose for kinks or blockages. |
| "FL" or "P1" error code displayed. | Internal water tank is full. | Drain the water from the unit. |
8. Specifications
| Feature | Detail |
|---|---|
| Model Number | YPL3-10C-CCH |
| Cooling Capacity | 10,000 BTU |
| Coverage Area | Up to 300 sq. ft. |
| Dehumidifier Capacity | 62.4 Pints/day |
| Product Dimensions (D x W x H) | 17" x 31.3" x 13" |
| Item Weight | 55 pounds |
| Voltage | 115 Volts |
| Noise Level | 56 dB |
| Refrigerant | R 410A |
| Form Factor | Portable |
9. Warranty and Support
For warranty information or technical support, please refer to the warranty card included with your product or contact CCH customer service. Keep your purchase receipt as proof of purchase for any warranty claims.
Customer Support: Refer to the contact information provided in your product packaging or visit the official CCH website for assistance.
Related documentsYPL3-10C-CCH

Ask a question about this manual
Ask about setup, troubleshooting, compatibility, parts, safety, or missing instructions. Manuals+ will review the question and use this page’s manual context to help answer it.