
Introduction
Thank you for choosing TEAMWORK SALES Aluminum Bobbins. This manual provides essential instructions for the proper use and maintenance of your new bobbins. These bobbins are designed for compatibility with various sewing machine models, including Necchi 543 Mirella, Singer 206K, 20U, 20U33, and 20U73. Please read this manual thoroughly before use to ensure optimal performance and longevity of your bobbins.
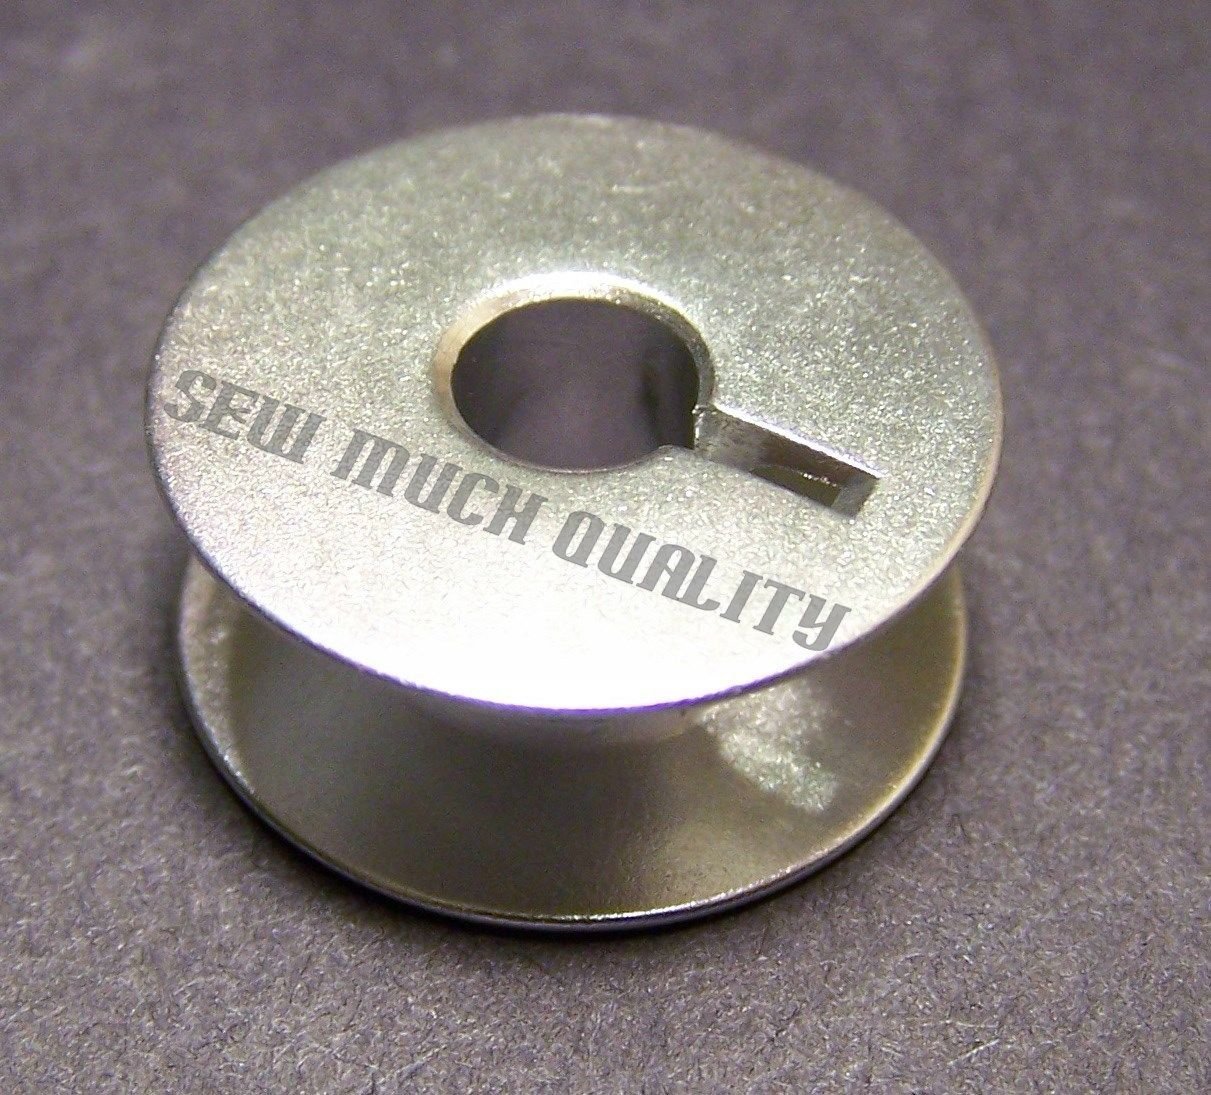
Image 1: A pack of ten TEAMWORK SALES aluminum bobbins. These bobbins are essential for holding the lower thread in compatible sewing machines.
Setup and Winding
Before you begin sewing, the bobbin must be properly wound with thread and inserted into your sewing machine. Refer to your sewing machine's specific manual for detailed instructions on bobbin winding and insertion, as procedures can vary slightly between models.
- Prepare the Machine: Place a spool of thread on the spool pin of your sewing machine.
- Thread the Bobbin Winder: Follow the threading path for bobbin winding as indicated in your sewing machine manual. This typically involves guiding the thread through a tension disc and then to the bobbin winder spindle.
- Attach the Bobbin: Place an empty TEAMWORK SALES aluminum bobbin onto the bobbin winder spindle. Ensure it is seated correctly.
- Start Winding: Secure the end of the thread to the bobbin (often by wrapping it a few times or through a small hole). Engage the bobbin winder and gently press the foot pedal or start button. The bobbin will begin to fill with thread.
- Monitor Winding: Allow the bobbin to wind evenly until it is full, but not overfilled. Most machines have an automatic stop mechanism when the bobbin is full.
- Remove Bobbin: Once winding is complete, cut the thread and remove the full bobbin from the spindle.
Operating (Inserting the Bobbin)
After winding, the bobbin needs to be correctly inserted into the bobbin case or directly into the bobbin compartment of your sewing machine. Incorrect insertion can lead to skipped stitches, thread tangles, or machine damage.
- Identify Bobbin Type: Determine if your machine uses a removable bobbin case (front-loading) or a drop-in bobbin (top-loading).
- Front-Loading Bobbin Case:
- Place the wound bobbin into the bobbin case, ensuring the thread unwinds in the correct direction (usually clockwise or counter-clockwise, as specified by your machine).
- Guide the thread through the tension spring slot on the bobbin case.
- Insert the bobbin case into the shuttle hook assembly of your machine. Listen for a click to confirm it is securely in place.
- Top-Loading Drop-In Bobbin:
- Open the bobbin cover plate on the needle plate.
- Drop the wound bobbin into the bobbin compartment, ensuring the thread unwinds in the correct direction (usually counter-clockwise).
- Guide the thread through the designated thread path and tension spring.
- Replace the bobbin cover plate.
- Bring Up Bobbin Thread: Lower the needle into the needle plate, turn the handwheel one full rotation towards you, and the bobbin thread should be brought up through the needle plate. Pull both threads (top and bobbin) under the presser foot and towards the back of the machine before starting to sew.
Maintenance
Proper maintenance of your bobbins ensures smooth operation and extends their lifespan.
- Cleaning: Periodically inspect bobbins for lint, dust, or thread fragments. Clean them with a soft brush or lint-free cloth. Avoid using harsh chemicals.
- Storage: Store bobbins in a clean, dry bobbin box or organizer to prevent them from unraveling, getting tangled, or accumulating dust.
- Inspection: Before each use, quickly inspect bobbins for any deformities, burrs, or damage that could snag thread or affect machine performance. Replace any damaged bobbins.
Troubleshooting
If you encounter issues related to bobbin performance, consider the following common solutions:
- Thread Tangling/Nesting:
- Ensure the bobbin is inserted correctly and the thread is unwinding in the proper direction.
- Check that the bobbin thread is correctly seated in the bobbin case tension spring.
- Verify that the top thread is correctly threaded through all guides and tension discs.
- Uneven Stitches:
- Adjust the bobbin tension (if your machine allows) or the top thread tension.
- Ensure the bobbin is wound evenly and not too tightly or loosely.
- Bobbin Not Winding Properly:
- Check the threading path for bobbin winding.
- Ensure the bobbin winder spindle is fully engaged.
- Clean any lint or debris from the bobbin winder mechanism.
If problems persist, consult your sewing machine's instruction manual or contact a qualified sewing machine technician.
Specifications
| Product Name | TEAMWORK SALES Aluminum Bobbins |
| Material | Aluminum |
| Quantity | 10 Pack |
| Compatibility | Necchi 543 Mirella, Singer 206K, Singer 20U, Singer 20U33, Singer 20U73 |
Warranty and Support
Specific warranty information for TEAMWORK SALES Aluminum Bobbins is not provided in this manual. For any product-related inquiries, support, or warranty claims, please refer to the seller's information on the original purchase platform or contact TEAMWORK SALES directly through their official channels.