1. Introduction
This manual provides essential instructions for the safe operation, maintenance, and troubleshooting of your Rollibot BL100 Robot Vacuum. Please read this manual thoroughly before using the device to ensure optimal performance and longevity.
The Rollibot BL100 is designed to automate floor cleaning, featuring double-sided brushes and high suction power. It is equipped with a dual-filter dust bin, including a HEPA filter, to capture dust and allergens effectively. The device is suitable for various hard floor types and low-pile carpets.
2. What's in the Box
Verify that all components are present upon unpacking:
- Rollibot BL100 Robot Vacuum
- Charging Base
- Power Cord
- Remote Control
- HEPA Filter (pre-installed or spare)
- Cleaning Brush
- Side Brushes (set)
- User Manual (this document)
- Quick Start Guide

Image: The Rollibot BL100 Robot Vacuum, a circular black device with the 'RolliMini' logo on top.
3. Product Overview
3.1 Key Features
- Automatic Cleaning: The BL100 operates autonomously, adjusting its cleaning mode based on the environment.
- Dual-Sided Brushes: Equipped with two rotating side brushes to effectively gather debris from edges and corners.
- High Suction Power: Designed to remove dirt, dust, and pet hair from various floor surfaces.
- Dual Filter System: Features a primary filter and a HEPA air filter to capture both large particles and fine allergens.
- Automatic Recharging: The robot returns to its charging base when the battery is low.
- Remote Control Operation: Allows for manual control, scheduling, and mode selection.
- Floor Protection: Rubberized covers on the bottom protect hardwood, marble, and tile flooring.
3.2 Components and Controls
Familiarize yourself with the main components of your Rollibot BL100.

Image: The underside of the Rollibot BL100, highlighting the dual rotating brushes and wheels.
- Top Panel: Features the 'PUSH' button to open the dustbin compartment and the 'CLEAN' button for manual start/stop.
- Side Brushes: Two rotating brushes located on the front underside, designed to sweep debris into the vacuum's path.
- Driving Wheels: Two large wheels for movement across various surfaces.
- Dust Bin: Located under the top panel, houses the filter system and collects debris.
- Charging Contacts: Metal contacts on the underside for connecting to the charging base.
- Power Switch: Main power switch located on the side or underside of the unit.
4. Setup
4.1 Charging Base Placement
Place the charging base against a wall in an open, uncluttered area. Ensure there is at least 1 meter (3 feet) of clear space in front of the base and 0.5 meters (1.5 feet) on either side. Plug the power cord into the charging base and then into a wall outlet.
4.2 Initial Charge
- Turn on the main power switch on the robot vacuum (usually located on the side or underside).
- Place the robot vacuum onto the charging base, ensuring the charging contacts align.
- Allow the robot to charge completely before its first use. The charging indicator light will change (refer to your Quick Start Guide for specific light patterns). A full charge typically takes several hours.
4.3 Installing Side Brushes
If not pre-installed, gently push the side brushes onto their respective posts on the underside of the robot until they click into place.
5. Operating Instructions
5.1 Starting and Stopping Cleaning
- Manual Start: Press the 'CLEAN' button on the robot's top panel or the 'CLEAN' button on the remote control.
- Pause/Stop: Press the 'CLEAN' button again to pause cleaning. Press it a third time to resume, or press the power button on the remote to send it back to the charging base.
5.2 Cleaning Modes
The Rollibot BL100 offers multiple cleaning modes, selectable via the remote control:
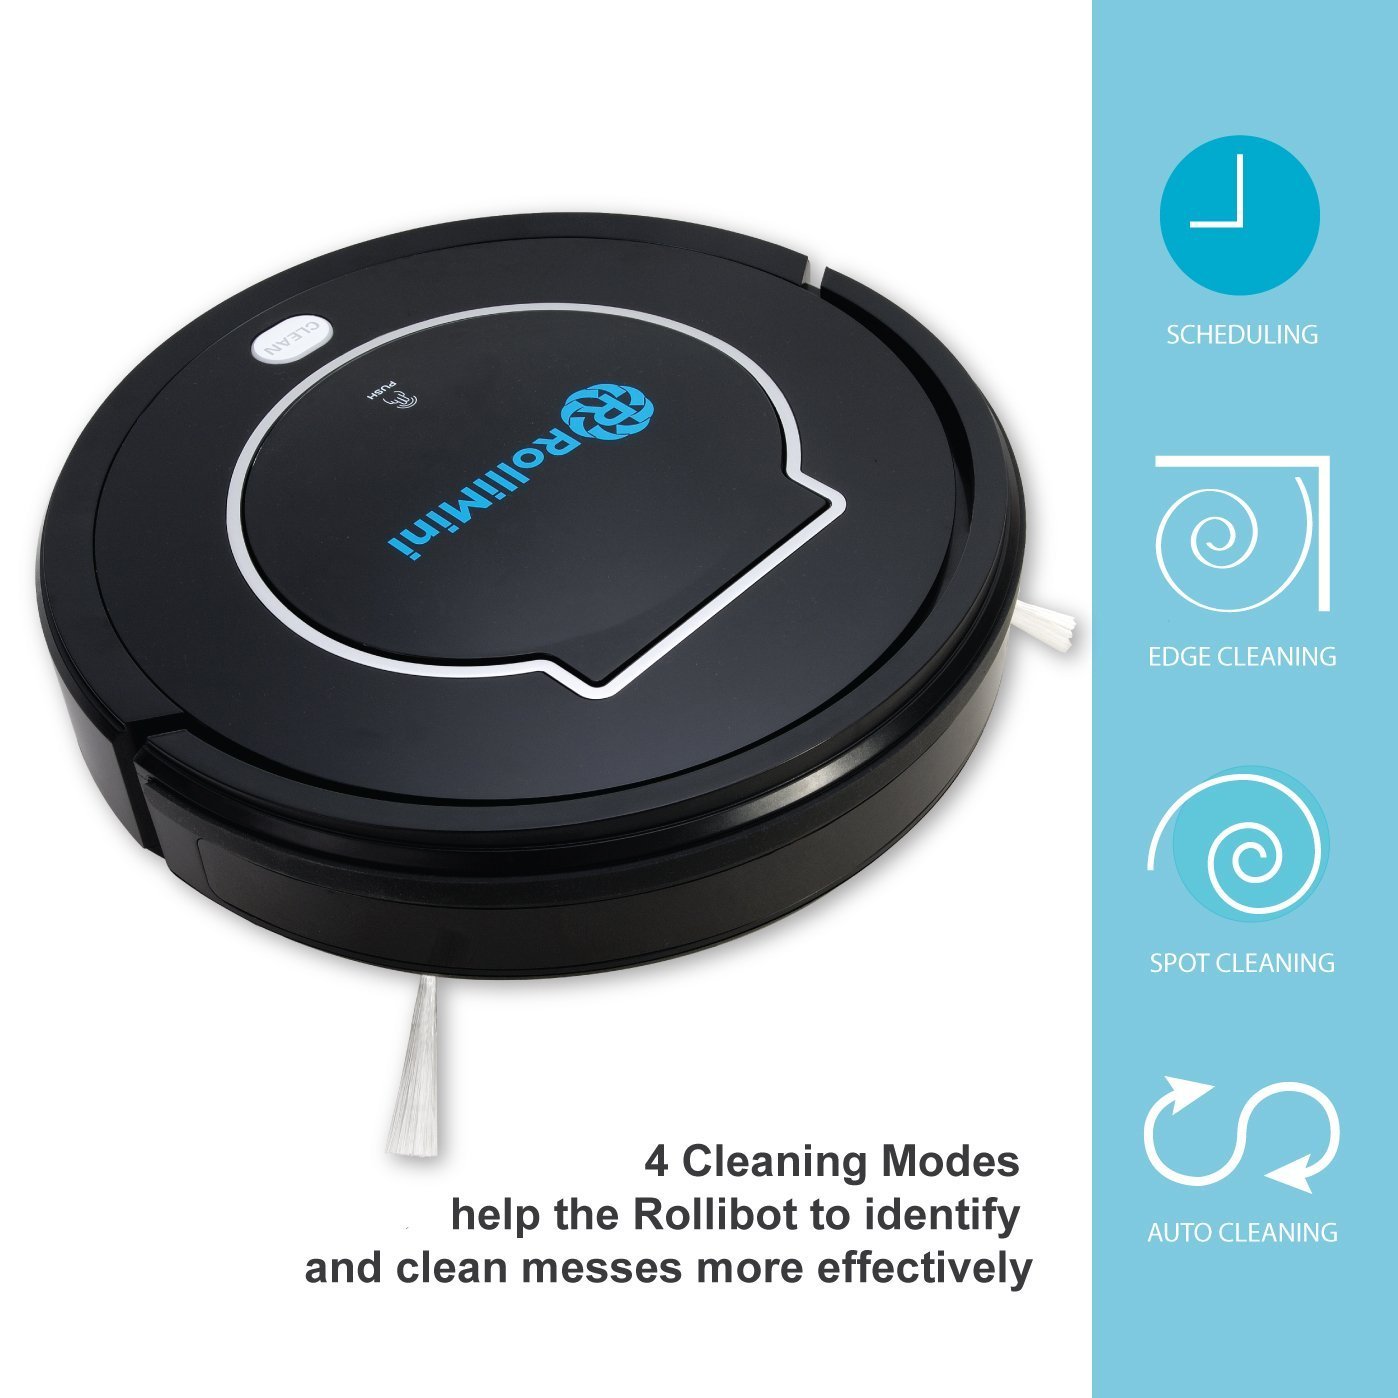
Image: The Rollibot BL100 displaying icons representing its four cleaning modes: Scheduling, Edge Cleaning, Spot Cleaning, and Auto Cleaning.
- Auto Cleaning: The robot automatically cleans a room and adjusts its cleaning pattern based on the environment. This is the default mode.
- Spot Cleaning: The robot cleans intensively in a spiral pattern when it detects a concentrated dirty area.
- Edge Cleaning: The robot detects and cleans along walls and obstacles.
- Scheduled Cleaning: Allows you to program the robot to start cleaning at a specific time each day. Refer to the remote control section of the Quick Start Guide for detailed scheduling instructions.
5.3 Returning to Charging Base
Press the "Home" button on the remote control to send the robot back to its charging base. The robot will automatically return to the base when its battery is low.
6. Maintenance
Regular maintenance ensures optimal performance and extends the lifespan of your Rollibot BL100.
6.1 Cleaning the Dust Bin and Filters
- Press the 'PUSH' button on the top cover to open the dust bin compartment.
- Remove the dust bin.
- Empty the dust bin contents into a trash receptacle.
- Remove the primary filter and HEPA filter. Tap them gently to remove dust. The dust bin and primary filter can be rinsed with water; ensure they are completely dry before reinstallation. The HEPA filter should not be washed with water.
- Reinstall the filters and dust bin.
Recommendation: Clean the dust bin after each use. Replace the HEPA filter every 1-3 months, depending on usage.
6.2 Cleaning Side Brushes
Periodically check the side brushes for tangled hair or debris. Gently pull them off their posts, remove any obstructions, and reinstall them.
6.3 Cleaning Wheels and Charging Contacts
Wipe the driving wheels and charging contacts on both the robot and the charging base with a clean, dry cloth to remove any dust or debris that might interfere with charging or movement.
7. Troubleshooting
If your Rollibot BL100 encounters issues, refer to the following common problems and solutions:
| Problem | Possible Cause | Solution |
|---|---|---|
| Robot does not start or stops unexpectedly. | Low battery; main power switch off; dust bin full; wheels jammed. | Ensure robot is fully charged. Turn on main power switch. Empty dust bin. Check and clean wheels. |
| Robot does not charge. | Charging contacts dirty; charging base not powered; robot not properly aligned. | Clean charging contacts on both robot and base. Ensure charging base is plugged in. Realign robot on base. |
| Poor cleaning performance. | Dust bin full; filters clogged; side brushes worn or tangled. | Empty dust bin. Clean or replace filters. Clean side brushes; replace if worn. |
| Robot gets stuck frequently. | Obstacles (cables, rugs, furniture); transitions too high. | Clear the cleaning area of obstacles. Ensure transitions are within the robot's capability (typically < 1/2 inch). |
8. Specifications
| Feature | Detail |
|---|---|
| Model | BL100 |
| Brand | Rollibot |
| Dimensions (L x W x H) | 11.9 x 11.9 x 3 inches |
| Weight | 6.6 Pounds |
| Battery Type | Product Specific (included) |
| Run Time | Approximately 90 minutes (based on comparison image) |
| Special Features | Multi-Cleaning Modes, Automatic Self-Charging, Cliff Detection, Collision Detection, Programmable Scheduling, Dual Filter |
| Color | Black |
| Manufacturer | Rollibot |

Image: A comparison table detailing features across Rollibot models BL618, BL800, and BL100, showing run time, cleaning capabilities, and special features for each.
9. Warranty and Support
For warranty information and customer support, please refer to the warranty card included with your product or visit the official Rollibot website. Keep your purchase receipt as proof of purchase for warranty claims.
Manufacturer: Rollibot