1. Introduction
Thank you for choosing the RioRand 2Gen 3-9x40 Reticle Crosshair Scope. This precision optical instrument is designed to enhance your shooting accuracy and experience. This manual provides detailed instructions for the proper setup, operation, and maintenance of your new scope. Please read this manual thoroughly before use to ensure safe and effective operation.

Figure 1.1: RioRand 2Gen 3-9x40 Reticle Crosshair Scope with included dovetail mounting rings.
2. Safety Information
Always prioritize safety when handling firearms and optical equipment. Failure to follow these safety guidelines may result in serious injury or damage to the product.
- Always ensure the firearm is unloaded and pointed in a safe direction before mounting or adjusting the scope.
- Never look directly at the sun or any intense light source through the scope, as this can cause permanent eye damage.
- Keep the scope and its accessories out of reach of children.
- Handle the scope with care to prevent drops or impacts that could damage the optics or internal mechanisms.
- Use appropriate eye protection when shooting.
3. Package Contents
Verify that all items are present in your package:
- RioRand 2Gen 3-9x40 Reticle Crosshair Scope
- 3/4 Dovetail Mount Rings (Free Included)
- Lens Caps
- Cleaning Cloth
- Instruction Manual
4. Product Overview and Features
The RioRand 2Gen 3-9x40 scope is designed for versatility and durability, featuring a robust aluminum construction and multi-coated lenses for clear imaging.
4.1 Key Features
- Magnification: Variable 3x to 9x for adaptable targeting.
- Objective Diameter: 40mm (1.57 inches) for excellent light gathering.
- Reticle: Crosshair reticle, Second Focal Plane (SFP) design.
- Construction: Durable aluminum alloy body.
- Adjustments: Finger-adjustable windage and elevation turrets.
- Lens Coating: Fully multi-layer coated lenses for bright and clear images.
- Compact Design: Length of 12.20 inches (310mm) and weight of approximately 520g (1.14 lbs).
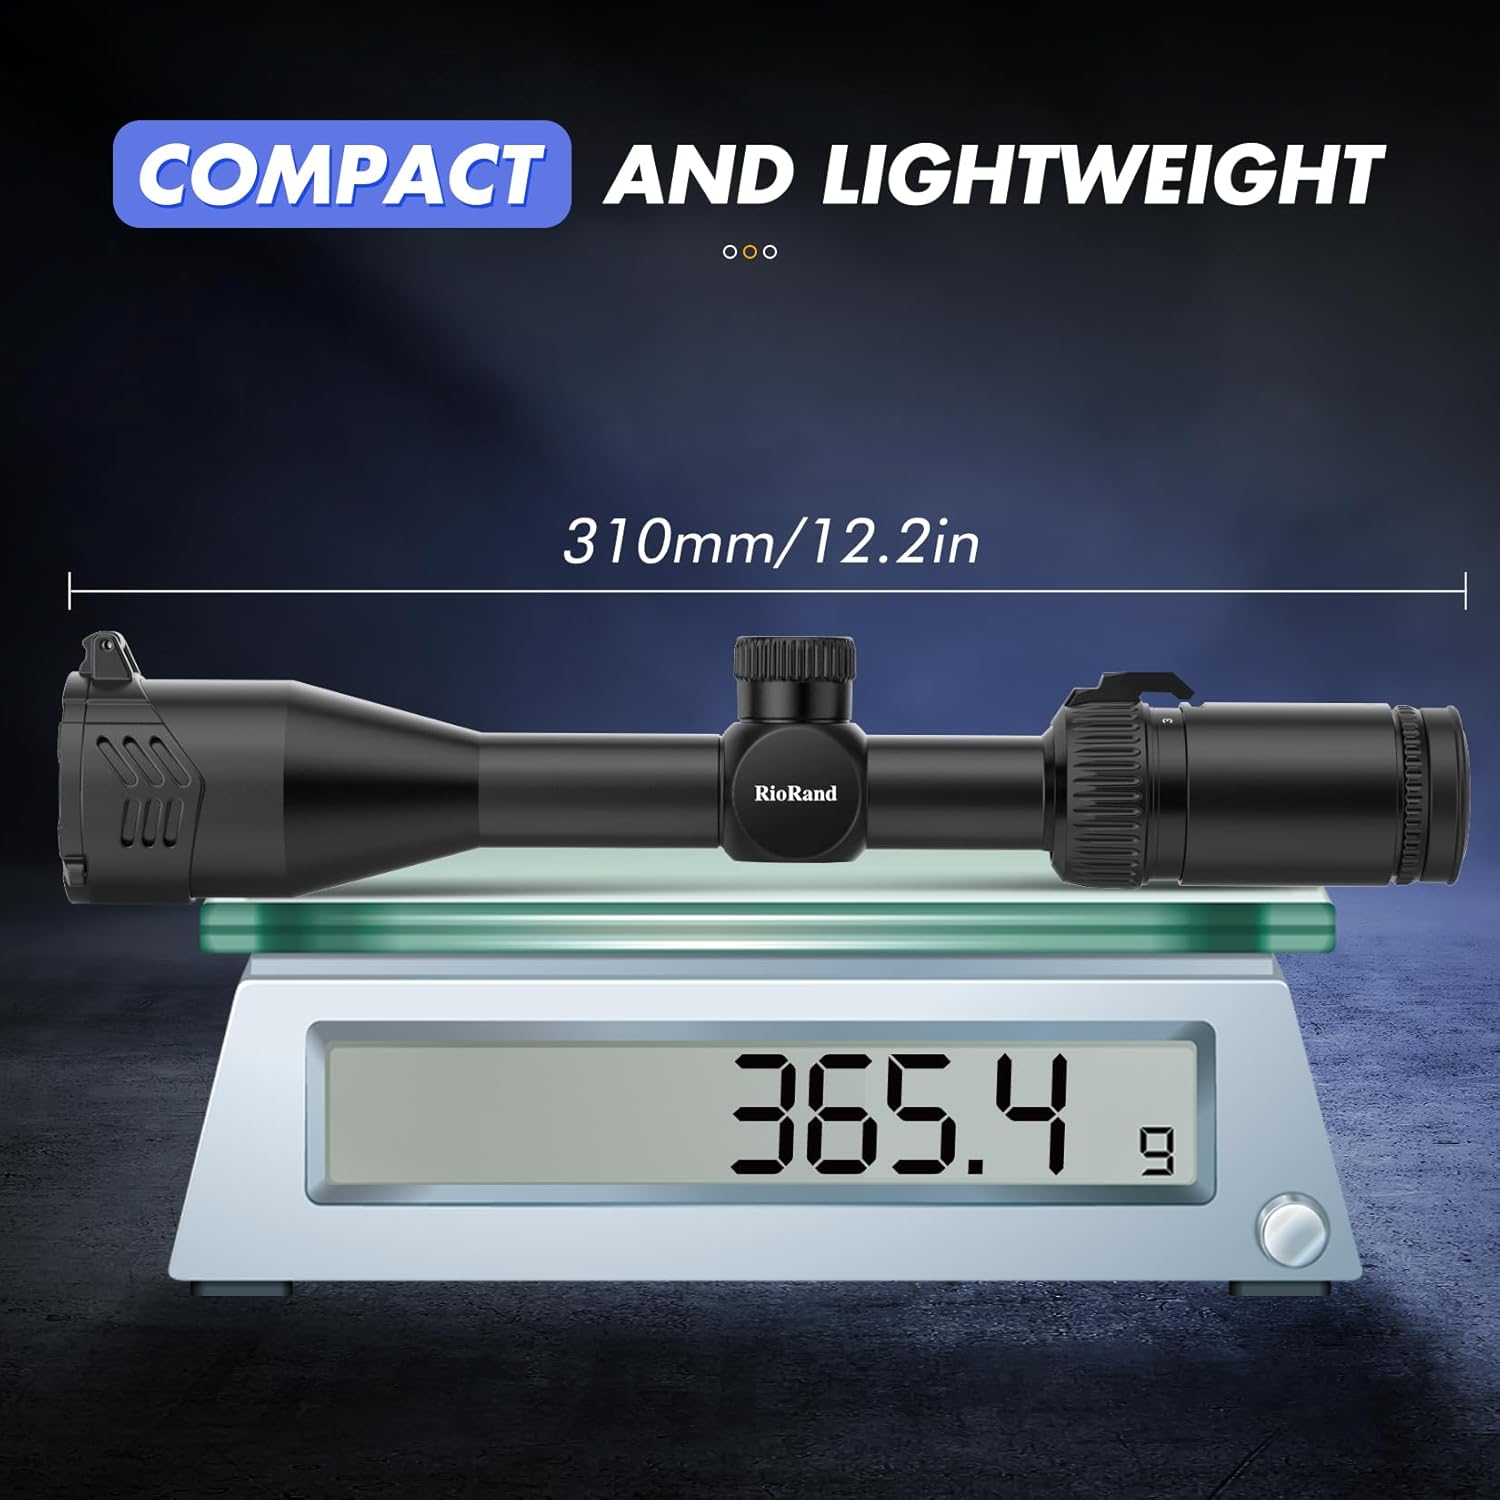
Figure 4.1: Compact and lightweight design of the scope.

Figure 4.2: Elevation and windage adjustment turrets, designed for finger adjustment without tools.

Figure 4.3: The scope features an 11-piece lens group and fully multi-layer coated lenses for bright, clear images.

Figure 4.4: Accurate crosshair reticle with Second Focal Plane (SFP) design.
5. Setup
5.1 Mounting the Scope
The RioRand 2Gen 3-9x40 scope comes with 3/4 dovetail mount rings. Ensure your rifle has a compatible dovetail rail.
- Loosen the screws on the dovetail mount rings.
- Place the bottom half of the rings onto the dovetail rail of your rifle, ensuring they are spaced appropriately for the scope's length.
- Carefully place the scope into the bottom halves of the rings.
- Place the top halves of the rings over the scope.
- Hand-tighten the screws on the rings, ensuring the scope is level and the reticle is plumb (vertical and horizontal). Do not overtighten at this stage.
- Adjust the eye relief by sliding the scope forward or backward until you achieve a full, clear field of view when shouldering the rifle.
- Once eye relief is set, tighten the ring screws evenly and securely. Do not overtighten, as this can damage the scope tube.
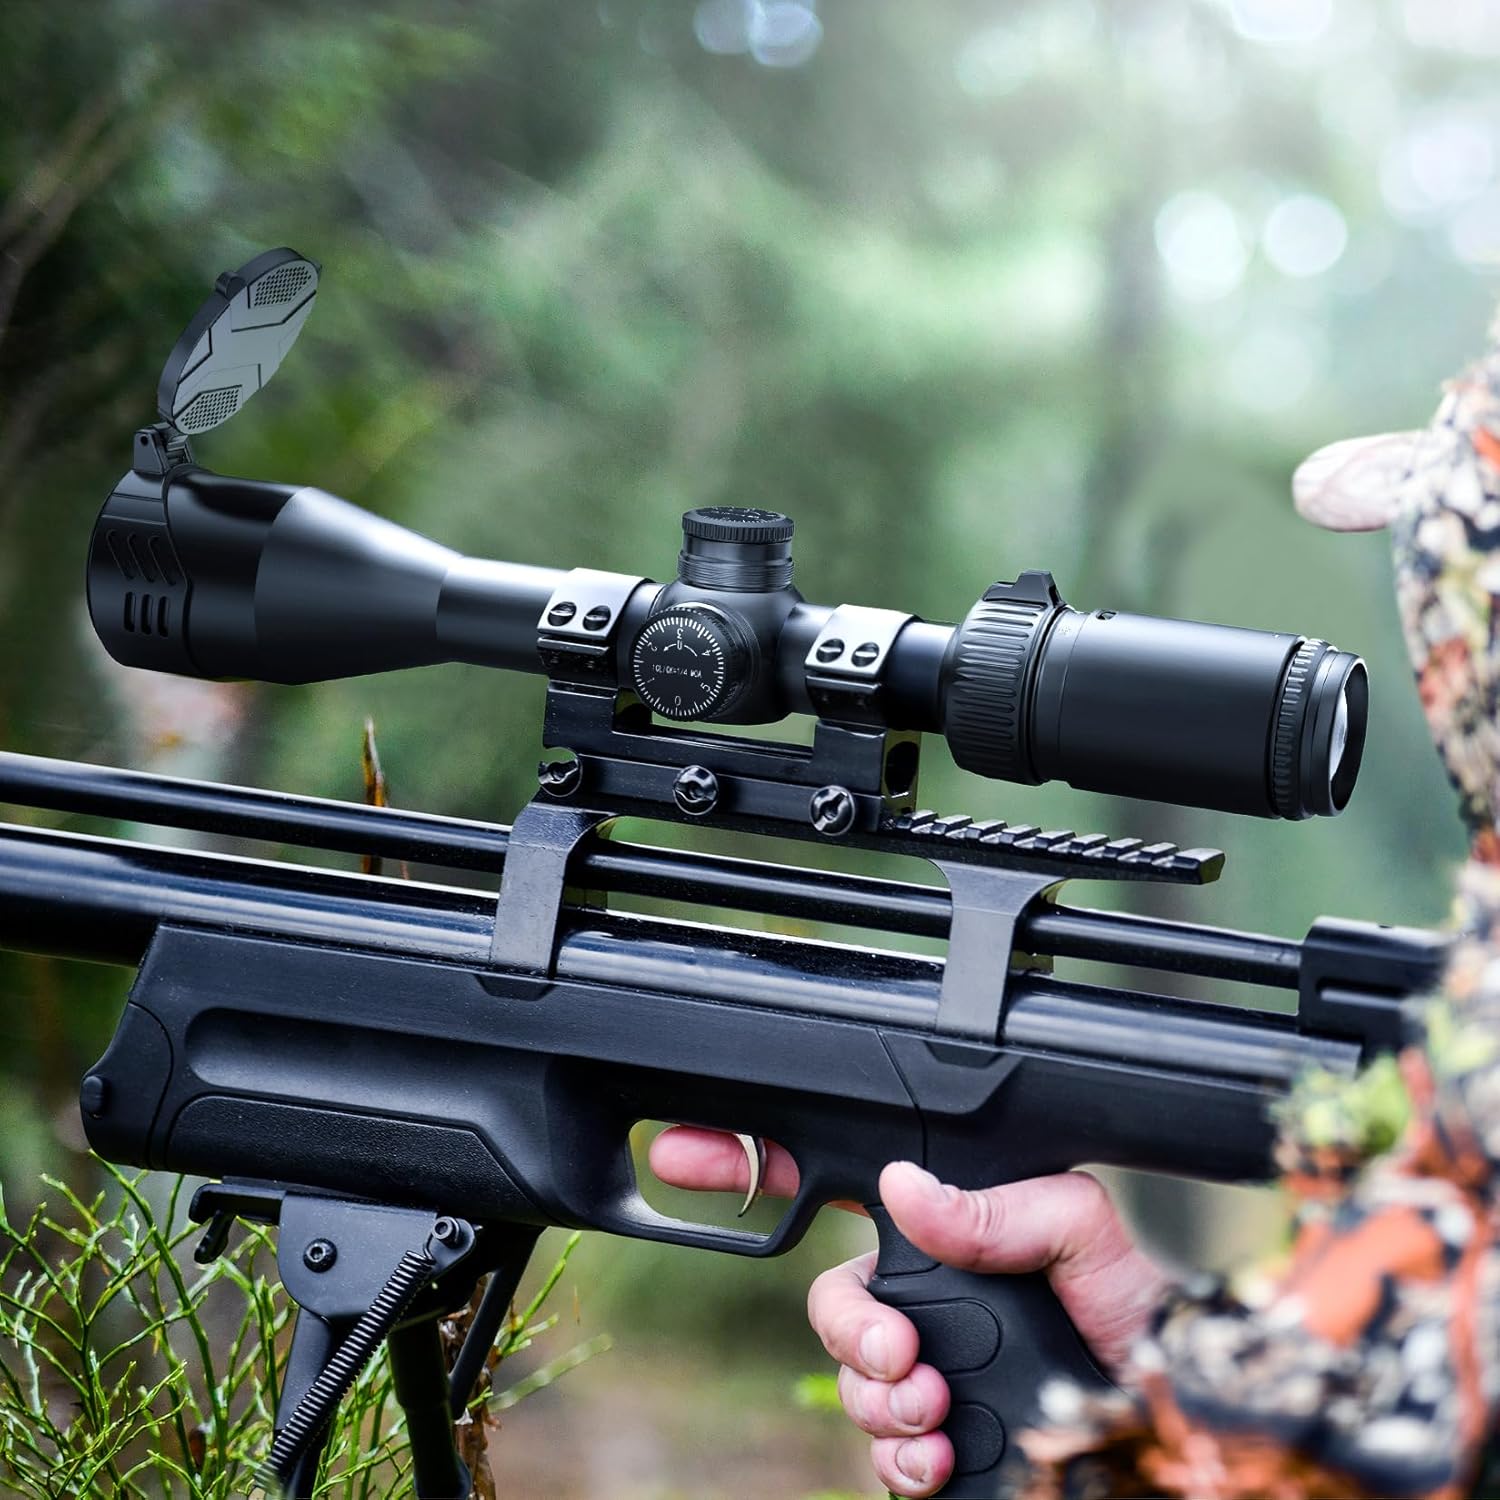
Figure 5.1: Scope mounted on a rifle, ready for use.

Figure 5.2: The scope securely mounted on a rifle.
5.2 Focusing the Eyepiece (Diopter Adjustment)
This adjustment compensates for individual eyesight differences and ensures a sharp reticle.
- Point the scope at a plain, bright background (like a wall or the sky) without looking through the objective lens.
- Look through the eyepiece and quickly glance away.
- While quickly glancing, turn the eyepiece adjustment ring (diopter) until the reticle appears crisp and sharp.
- Repeat this process a few times to ensure the reticle is perfectly focused for your eye.

Figure 5.3: Eyepiece adjustment for diopter correction.
5.3 Sighting-In / Zeroing
Sighting-in is the process of aligning the scope's point of aim with the firearm's point of impact. This typically requires shooting at a target at a known distance.
- Set up a target at a short, consistent distance (e.g., 25 yards/meters).
- Fire a group of shots (e.g., 3 shots) while aiming at the center of the target.
- Observe where the shots impact relative to your aim point.
- Adjust the windage (horizontal) and elevation (vertical) turrets to move the point of impact towards the point of aim. Each click on the turret moves the point of impact by a specific amount at a given distance (e.g., 1/4 MOA per click).
- Repeat firing and adjusting until your shots consistently hit the center of the target.
6. Operating Instructions
6.1 Magnification Adjustment
The RioRand 2Gen 3-9x40 scope features variable magnification. To change the magnification, rotate the power ring located near the eyepiece. Turn it clockwise to increase magnification and counter-clockwise to decrease it.

Figure 6.1: Example of view at 3X magnification.
6.2 Windage and Elevation Adjustments
The scope is equipped with finger-adjustable turrets for windage (horizontal) and elevation (vertical) corrections. Remove the protective caps to access the turrets.
- Elevation Turret: Located on top of the scope. Turning it clockwise typically moves the point of impact down, and counter-clockwise moves it up.
- Windage Turret: Located on the right side of the scope. Turning it clockwise typically moves the point of impact right, and counter-clockwise moves it left.
Each click provides a precise adjustment. Refer to the markings on the turrets for specific click values (e.g., 1/4 MOA per click).

Figure 6.2: Detailed view of the windage and elevation adjustment turrets.
6.3 Second Focal Plane (SFP) Reticle
This scope features a Second Focal Plane (SFP) reticle. This means the reticle's size appears constant regardless of the magnification setting. Any subtensions or ranging features on the reticle are accurate only at a specific magnification (usually the highest magnification, 9x, or as specified by the manufacturer). For this scope, the crosshair remains consistent in size relative to your field of view.
7. Maintenance
Proper care and maintenance will extend the life and performance of your scope.
- Cleaning Lenses: Use the provided cleaning cloth or a soft, lint-free cloth specifically designed for optical lenses. Gently wipe away dust and smudges. For stubborn marks, use a small amount of lens cleaning fluid on the cloth, not directly on the lens. Avoid touching the lens surfaces with your fingers.
- Cleaning Body: Wipe the scope's body with a soft, damp cloth to remove dirt or debris. Avoid harsh chemicals or abrasive materials.
- Storage: Store the scope in a cool, dry place, away from direct sunlight and extreme temperatures. Use the lens caps to protect the objective and eyepiece lenses when not in use.
- Avoid Disassembly: Do not attempt to disassemble the scope. This will void the warranty and can cause irreparable damage to the optical system.

Figure 7.1: Objective lens with protective cap.
8. Troubleshooting
If you encounter issues with your scope, refer to the following common problems and solutions:
| Problem | Possible Cause | Solution |
|---|---|---|
| Image is blurry or out of focus. | Improper eyepiece focus (diopter) or objective focus. | Adjust the eyepiece diopter (Section 5.2). Ensure proper eye relief. |
| Reticle is not sharp. | Eyepiece diopter not correctly set for your eye. | Re-adjust the eyepiece diopter (Section 5.2). |
| Point of impact shifts or cannot be zeroed. | Loose mounting rings, damaged scope, or incorrect zeroing procedure. | Check that mounting rings are securely tightened. Ensure proper zeroing technique (Section 5.3). If problem persists, contact customer support. |
| Limited field of view or black rings around image. | Incorrect eye relief. | Adjust the scope's position in the rings to achieve optimal eye relief (Section 5.1). |
If you experience issues not listed here or if the suggested solutions do not resolve the problem, please contact RioRand customer support for assistance.
9. Specifications
| Feature | Specification |
|---|---|
| Model | 2Gen 3-9x40 |
| Magnification | 3x - 9x |
| Objective Lens Diameter | 40 mm (1.57 inches) |
| Exit Pupil | 0.2 inches (approx. 5.08 mm) |
| Length | 12.20 inches (310 mm) |
| Weight | 520 g (1.14 lbs) |
| Material | Aluminum |
| Reticle Type | Crosshair, Second Focal Plane (SFP) |
| Compatible with | Rifle |
| Mounting Type | Dovetail Mount (3/4 inch) |
10. Warranty and Support
RioRand products are manufactured to high-quality standards. For specific warranty information and terms, please refer to the warranty card included with your product or visit the official RioRand website. If you require technical assistance or have questions regarding your scope, please contact RioRand customer service through their official channels.
For more information, visit the RioRand Store on Amazon.