1. Introduction
Thank you for choosing the Jocca 6579 Window Vacuum Cleaner ABS. This device is designed to simplify the cleaning of windows, mirrors, tiles, and other smooth surfaces, providing a streak-free finish. Its cordless design and rechargeable battery offer convenience and efficiency. Please read this manual carefully before first use to ensure proper operation, maintenance, and safety.
2. Safety Instructions
Always observe the following safety precautions to prevent injury or damage to the device:
- Read all instructions before using the appliance.
- Keep the appliance away from children.
- Do not immerse the appliance in water or other liquids.
- Use only the original charger provided with the device.
- Do not use the appliance on hot surfaces or to vacuum flammable liquids.
- Ensure the water tank is correctly installed before operation.
- Do not operate the appliance if it is damaged. Contact customer support.
- This appliance is for household use only.
3. Package Contents
Verify that all items are present in the package:
- Jocca 6579 Window Vacuum Cleaner ABS unit
- Charging adapter
- Water collection tank
- Instruction Manual
4. Product Overview
Familiarize yourself with the components of your Jocca Window Vacuum Cleaner.
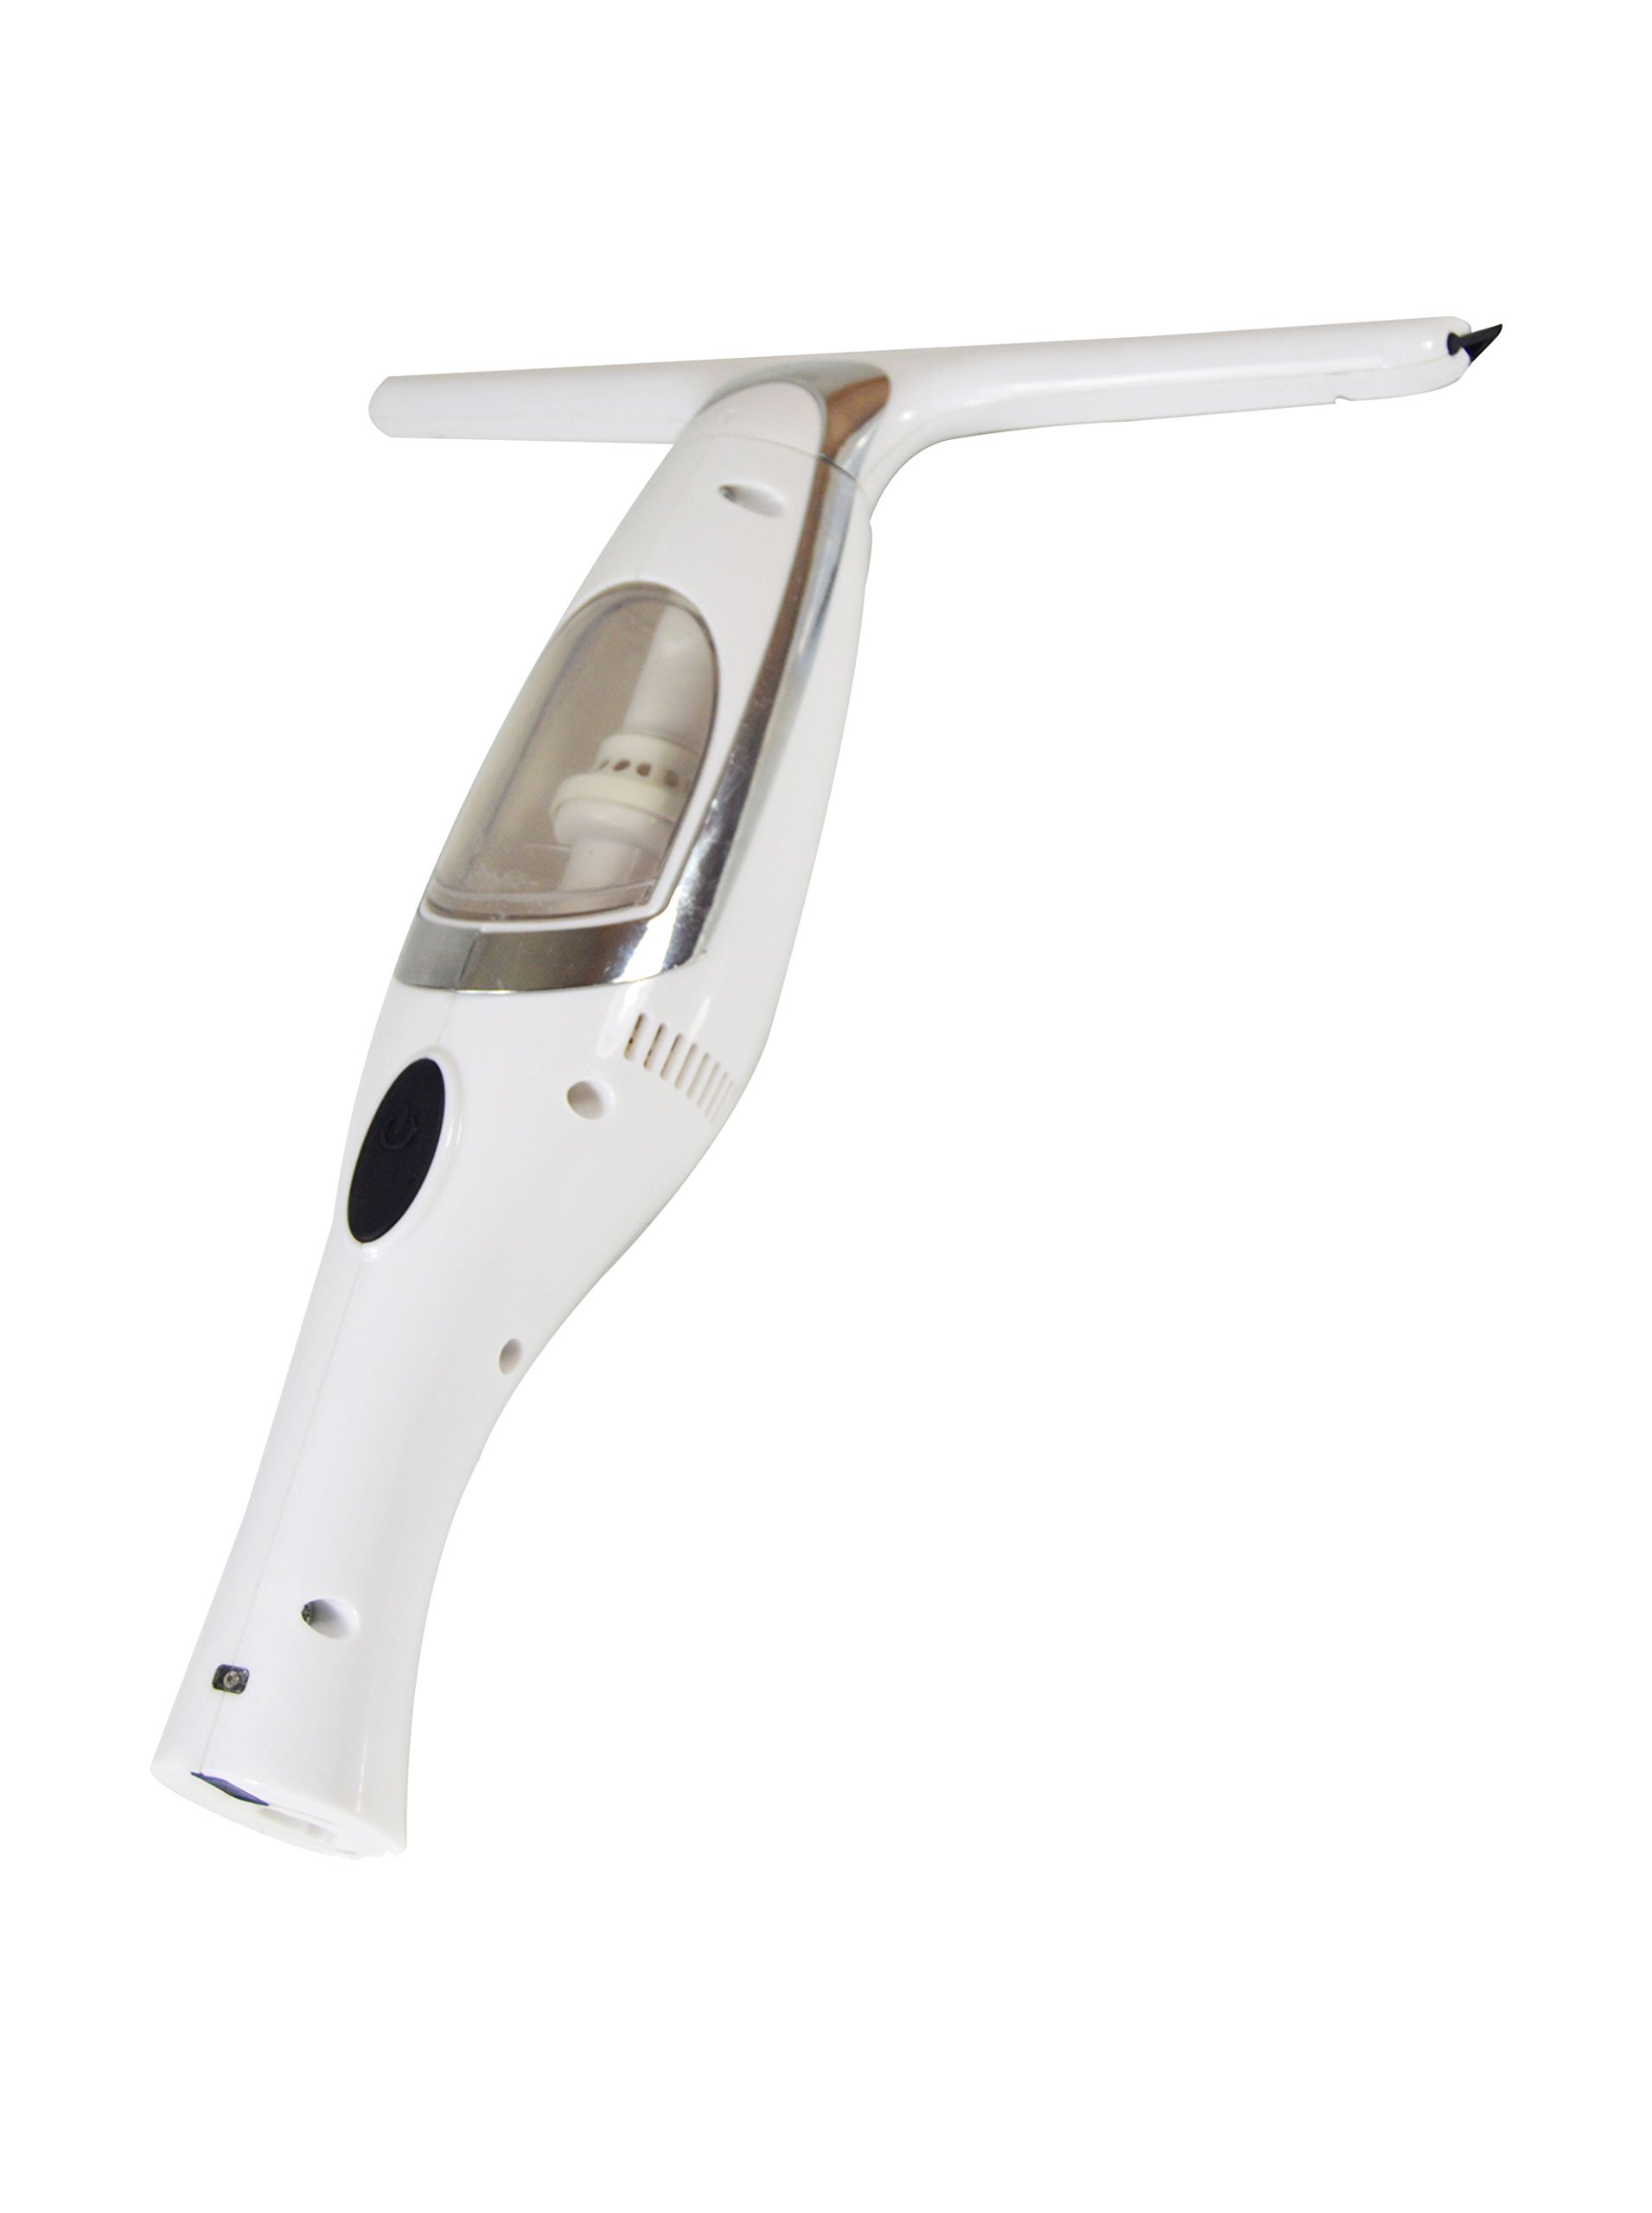
Figure 4.1: Main unit of the Jocca 6579 Window Vacuum Cleaner. This image shows the complete assembled device, highlighting its ergonomic handle and the suction head.
Key components include:
- Suction Nozzle
- Rubber Blade
- Water Collection Tank
- Power Button
- Charging Port
- Handle
5. Setup
5.1. Initial Charging
Before first use, fully charge the device. Connect the charging adapter to the charging port on the unit and plug it into a power outlet (100-240V ~ 50/60Hz). The charging indicator light will illuminate. Charging typically takes approximately 3-4 hours. Disconnect the charger once fully charged.
Note: An image showing the charging process would typically be included here.
5.2. Assembling the Water Tank
Ensure the water collection tank is securely attached to the main unit. Refer to the product overview for the correct placement.
6. Operating Instructions
Follow these steps for effective window cleaning:
- Prepare the Surface: Spray the surface to be cleaned with a suitable window cleaning solution.
- Activate the Device: Press the power button to turn on the window vacuum cleaner.
- Clean the Surface: Place the rubber blade firmly against the top of the wet surface. Glide the device downwards in straight, overlapping strokes. The vacuum will suction the dirty water into the collection tank.
- Overlap Strokes: For best results, overlap each stroke slightly to avoid leaving streaks.
- Turn Off: Once cleaning is complete, press the power button again to turn off the device.
7. Maintenance and Cleaning
Regular maintenance ensures optimal performance and extends the life of your device.
7.1. Emptying the Water Tank
After each use, or when the tank is full, empty the dirty water. The water tank is designed for easy removal and cleaning.
- Turn off the device.
- Detach the water collection tank from the main unit.
- Pour out the dirty water.
- Rinse the tank with clean water.
- Reattach the dry tank securely to the main unit.
7.2. Cleaning the Rubber Blade
Wipe the rubber blade with a damp cloth after each use to remove any residue and ensure effective suction.
7.3. Cleaning the Main Unit
Wipe the exterior of the device with a soft, damp cloth. Do not use abrasive cleaners or immerse the main unit in water.
8. Storage
When not in use, store the Jocca Window Vacuum Cleaner in a cool, dry place, away from direct sunlight and extreme temperatures. Ensure the device is clean and the water tank is empty before storage.
9. Troubleshooting
| Problem | Possible Cause | Solution |
|---|---|---|
| Device does not turn on. | Battery is discharged. | Charge the battery fully. |
| Poor suction performance. | Water tank is full or improperly attached. Rubber blade is dirty or damaged. | Empty and reattach the water tank. Clean or replace the rubber blade. |
| Leaves streaks on surface. | Rubber blade is dirty or worn. Insufficient cleaning solution. | Clean or replace the rubber blade. Apply more cleaning solution. |
If the problem persists after attempting these solutions, please contact customer support.
10. Specifications
| Brand | Jocca |
| Model Number | 6579 |
| Dimensions (L x W x H) | 13.5 x 12 x 35 cm |
| Weight | 508 grams |
| Material | Plastic |
| Voltage | 100-240 V ~ 50/60 Hz |
| Battery Type | 1 Lithium-ion (included) |
| Energy Class | A+++ |
11. Warranty and Support
This product comes with a standard manufacturer's warranty. For specific warranty terms and conditions, please refer to the warranty card included in your package or visit the official Jocca website. For technical support, spare parts, or service inquiries, please contact Jocca customer service through their official channels.
Note: Information regarding specific warranty duration or direct contact details is not provided in the product data.