Introduction
This manual provides essential information for the safe and efficient operation, maintenance, and troubleshooting of your PORTER-CABLE 6-Gallon Wet/Dry Vacuum, model PCX18404P-6A. Please read all instructions carefully before using the product to ensure proper function and to prevent injury or damage.
Safety Information
Always follow basic safety precautions when using this appliance to reduce the risk of fire, electric shock, or injury. Keep the work area clean and well-lit. Do not operate power tools in explosive atmospheres, such as in the presence of flammable liquids, gases, or dust. Keep children and bystanders away while operating a power tool. Avoid accidental starting. Ensure the switch is in the off-position before plugging in. Do not overreach. Maintain proper footing and balance at all times. Dress properly. Do not wear loose clothing or jewelry. Keep hair, clothing, and gloves away from moving parts. Always wear eye protection. Use a dust mask if operation is dusty. Use hearing protection during extended operation.
Package Contents
Verify that all items are present in your package:
- PORTER-CABLE 6-Gallon Wet/Dry Vacuum Unit
- 1-7/8-inch x 6-foot Flexible Hose
- Floor Nozzle
- Utility Nozzle
- Cartridge Filter (for dry use)
- Foam Filter (for wet use)
- Extension Wands (2)
- Disposable Dust Bag (for dry use)
Setup
- Unpacking: Carefully remove all components from the packaging. Inspect for any damage.
- Caster Wheel Installation: Attach the four swivel caster wheels to the base of the vacuum. These wheels snap into place and provide mobility and accessory storage.
- Filter Installation:
- For Dry Vacuuming: Ensure the cartridge filter is securely installed over the filter cage. A disposable dust bag can also be used for easier debris disposal.
- For Wet Vacuuming: Remove the cartridge filter and install the foam filter over the filter cage. The foam filter protects the motor from liquids.
- Hose Connection: Connect the 1-7/8-inch x 6-foot flexible hose to the intake port on the front of the vacuum. Ensure it locks securely. For blower function, connect the hose to the exhaust port.
- Accessory Attachment: Attach the desired nozzle (floor or utility) or extension wands to the end of the hose.
- Power Connection: Plug the 10-foot power cord into a suitable 120V grounded electrical outlet. The cord wrap design on the handle helps with organization.

Figure 1: Main view of the PORTER-CABLE 6-Gallon Wet/Dry Vacuum with hose and accessories.

Figure 2: Side view illustrating the hose connection point on the vacuum.

Figure 3: Top view highlighting the sturdy handle, large water-resistant on/off switch, and quick-locking latches.
Operating Instructions
The PORTER-CABLE 6-Gallon Wet/Dry Vacuum is designed for both wet and dry cleanup tasks, as well as a blower function.
- Power On/Off: Locate the large water-resistant on/off switch on the top of the unit. Press the switch to the 'ON' position to start the vacuum and to the 'OFF' position to stop it.
- Dry Vacuuming: Ensure the cartridge filter is installed. Use the floor nozzle or utility nozzle to pick up dry debris such as dust, dirt, and small particles.
- Wet Vacuuming: Ensure the foam filter is installed and the cartridge filter is removed. Use the floor nozzle to pick up liquids. Do not pick up flammable or combustible liquids. Monitor the tank capacity to avoid overfilling.
- Blower Function: Disconnect the hose from the intake port and connect it to the exhaust port located on the top of the motor head. This allows the vacuum to function as a blower for clearing debris from surfaces.

Figure 4: Operating the vacuum for dry debris collection on a garage floor.
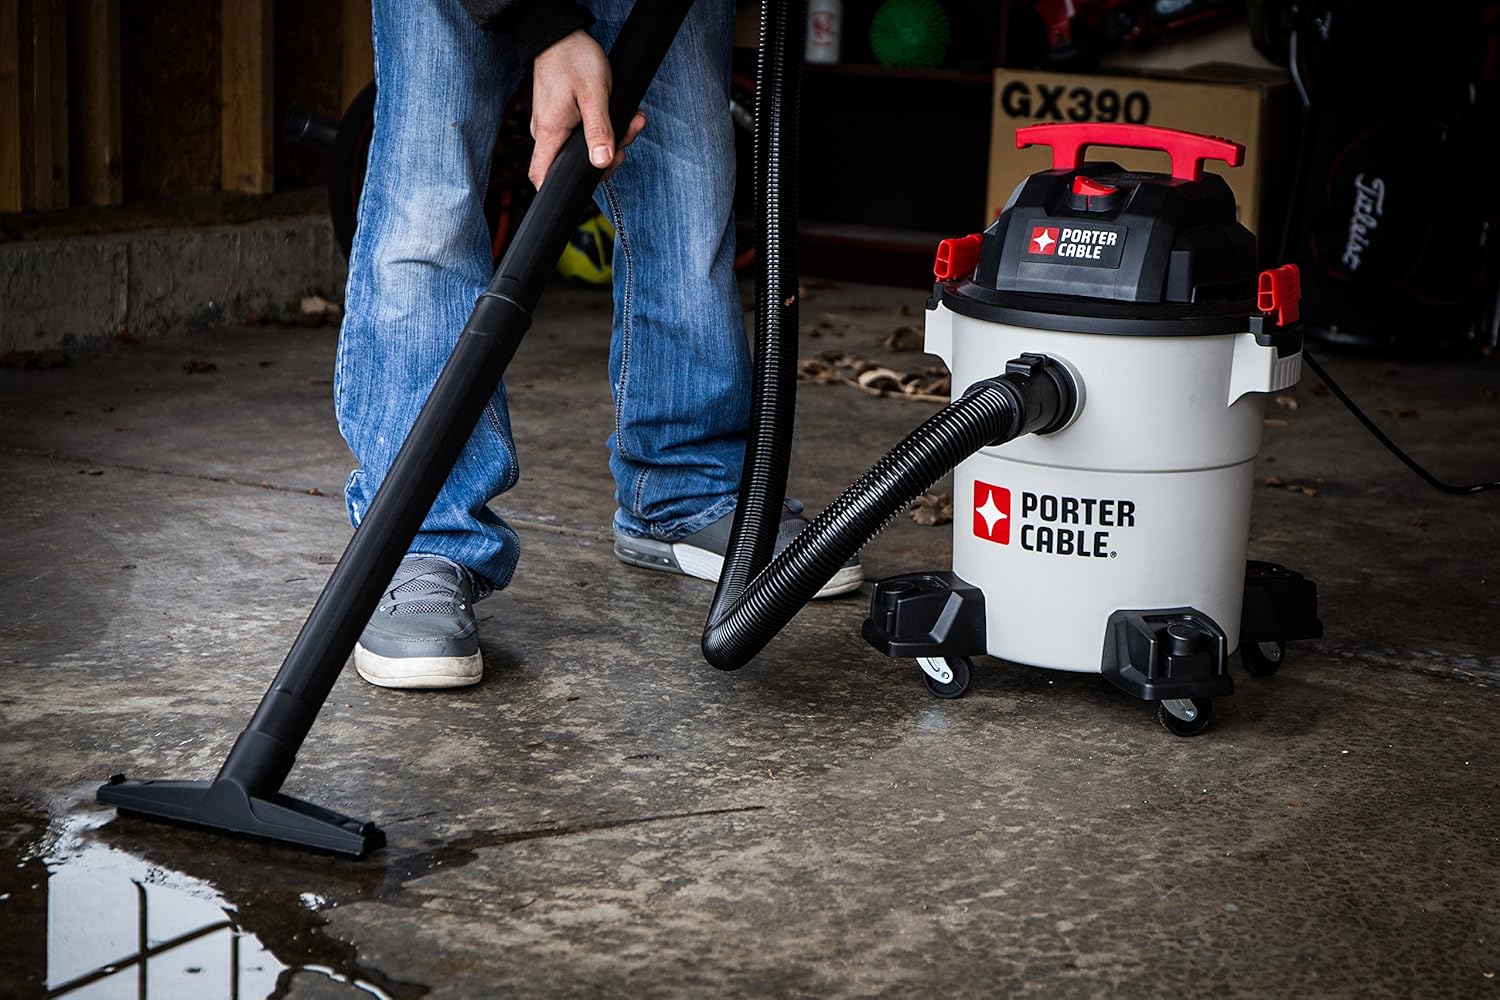
Figure 5: Demonstrating the wet vacuuming capability to clean up a liquid spill.

Figure 6: Utilizing the blower function to clear leaves and light debris.
Maintenance
Regular maintenance ensures optimal performance and extends the life of your vacuum.
- Emptying the Tank: After each use, especially after wet vacuuming, unlatch the motor head and carefully lift it off the tank. Dispose of collected debris or liquid. Clean the inside of the tank with water and mild detergent if necessary.
- Filter Cleaning/Replacement:
- Cartridge Filter: For dry use, tap the filter gently to dislodge dust. For heavy buildup, rinse with water and allow to air dry completely before reinstallation. Replace if damaged or excessively worn.
- Foam Filter: For wet use, rinse the foam filter with water and allow it to air dry completely before storage or next use.
- Hose and Accessory Cleaning: Periodically inspect the hose and accessories for blockages or damage. Clean with water and mild detergent as needed.
- Cord Storage: Wrap the power cord around the integrated cord wrap on the handle for neat storage.
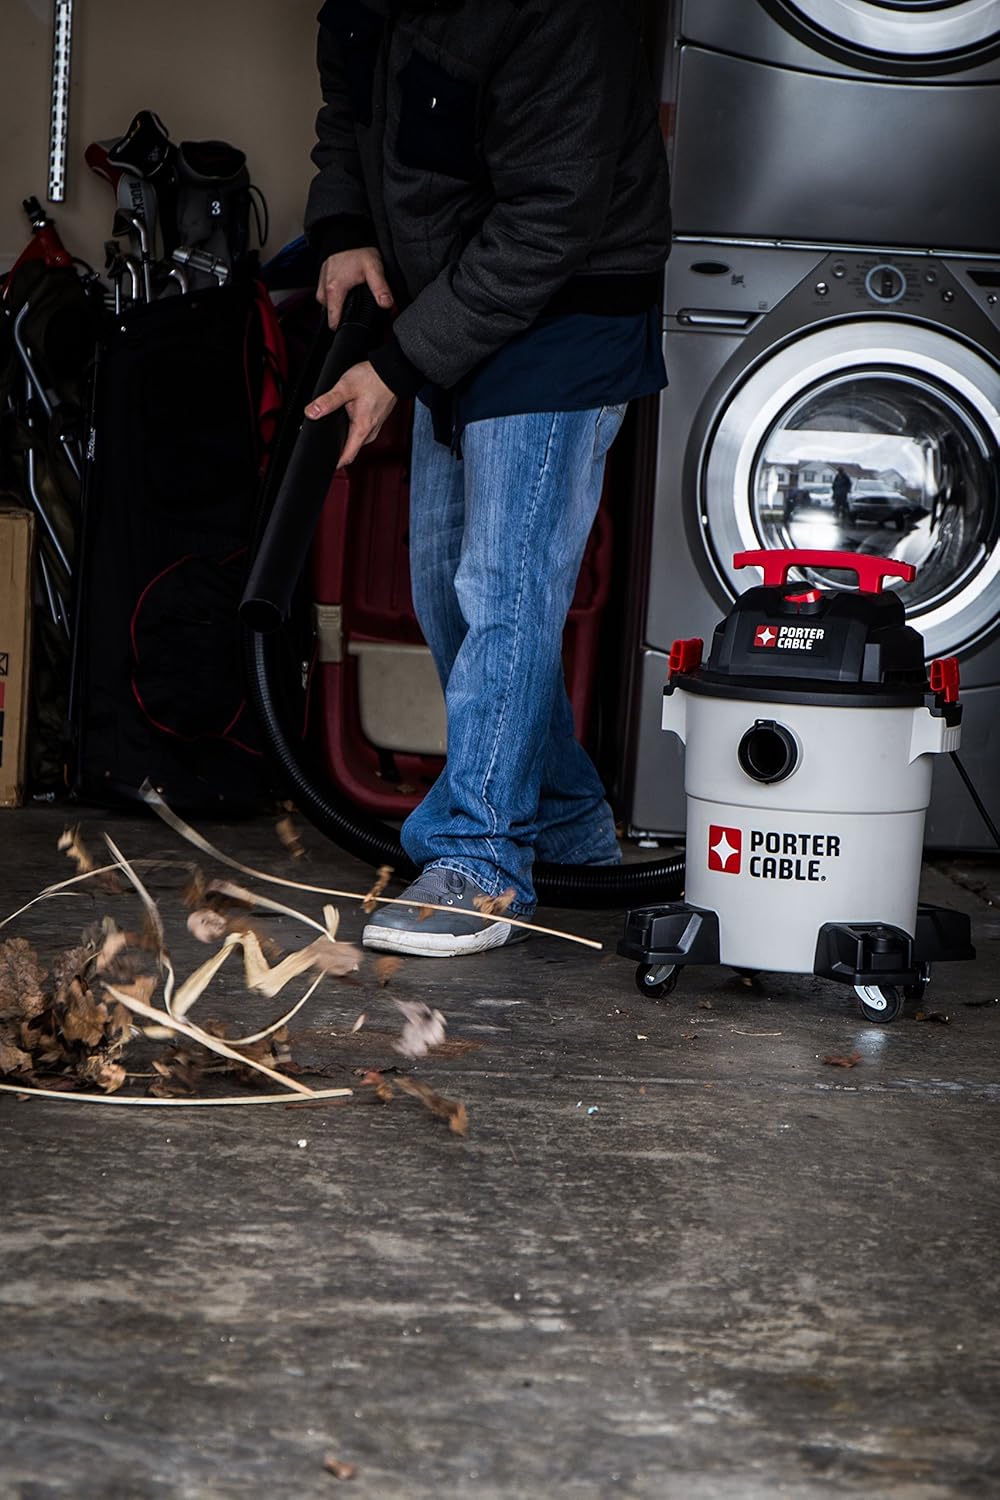
Figure 7: Cleaning the vacuum unit after use in a workshop environment.
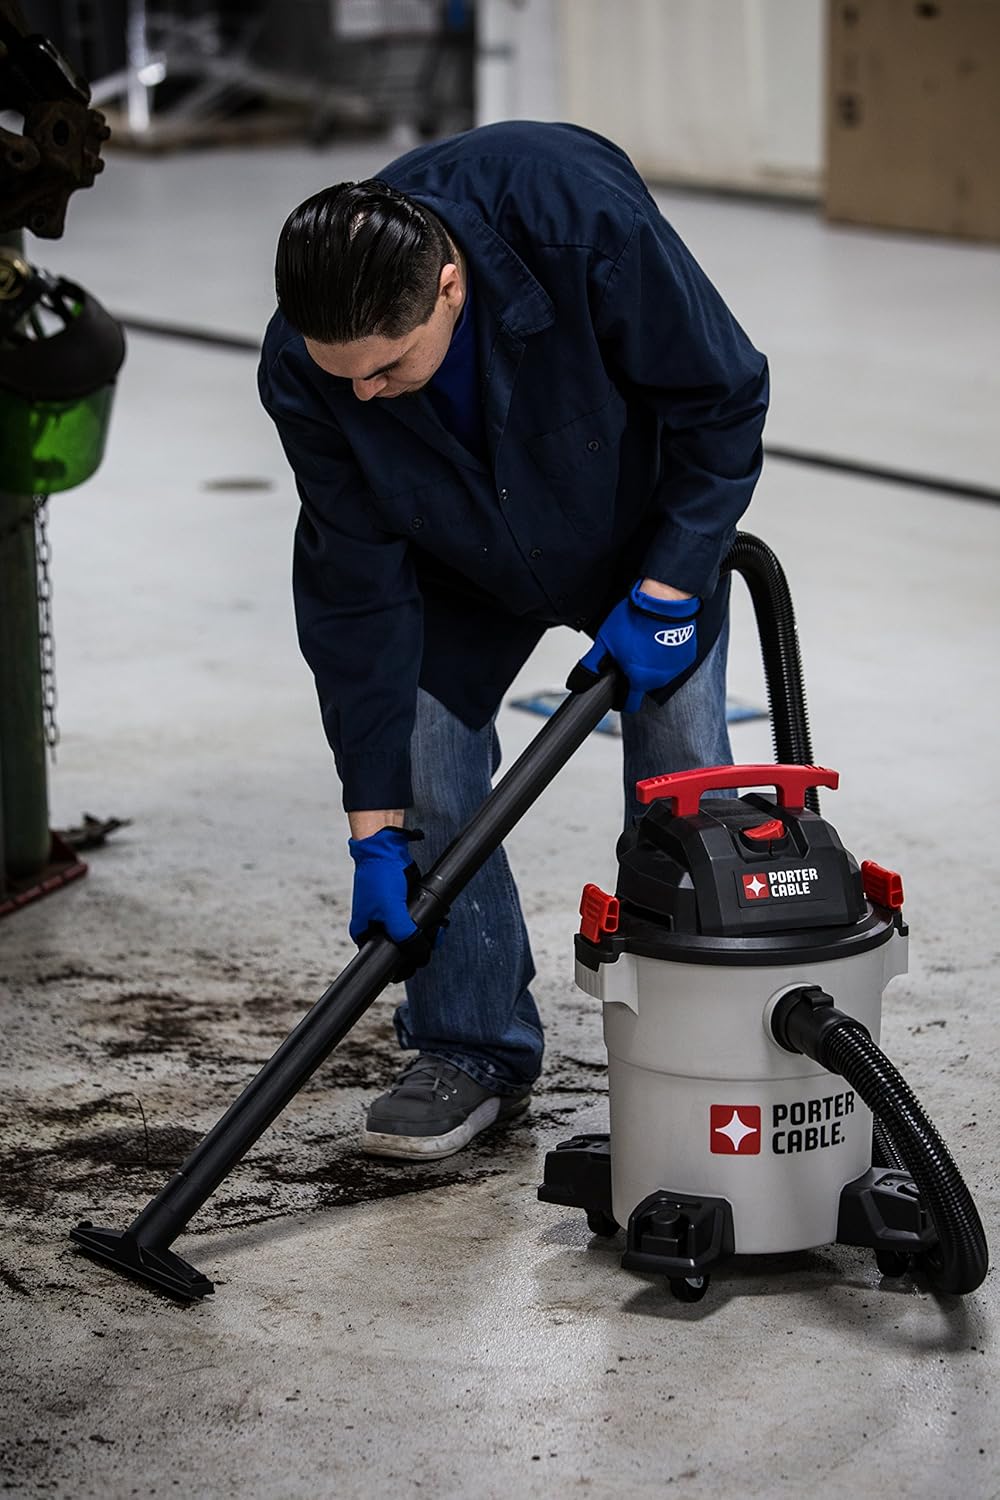
Figure 8: Using an extension wand for cleaning hard-to-reach areas, demonstrating versatility.

Figure 9: The long hose allows for cleaning under obstacles like workbenches.
Troubleshooting
If your vacuum is not operating correctly, consult the following common issues and solutions:
- Vacuum does not turn on:
- Check if the power cord is securely plugged into a working outlet.
- Ensure the on/off switch is in the 'ON' position.
- Check the circuit breaker or fuse for the outlet.
- Loss of suction:
- Check for blockages in the hose, nozzles, or extension wands.
- Ensure the tank is not full and has been emptied.
- Inspect the filter for excessive dirt or damage. Clean or replace as needed.
- Verify that the motor head is securely latched onto the tank.
- Water leaking from exhaust:
- The tank may be overfilled. Empty the tank.
- Ensure the foam filter is correctly installed for wet vacuuming.
Specifications
| Brand | PORTER-CABLE |
| Model Name | Wet/Dry Vac |
| Model Number | PCX18404P-6A |
| Capacity | 6 Gallons |
| Motor Horsepower | 4 HP |
| Power Source | Corded Electric |
| Voltage | 120 Volts |
| Wattage | 1200 watts |
| Amperage | 10 Amps |
| Hose Length | 6 feet (1.8 Meters) |
| Item Weight | 14.77 Pounds |
| Item Dimensions (L x W x H) | 13.39"L x 13.39"W x 20.79"H |
| Filter Type | Foam (for wet), Cartridge (for dry) |
| Noise Level | 80 Decibels |
| Number of Wheels | 4 |
Warranty Information
This PORTER-CABLE product comes with a 3-year limited warranty and a 30-day money-back guarantee. For specific terms and conditions, please refer to the warranty card included with your product or contact customer support.
Support
For further assistance, technical support, or to order replacement parts, please visit the official PORTER-CABLE website or contact their customer service department. Keep your model number (PCX18404P-6A) and purchase date available when contacting support.