1. Product Overview
The Weide WH5203-1C is a sophisticated analog-digital watch designed for men, featuring a black dial, tachymeter, and a durable metal strap. It combines classic analog timekeeping with modern digital functions, including chronograph, date display, alarm, and light. This watch is built with a quartz movement for accurate timekeeping and is water-resistant up to 30 meters.
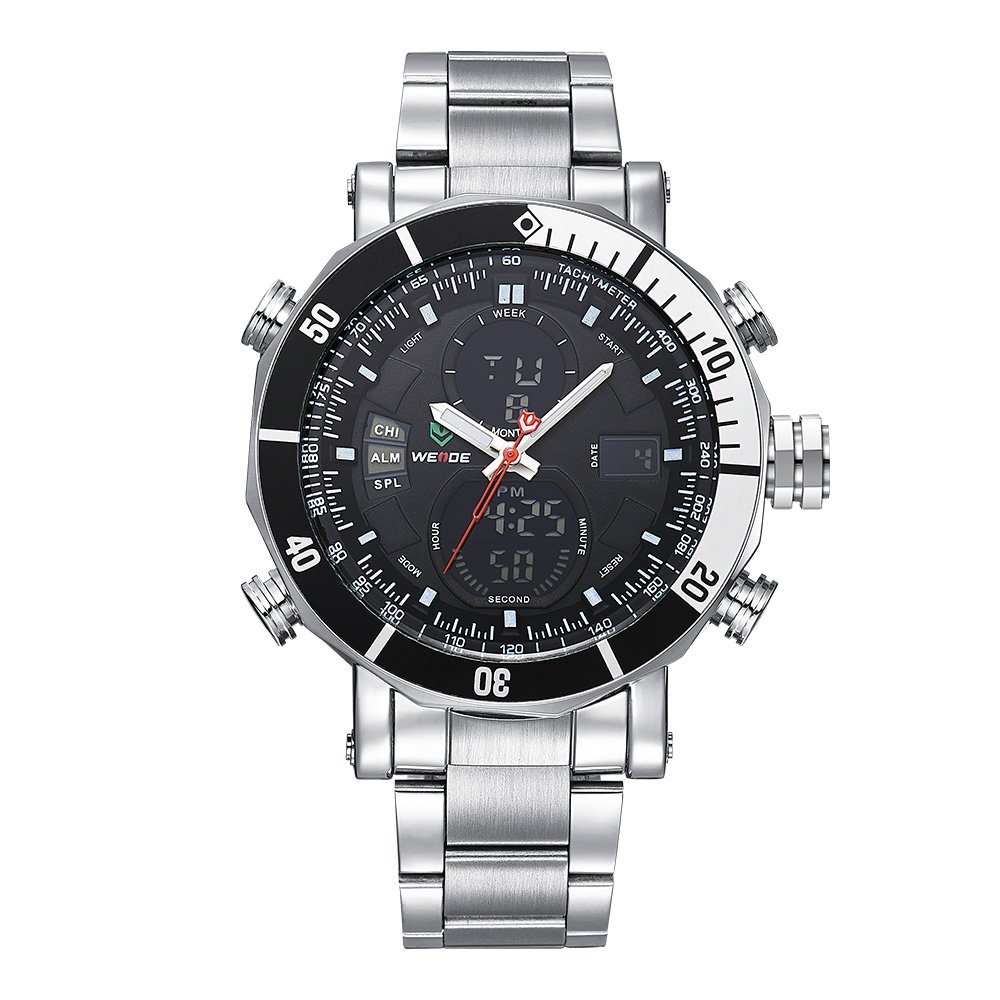
Image 1: Front view of the Weide WH5203-1C watch, showcasing its black dial, silver-tone case, and metal strap.

Image 2: Side view of the Weide WH5203-1C watch, highlighting the crown and pushers for function control.
2. Safety Information
- Water Resistance: This watch is water-resistant up to 30 meters. It is suitable for everyday use and can withstand splashes or brief immersion in water. However, it is not recommended for swimming, diving, or prolonged water activities.
- Important: Do not press any button while the watch is submerged in water. Pressing buttons underwater can compromise the water resistance and lead to internal damage.
- Avoid exposing the watch to extreme temperatures or strong magnetic fields.
3. Setup and Initial Configuration
3.1 Setting Analog Time
- Pull the crown (the knob on the right side of the watch case) out to the first position.
- Rotate the crown to adjust the hour and minute hands to the desired time.
- Once the time is set, push the crown back into its normal position to start the analog movement.
3.2 Setting Digital Time, Date, and Alarm
The watch features multiple pushers (buttons) for digital function control. Typically, there are 3-4 pushers around the watch case. Refer to the labels on your watch for specific functions (e.g., MODE, RESET, START, LIGHT).
- Mode Selection: Press the 'MODE' button (usually bottom-left) repeatedly to cycle through different digital display modes: Time (with seconds), Date, Alarm, Chronograph.
- Setting Time/Date:
- In the Time display mode, press and hold the 'RESET' button (usually bottom-right) until the seconds start flashing. This indicates setting mode.
- Press 'MODE' to cycle through the settings (seconds, hour, minute, month, date, day).
- Use the 'START' button (usually top-right) to adjust the flashing value.
- Once all values are set, press 'RESET' again to exit the setting mode.
- Setting Alarm:
- Navigate to the Alarm mode using the 'MODE' button.
- Press and hold 'RESET' until the alarm hour starts flashing.
- Use 'MODE' to switch between hour and minute settings.
- Use 'START' to adjust the alarm time.
- Press 'RESET' to confirm and exit.
- To activate/deactivate the alarm, typically press 'START' while in Alarm mode (a small alarm icon will appear/disappear).
4. Operating Digital Functions
4.1 Using the Chronograph (Stopwatch)
- Press the 'MODE' button until the digital display shows the Chronograph (STW or CHR).
- Press the 'START' button to begin timing.
- Press 'START' again to pause the timing.
- Press 'RESET' to clear the stopwatch to zero.
4.2 Using the Light
Press the 'LIGHT' button (usually top-left) to illuminate the digital display for a few seconds in low-light conditions.
4.3 Tachymeter Function
The tachymeter scale on the bezel is used to measure speed over a known distance or to measure production units per hour. To use it for speed measurement:
- Start the chronograph when a vehicle passes a starting point.
- Stop the chronograph when the vehicle has traveled exactly 1 kilometer (or 1 mile).
- The number on the tachymeter scale corresponding to the chronograph's second hand position indicates the average speed in kilometers/miles per hour.
5. Maintenance and Care
- Cleaning: Wipe the watch case and strap regularly with a soft, dry cloth to remove dirt and sweat. For metal straps, a slightly damp cloth can be used, followed by immediate drying.
- Water Exposure: While water-resistant, avoid unnecessary exposure to water. Always ensure the crown is pushed in completely.
- Battery Replacement: When the watch stops or the digital display becomes dim, it indicates a low battery. Battery replacement should be performed by a qualified watch technician to ensure proper sealing and water resistance.
- Storage: Store your watch in a cool, dry place away from direct sunlight and extreme temperatures when not in use.
6. Troubleshooting
- Watch Not Running: If the analog hands or digital display are not working, the battery may need replacement. Contact a service center.
- Incorrect Time/Date: Refer to Section 3.1 and 3.2 to reset the analog and digital time/date.
- Digital Display Issues: If the digital display is blank or erratic, try resetting the watch by pulling the crown out and pushing it back in, or by replacing the battery.
- Water Inside Watch: If moisture appears inside the watch, immediately take it to a professional watch repair service. This often indicates a compromised seal, possibly due to pressing buttons underwater.
7. Specifications
| Feature | Detail |
|---|---|
| Model Number | WH5203-1C |
| Mechanism | Quartz |
| Display Type | Analog-Digital |
| Dial Color | Black |
| Case Material | Alloy |
| Case Diameter | 50 Millimetres |
| Strap Material | Stainless Steel |
| Strap Color | Silver |
| Water Resistance Depth | 30 meters |
| Functions | Chronograph, Date Display, Altimeter, Alarm Clock, Light, Calendar, Luminous |
| Item Weight | 170 g |
8. Warranty Information
This Weide WH5203-1C watch comes with a 1 Year Weide India Warranty. This warranty covers manufacturing defects under normal use. It does not cover damage resulting from accidents, improper use, unauthorized repairs, or normal wear and tear. Please retain your purchase receipt as proof of purchase for warranty claims.
9. Support
For further assistance, warranty claims, or service inquiries, please contact the retailer where you purchased the watch or refer to the official Weide India support channels. Ensure you have your model number (WH5203-1C) and proof of purchase ready when contacting support.


